In this day and age, the daily contact with media contents seems indispensable. Whether you are doing some work involving videos or watching media videos at home, there is a popular format that is called MKV videos. It stores multimedia data such as movies and TV shows. This format can hold a high standard of media compression so that it is able to deliver very good quality. However, how to edit MKV video files if you have some MKV videos on your computer? Especially, how to edit subtitles in MKV? Some best MKV video editors are recommended for your reference.
Part 1: 3 Best MKV File Editors for Windows
Top 1. Leawo Video Converter
This professional MKV editor Windows program is serving to edit MKV files in all respects including trim or crop MKV videos, add effects, add video watermark, remove noise, set audio tracks for MKV videos, and even more. The built-in MKV editor makes it capable of creating the 2D to 3D conversion for all your MKV videos. Moreover, the perfect compatibility with MKV formats will be able to keep the quality in its original best results. With the enhanced technology of GPU-accelerating technique, all users are able to enjoy the fastest speed. In addition, it acts more than just a single MKV video editor. You can also turn the MKV videos to all the other formats that can be applied for portable devices, such as iPhone, iPad, Android devices, and Microsoft Windows devices. In this way, all MKV videos are available for cross-platform performance. Furthermore, this program also features the ability to make photo slideshows when you have some moments to treasure. All in all, this program seems to have no drawbacks of how to edit MKV video files while it supports multilingual interface and easy-to-use guide. This one is also excellent to edit MKV files Mac version.
Top 2. MKV Cutter
The second MKV editor Windows application is the MKV Cutter. The cool function of this tool is the capability of cutting high definition MKV files such as h.264 files. While the availability for the HD MKV is provided, its strong codec support enriches the clipping process without a need to reconverting the entire video. However, it is a really new MKV video editor just released as the alpha version, some shortcomings are inevitable. And no other format is offered besides the MKV files.
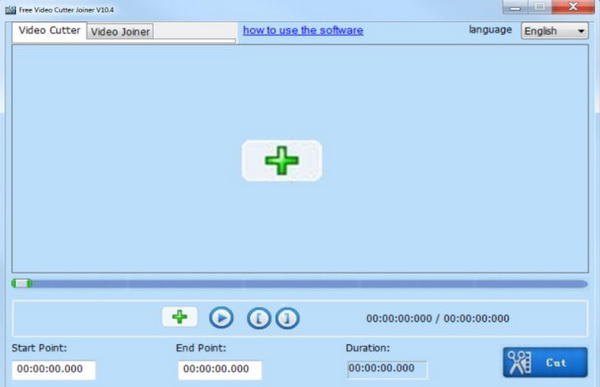
Top 3. Free Video Cutter Joiner
Being as a free MKV video editor program for Windows users, this Free Video Cutter Joiner mainly features the function of putting MKV video files together. Besides merging MKV videos, it is able to cut and separate MKV videos by the size you require. Regard the cutting process, it does a good job of preserving the original quality in a quick cutting operation speed. If you just wanna a simple MKV trimming and joining machine, you can choose this one. Sadly, this software does not support any additional editing features like filters or special effects.
Part 2: 3 Best MKV File Editors for Mac
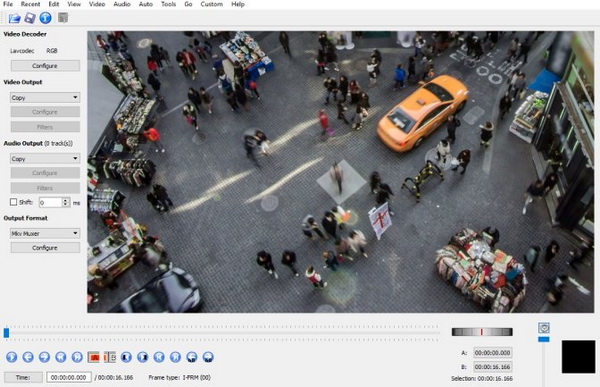
Top 1. Avidemux
This Avidemux software enables every user to edit MKV files Mac OS available. It has diverse format supports including MKV file videos. However, modern format like WebM is not offered. Still, you can use this practical MKV video editor to trim MKV videos with numerous editable parameters. Moreover, the inbuilt visual effects display at a higher level making it worth trying. At the same time, it also plays an important role as a video converter for Mac. The audio stream output can be edited as well. Overall, it is a free software even with limited features, nothing to complain.
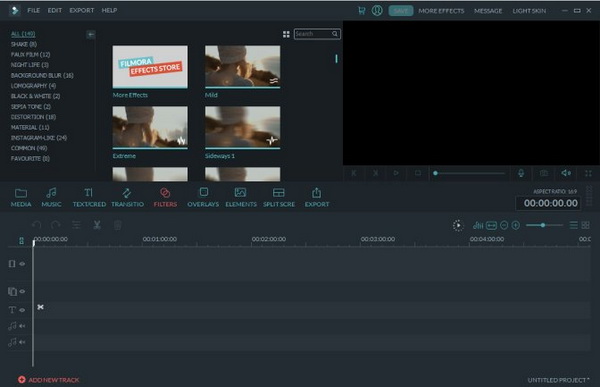
Top 2. Filmora MKV Cutter
Once there are requirements for splitting a MKV video file into pieces, the Filmora MKV Cutter is very handy to finish such mission. This MKV video editor is able to do the fundamental performance of cutting MKV files, merging MKV video fragments, polishing videos with overlays, effects, titles, and so on. This software offers the direct uploading process to Facebook so as to share with families and friends with convenience. Its interface is relatively simple and every newbie will understand how to edit MKV video files via this tool.
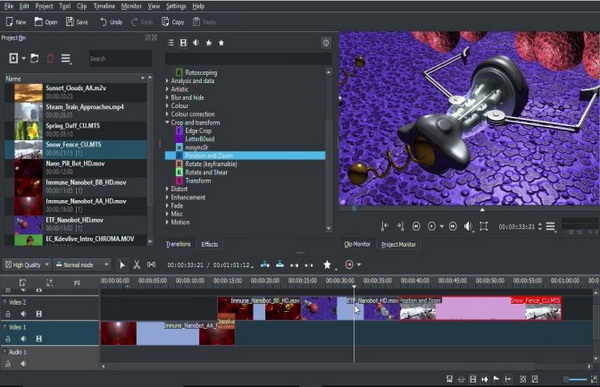
Top 3. Kdenlive
For most Mac users, the open-source MKV video editor is not in the range of the majority program. And this Kdenlive is one of them that developed decades ago. The name may sound weird but it has the meaning as KDE Non-Linear Video Editor. Now it all makes sense that this MKV video editor software was previously in a mass application on Linux system. However, it is refined with a better version for both novices and experts on Mac system now. It is coming with a bunch of video effect options as well as the basic functions of cutting audios and videos. The wide format support is also considered as one of its great features.
Part 3: Part 3: How to Edit MKV Video Files
At present, I will demonstrate how to edit MKV video files with the top pick on the MKV video editor list. If you have never tried the Leawo Video Converter, now it is time to obtain it on your computer as it can assist you to edit MKV files at any degree.
Step 1: Download and install the Leawo Video Converter program.
It also works on the Mac system, so choose the correct one for your system to edit MKV files Mac OS. But here the Windows version is used for illustration.
Step 2: Load the source video files to this MKV video editor.
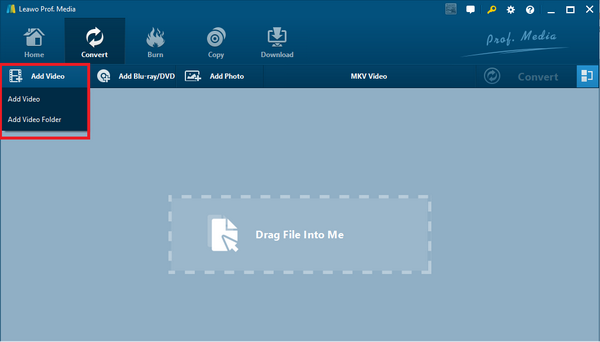
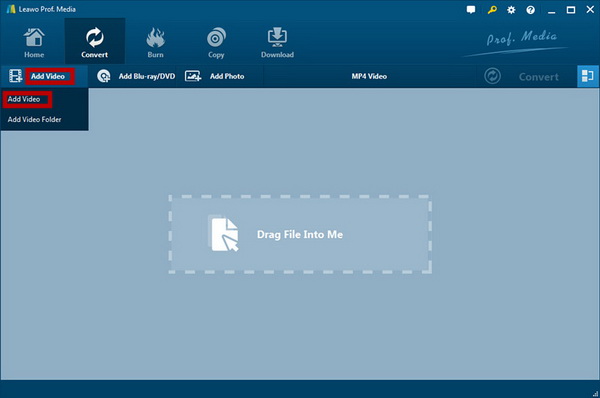
On the home interface, you can drag and drop your video files over the window straightforward. It can recognize video contents immediately and list them up. As another option, users can click "Add Video" to import MKV video files.
Step 3: Set the output format to MKV.
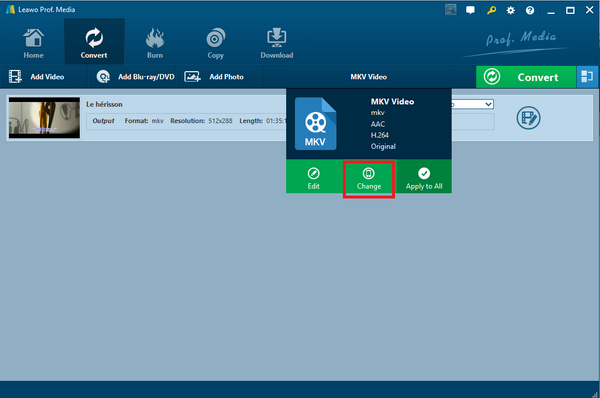
Find the "MP4 Video" option above the waiting list, click on it to call out the drop-down menu with the "Change" button.
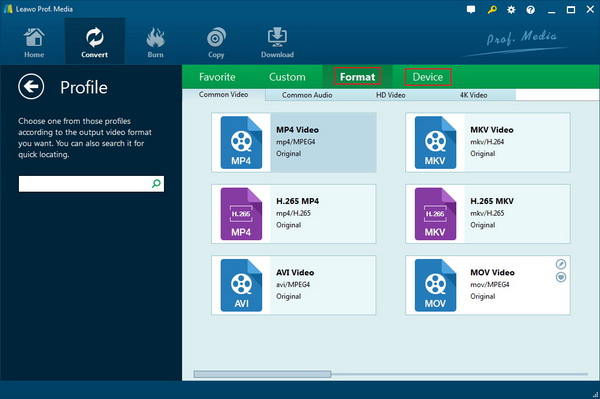
Choose “Change” to enter the profile panel then click on the “MKV Video” as the target format.
Step 4: Edit MKV files freely.
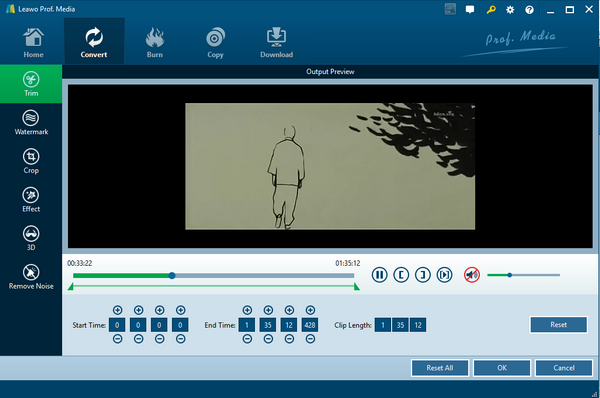
There is an editing button at the end of each MKV video file bar on the home interface. Click on it to access the panel where people are free to edit the MKV files. Multiple settable features include trimming the video length, adding watermark, cropping the frame so as to resize the ratio, adjusting effects, modifying saturation, brightness, contrast, removing noises, and putting on 3D visual effects to the MKV video from each section.
Step 5: Designate a pathway for saving the edited MKV video files.
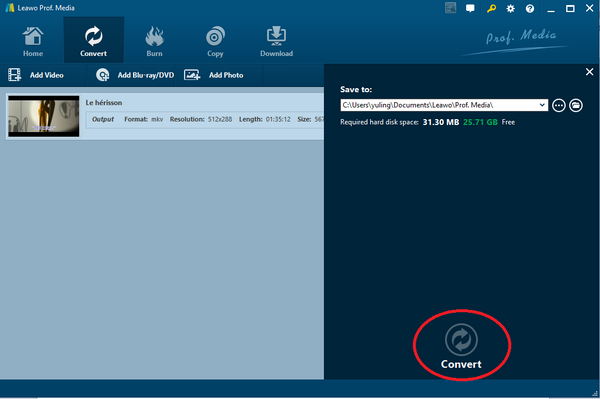
Get back to the home panel after clicking "OK". Pay attention to the green "Convert" button on the home panel, choose it to call out the sidebar. In the "Save to" box, you can specify a folder to locate the edited MKV files.
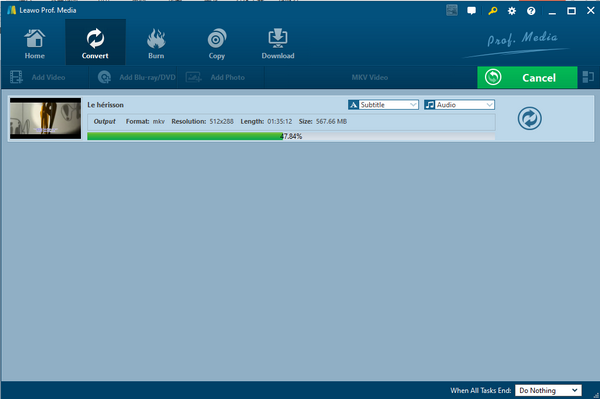
Step 6: Click the "Convert" button below to start the process and wait for a moment to let it complete.
Part 4: How to Edit Subtitles in MKV Files
In this part, I will introduce how to edit subtitles in MKV by the MKV video editor of Leawo Video Converter. Download and install this mesmerizing MKV editor Windows software. With it, you can add subtitles to any movie you like.
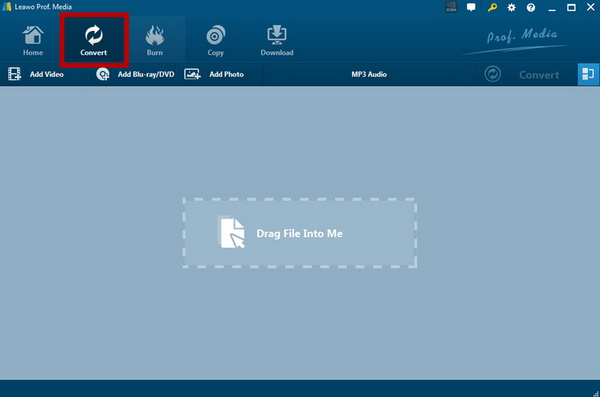
Step 1: Launch the application on the computer. You will see that we are right at the function of "Convert" panel.
Step 2: To load MKV files to edit subtitles, you can choose to pull those MKV files directly over the home interface. Or you can click on the "Add Video" to browse MKV videos in folders then select wanted MKV files.
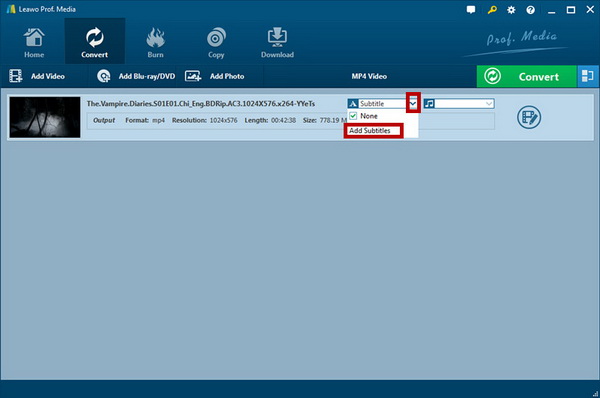
Step 3: When the information bar of the MKV is listed on the main area, find the "Subtitle" option and click on the triangle drop-down button belonging to "Subtitle" box. There is a list with "Add subtitles" choice, select it to edit subtitles.
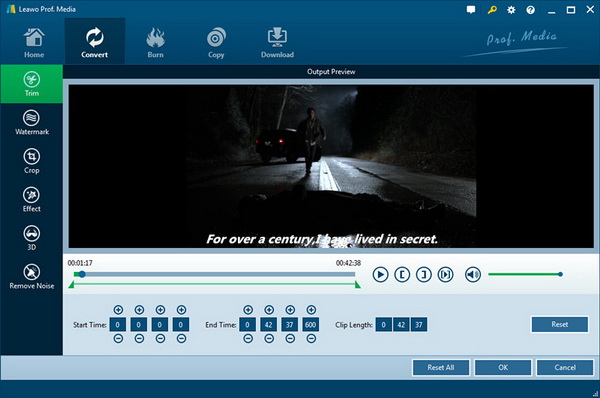
Step 4: After you have added the appropriate subtitle file for the MKV files, you can see the output preview as below. If you want to do further changes, be my guest. When you think it is ready to finish, just click the "OK" button.
Part 5: How to Enjoy MKV Playback After Finishing Editing
At last, you need a formidable MKV player program after knowing how to edit MKV video files. Trust me, you want to check if the MKV video editor really works out everything you set. Hence, Leawo Blu-ray Player is what the computer needs to make use of. This tool is strong to support all the MKV format files, as well as all the common video files including AVI, MPEG, WMV, ASF, FLV, MP4, M4A, AAC, etc. If you have high definition MKV files with the resolution of 1080P, this software is the ace option because it is armed with incredible decoding process to bring viewers the finest image quality. Now you can download this free MKV player and let me show you how easy to enjoy the best results of edited MKV files.
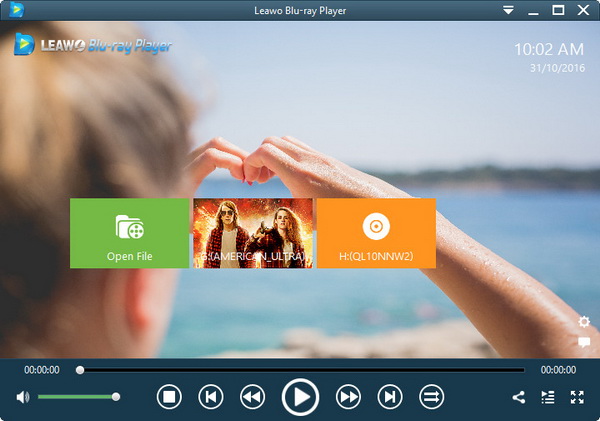
Step 1: Install the powerful MKV players on your computer. After it is done, open the Leawo Blu-ray Player and put the edited MKV files into this program. Just click the green "Open File" option on the home interface and browse MKV files. Select the MKV file you edited before, then it will begin to play after importing source MKV files.
Step 2: There is also an optional function for you to adjust subtitles through the tool. The operation is simple as just right-click on the main window then choose the "Subtitles" button to enter the subtitles setting panel. Here you are able to change settings like Enable (Disable) subtitles, Subtitle offset, Subtitle selecting, Browse for subtitle.
Step 3: Beside subtitles, you can also change video settings. You can move your mouse to the top-left corner and choose the second icon, which stands for the "Videos" icon to enter the video setting page. The multiple options provide users to deinterlace video by preferred deinterlace method, choose video scaling method, crop black bars, select video mode, define brightness and contrast, etc.
Step 4: The audio settings are there for you additionally. Likewise, move the mouse to the title area and choose the third option when the four icons pop up. This icon means the audio settings, so you can have an overview of audio parameters after clicking on it. That contains the Volume, Volume amplification, Audio offset, Audio stream, Audio output, Audio output device and Set as default for all videos.


