"How to export iMovie to QuickTime? I've created a project in iMovie and would like to export this iMovie project as QuickTime video. I'm new to this. Please show me how to save iMovie as QuickTime."
For many iMovie newbies, to export iMovie project to QuickTime seems to be a tough task since they may know little about iMovie and QuickTime. In this guide, we would like to show you how to save iMovie file to QuickTime movie and as well how to put QuickTime videos to iMovie for editing.
Part 1: How to Save iMovie File to QuickTime Movie
According to Apple official website, you could directly save iMovie project as QuickTime movie. The below steps would show you how to save iMovie file to QuickTime video in detail:
1. On your iMovie, select a movie, trailer, or clip in the browser.
2. Click the "Share" button in the toolbar, and then click "File".
3. Set the title, description, output format (make it QuickTime compatible), tags, resolution, output quality, compression settings, etc.
4. Click "Next" button.
5. In the dialog that appears, type a name in the Save As field, or leave the default name, which is the name of the movie, trailer, or clip.
6. Navigate to the location where you want to save the file, and click "Save".
Then you only need to wait for the output complete. It won't take long.
Part 2: How to Convert iMove Videos to QuickTime MOV
Sometimes, you’ve exported iMovie videos to non-QuickTime videos. What should you do in such case? You could turn to iMovie to QuickTime MOV converter programs. Leawo Video Converter for Mac is a best choice you could get for converting iMovie to QuickTime MOV. It’s a professional Mac video converter that could help you convert video between hundreds of formats including MOV, MP4, AVI, FLV, MKV, etc. It could help you easily save iMovie videos to QuickTime MOV format.
The bellow steps shows you how to convert iMovie file to QuickTime MOV with Leawo Video Converter.
Step 1: Add iMovie files
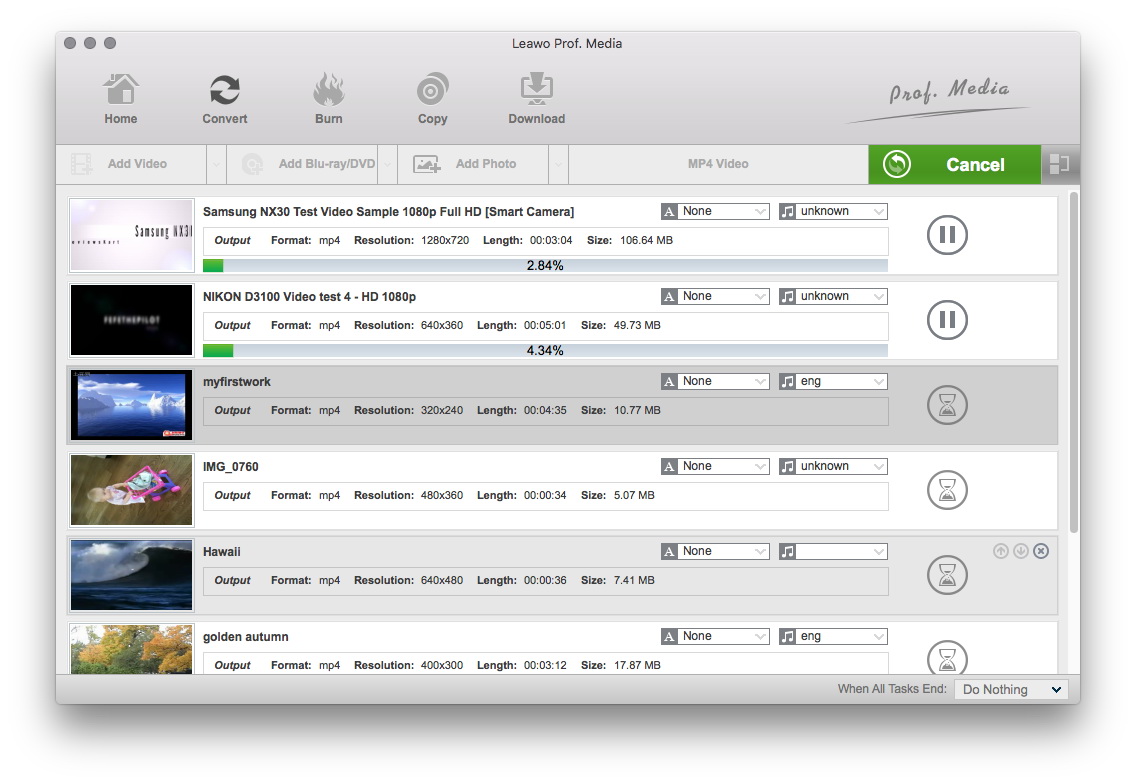
Launch Leawo Prof. Media on your Mac computer. Click the "Convert" tab to enter the Video Converter module. Then, click the "Add Video" button to browse and add iMovie video files into this video converter.
Step 2: Set MOV as output format
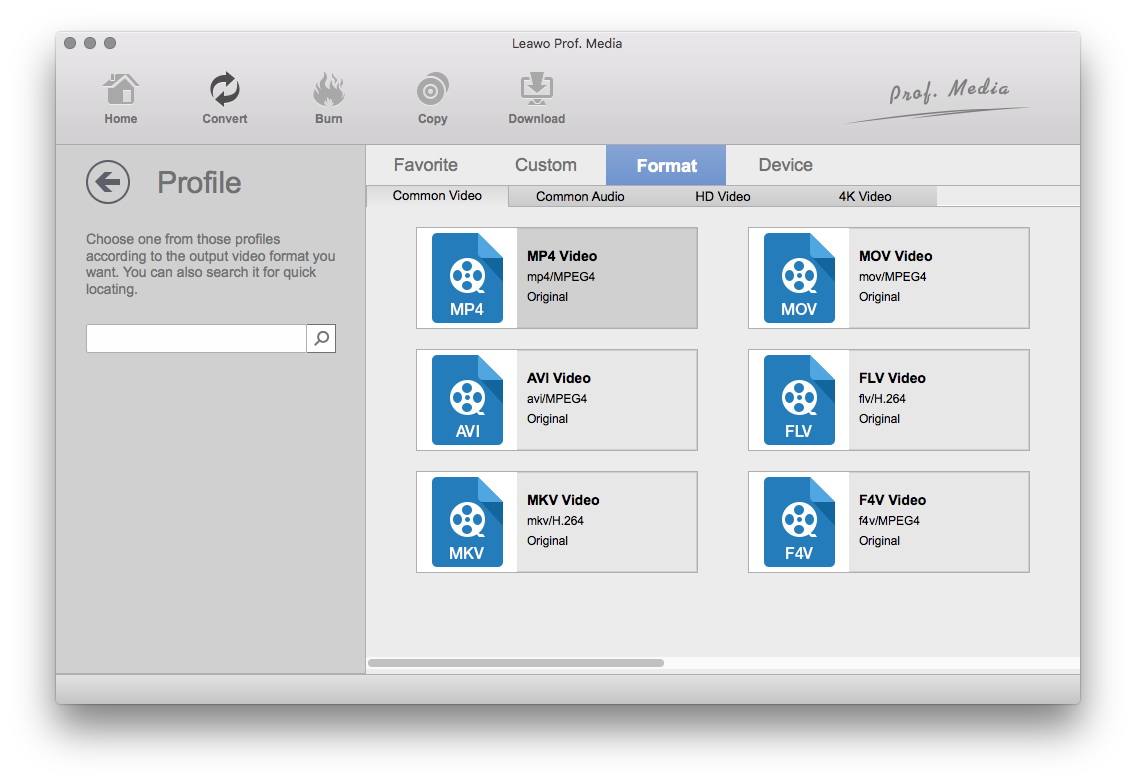
Click the button next to the "Add Photo" button and then choose "Change" option on the drop-down panel. On the "Profile" panel, choose "MOV Video" as output format.
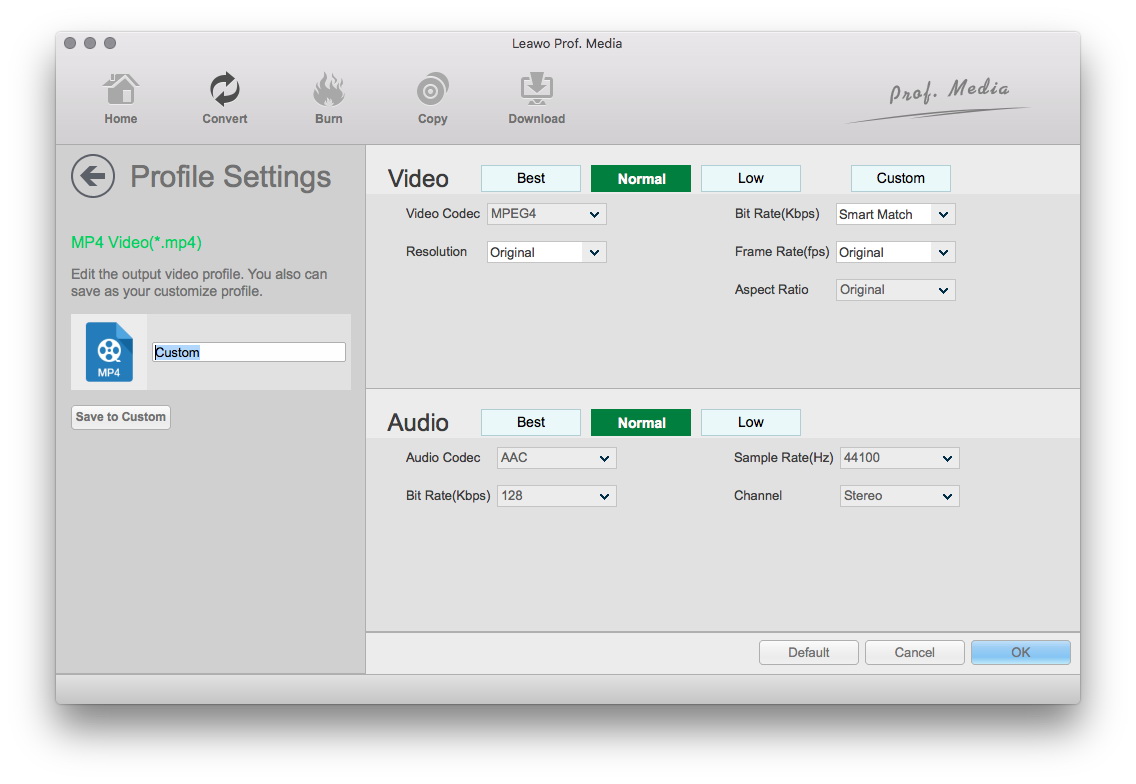
You could also change the video and audio parameters of selected MOV Video format. On the drop-down panel mentioned above, choose "Edit" option now to enter the "Profile Settings" panel, where you could adjust video codec, bit rate, aspect ratio, frame rate, audio codec, channel, etc.
Step 3: Set output directory
After setting output format, return to the main interface and then click the big green "Convert" button. On the popup sidebar, set output directory in the "Save to" box.
After that, click the bottom “Convert” button to start converting iMovie video to QuickTime MOV format. The conversion would take some time, depending on the file size and computer performance. When the conversion finishes, you could then freely import iMovie video to QuickTime player for unlimited playback.
Part 3: How to Put QuickTime Videos to iMovie
On the contrast, many people would like to know how to put QuickTime videos to iMovie as well. Actually, it's no difficulty to do this. Once you have exported your QuickTime video, you could follow the below steps to learn how to put QuickTime video to iMovie:
Follow the below steps to learn how to reduce AVI file size with Handbrake.
1. Launch the iMovie application. Navigate to the File menu and select "New Project".
2. Click on the "File" menu and scroll down to Import. Select "Movies..." The import window will open.
3. Select a location at which to save your movie and decide whether or not to "Add to existing Event" or "Create new Event. " Check "Optimize Video" if you would like iMovie to optimize the video quality, and then select the Large or Full setting. Choose "Copy Files" to make a new copy of an existing QuickTime movie or select "Move Files" to simply relocate the existing file.
4. Click the "Import" button and wait for your movie to open. Depending on the length of the clips, this step could take several minutes,
Now, you’ve successfully put QuickTime videos into iMovie. You could now freely edit QuickTime videos as you like.

