
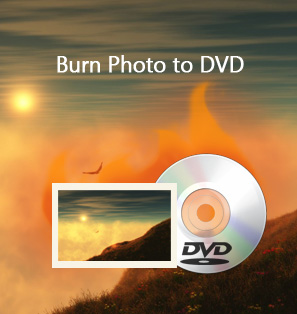
With the fast development of media technology, video materials are more important than ever these days. Everything on the Internet is about videos. However, it doesn't mean than pictures or photos are becoming obsolete. Photos are still important as ever, and even becoming more important and useful as another formation, photo slideshows. A photo slideshow is like a video made by photos. With a good background music and smooth transaction effects, a photo slideshow can achieve nothing less than a video but with higher efficiency. There are a lot of programs that you can use to make a beautiful photo slideshow. Aperture, as an example, is one of them. After you have made a good photo slideshow, a good way to share it or present it is by burning it to a DVD. But how to burn a photo slideshow made by Aperture to a playable DVD? Well, today we will show you the detailed guide on how to convert and burn Aperture slideshow to DVD in the easiest way.
Part 1: About Aperture
Before we start to talk about how to convert and burn Aperture slideshow to DVD, in case you never used Aperture, or you are not familiar with the software, let's know something about the program first. Aperture 1.0 was released in fall 2005. The pitch from Apple was pretty straight-forward:"Aperture is to professional photography what Final Cut Pro is to filmmaking," said Rob Schoeben, Apple's vice president of Applications Marketing. "Finally, an innovative post production tool that revolutionizes the pro photo workflow from compare and select to retouching to output."
Aperture is a photo editing and management computer program developed by Apple Inc. for the macOS operating system. The features of Aperture include non-destructive editing, organization of photographs by keyword, faces (using face detection and recognition), and places (using GPS metadata embedded in image files), brushes for applying effects (such as dodge and burn, skin smoothing, and polarization), and exporting to several popular websites, including Flickr, Facebook, SmugMug, and Apple's iCloud. The version 3.4.5 of Aperture addresses an issue that could cause Aperture to quit unexpectedly when deleting items from a camera or memory card after import, and the memory cards are now ejected correctly when using the Delete Items option after import. The version also includes stability improvements.
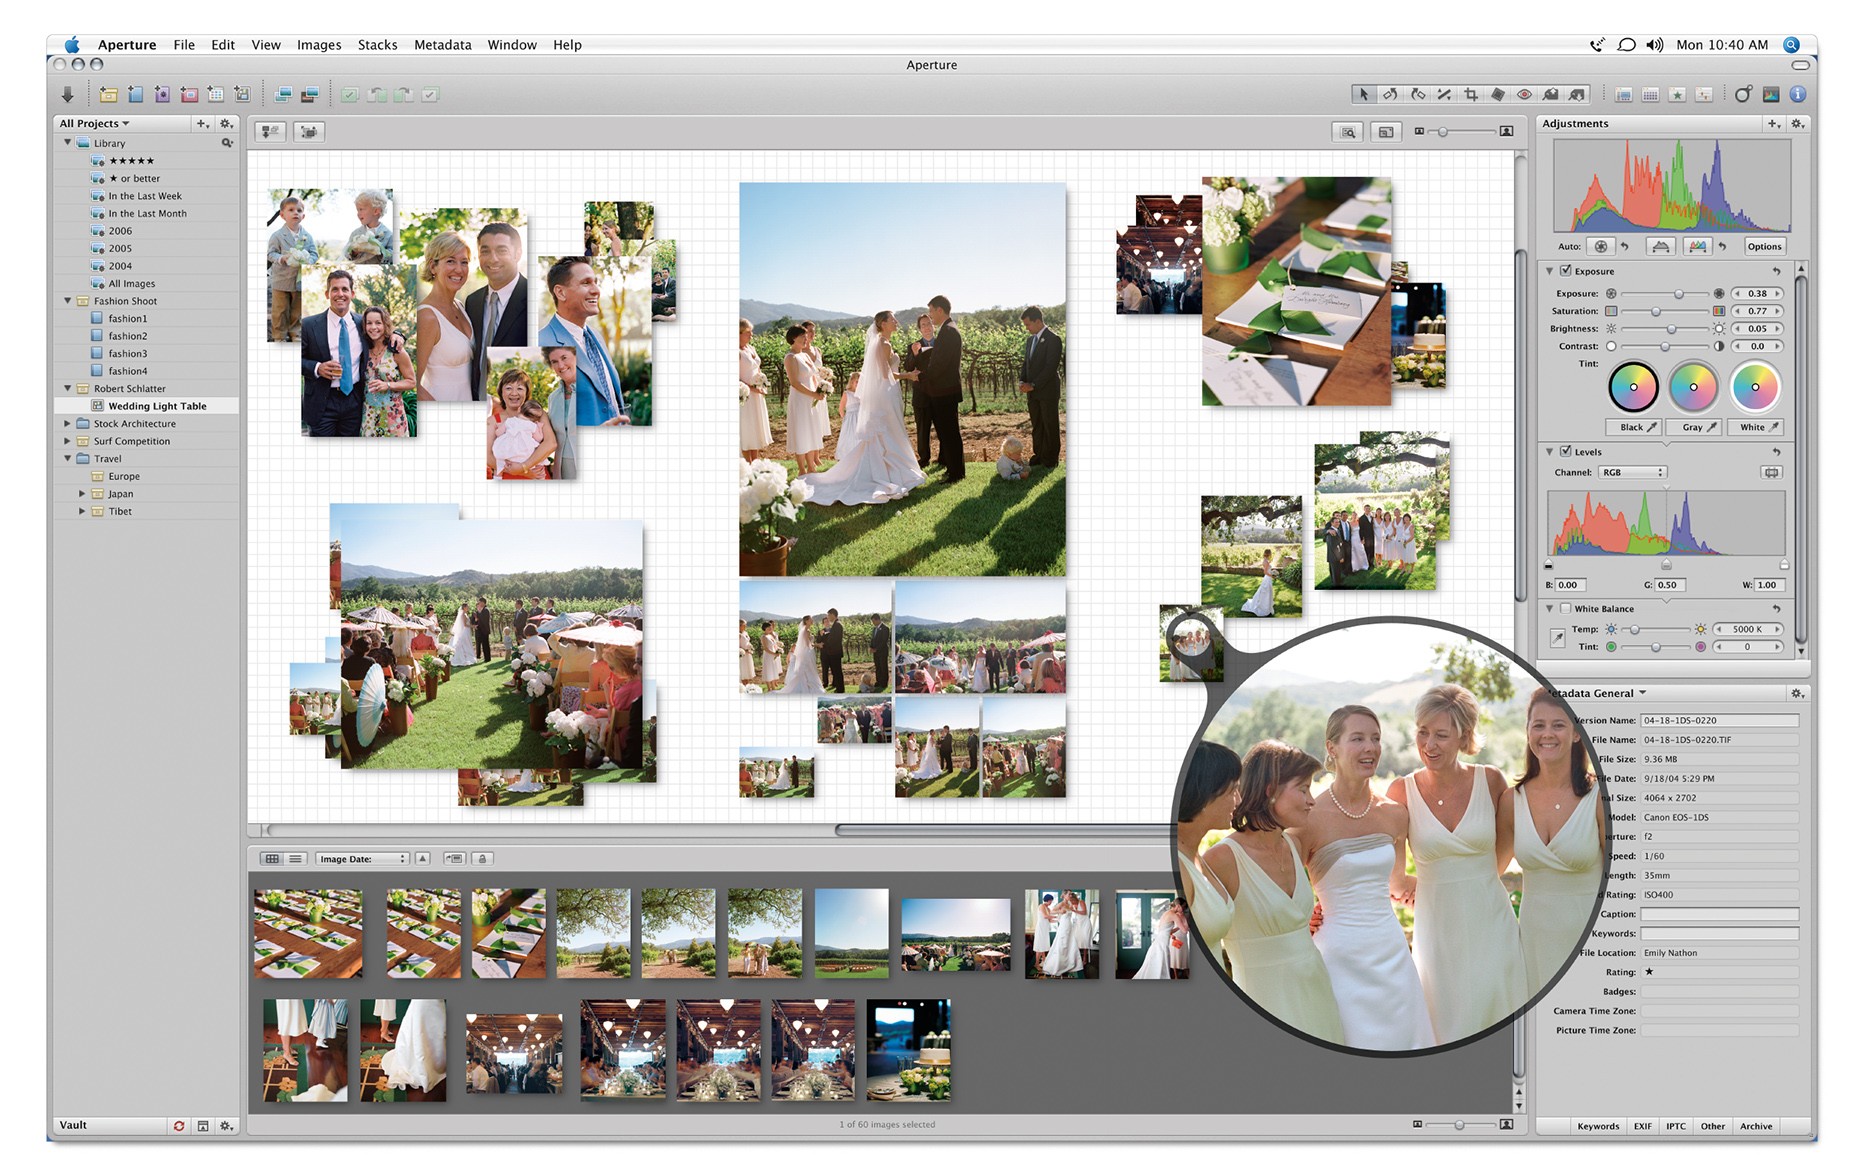
Aperture included traditional organization tools such as albums and folders, and features like the Light Table allowed photographers to recreate more analog workflows. In short, Aperture was designed to let photographers import a mountain of large RAW files, sort them, perform light editing, and then export them to Finder, the web, or prints. If a user needed to carry out additional editing, Aperture included the ability to round-trip an image to Photoshop and back with just a click. If that all sounds like pro-level stuff, it was, and Aperture's $499 price point reflected that fact.
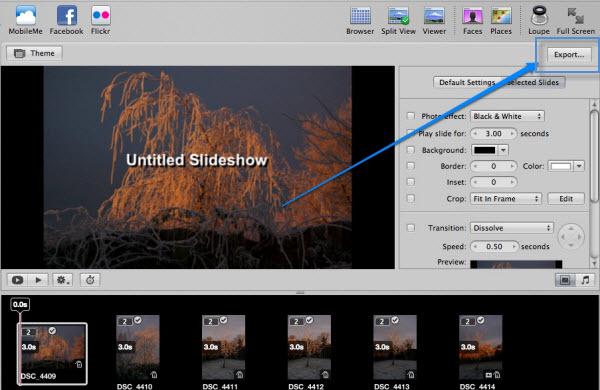
After you complete your slideshow, you can share it with clients and friends. Aperture provides a few simple controls for exporting your slideshow as a movie, in the size and format most suitable for your intended audience. When you're ready to share your slideshow, the first thing you need to decide is how it will be viewed. The Export dialog provides options for exporting your slideshow as a movie suitable for playback on iPhone, iPod, iPod touch, or iPad; as a movie for the web to be posted on YouTube; or as a high-resolution movie compatible with HD 720p or HD 1080p televisions. You can also output your slideshow movie in a custom size. Next, I'll show you how to export and burn Aperture slideshow to DVD.
Part 2: Export slideshow from Aperture
Now that we have known enough about the software itself, let's talk about how to convert and burn Aperture slideshow to DVD. There are actually more than one way to burn Aperture slideshow to DVD, and today we are going to introduce one of the most popular solutions, which is to burn Aperture slideshow to DVD with the professional DVD burning program Leawo DVD Creator for Mac. But before you start burning you slideshow, there is one thing you need to do first, and that is to export your slideshow from Aperture. That is what we are going to start with.
In order to burn Aperture slideshow to DVD, we need to export the slideshow as DVD first.
Step 1: Select a slideshow album in the Library inspector. In the top-right corner of the Slideshow Editor, click the Export button. In the dialog that appears, type a name for the slideshow movie in the Save As field, and select a location to save it to.
Step 2: Choose the viewing platform for your movie from the "Export for" pop-up menu. If you want to export a slideshow movie in a custom size, choose Custom from the "Export for" pop-up menu, choose a codec from the Codec pop-up menu, enter the number of frames per second in the Frame Rate field, enter the width and height in pixels in the Width and Height fields, and choose a compression setting from the Quality pop-up menu. If you want Aperture to send a copy of the slideshow movie to iTunes, select the "Automatically send slideshow to iTunes" checkbox. If you want to be notified when the export process is complete, select the "Show alert when finished" checkbox.
Step 3: Click "Export".
Part 3: How to burn Aperture slideshow to DVD with Leawo DVD Creator
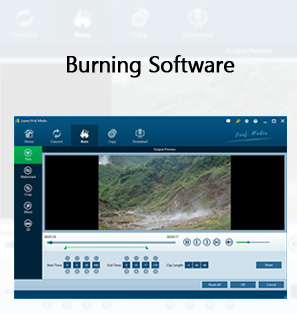
After exporting your slideshow, you need Leawo DVD Creator for Mac to burn the slideshow to DVD. Leawo DVD Creator for Mac is an easy-to-use and powerful DVD burning program for you to create DVDs from all kinds of videos. With the support for Intel Quick Sync acceleration technology, Leawo DVD Creator for Mac is also one of the fastest DVD burning software for users to create a DVD from slideshow without quality loss. Here is the full instruction on how to burn Aperture slideshows to DVD using Leawo DVD Creator for Mac.
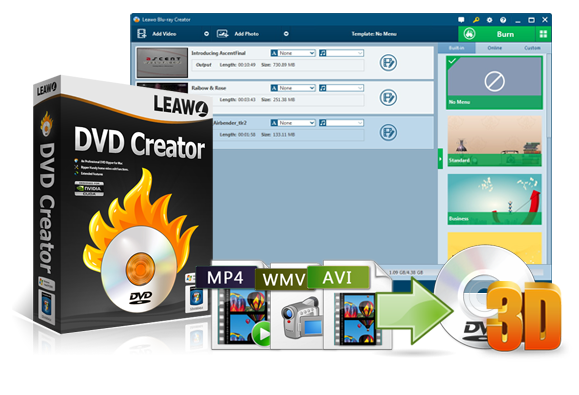
DVD Creator
☉ Convert videos like MP4, AVI, MKV to DVD format fast.
☉ Create DVD-5, DVD-9 disc, folder or ISO image without quality loss.
☉ 1-click operation to create photo slideshows and burn to DVD.
☉ Easily editable effects, 2D to 3D conversion support.
☉ Built-in menu templates and edit disc menu with personal preferences.
![]()
![]()
Step 1: Import Video. After you have exported your slideshow to a HD video, download and install Leawo DVD Creator. After entering the program, click the "Add Video" button to load the Aperture Slideshow, or you can directly drag and drop the exported Aperture Slideshow file to the main interface of the program.
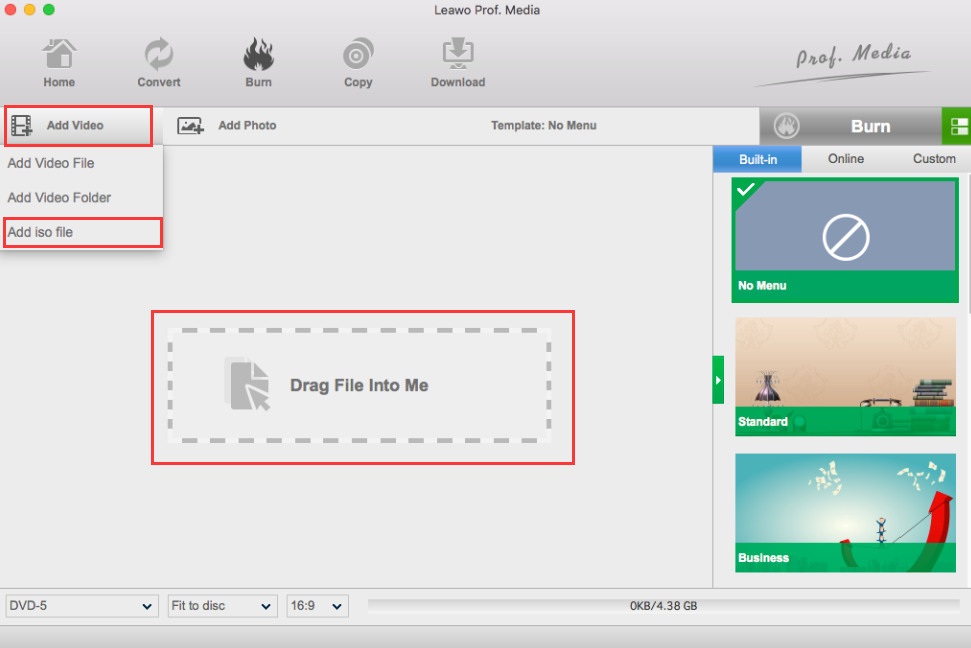
Step 2: Set Disc Menu. On the right side of the interface, Leawo DVD Creator for Mac offers you multiple preset disc menu templates in different themes like Standard, Business, Education, Childhood, Holiday, etc. Moreover, it even allows you to DIY disc menu with your own images and audios. If you'd like to create a disc menu for the output Slideshow, you can choose a template you like and edit it according to your own preference. If you would like your DVD having no menu, just choose the default "No menu" in the template zone.

Step 3: Settings before DVD burning. After finishing setting disc menu, click the green "Burn" button on the top right and a burning settings panel will pop up, where you need to set some necessary parameters for the burning like Burn to, Disc Label, and Save to options.
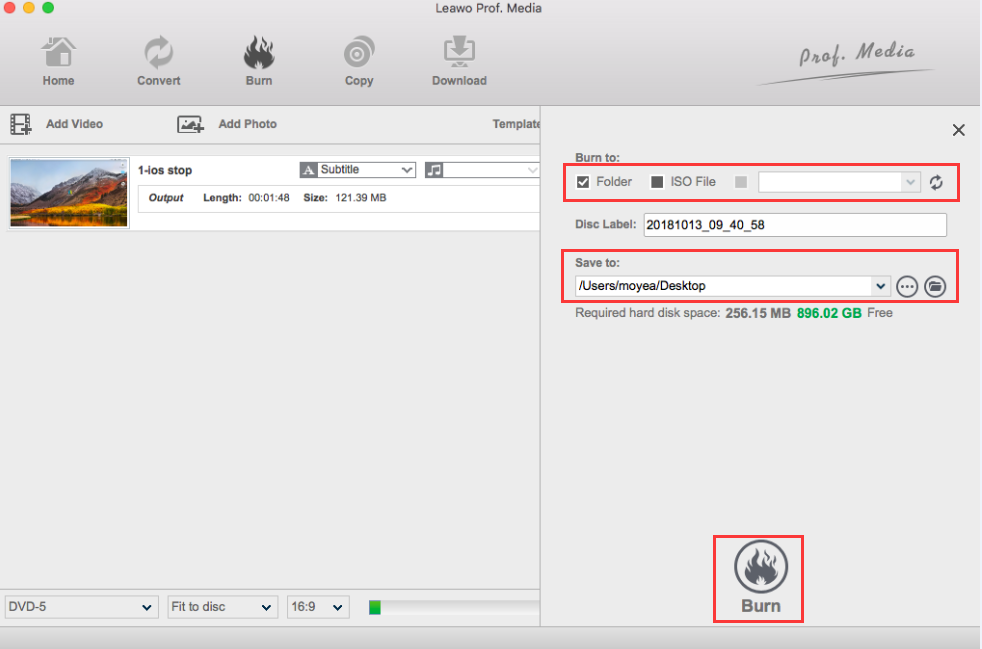
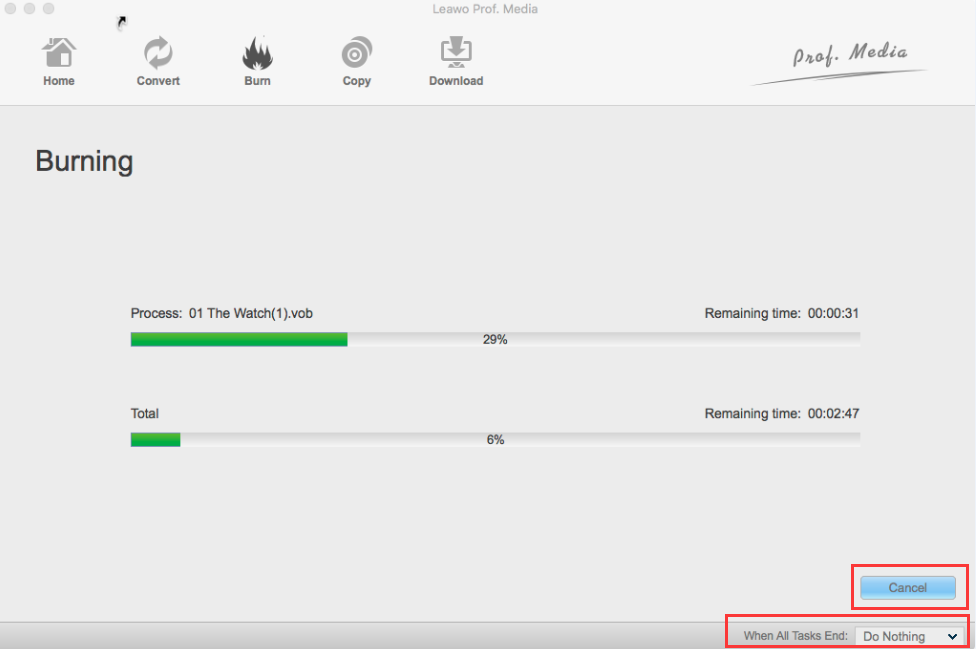
Step 4: Burn Aperture Slideshow to DVD. After you have finished the burning settings, click the "Burn" icon at the bottom of burning settings panel to start to burn Aperture Slideshow to DVD. The DVD Creator will immediately start the burning process and since the photo slideshow won't be too big in size, the burning process will be finished in a short while. Now your photo slideshow should be able to be played on a real DVD player or your TV set.
Part 4: How to directly burn photos as slideshow to DVD
Instead of making a photo slideshow in Aperture and then export it to burn the slideshow to a DVD, you can actually directly create a slideshow DVD in Leawo DVD Creator. Leawo DVD Creator burns not only all kinds of video files to a DVD or DVD disc, but also your photos as a photo slideshow to a DVD disc. You can add background music and transition effects to the slideshow to make a beautiful photo slideshow and then directly burn it to a DVD. It is also easy to operate. Here is how to directly create a photo slideshow in Leawo DVD Creator for Mac.
Step 1: instead of importing videos to the program, directly import the photos that you want to make to a slideshow to the program by clicking the "Add photos" button.
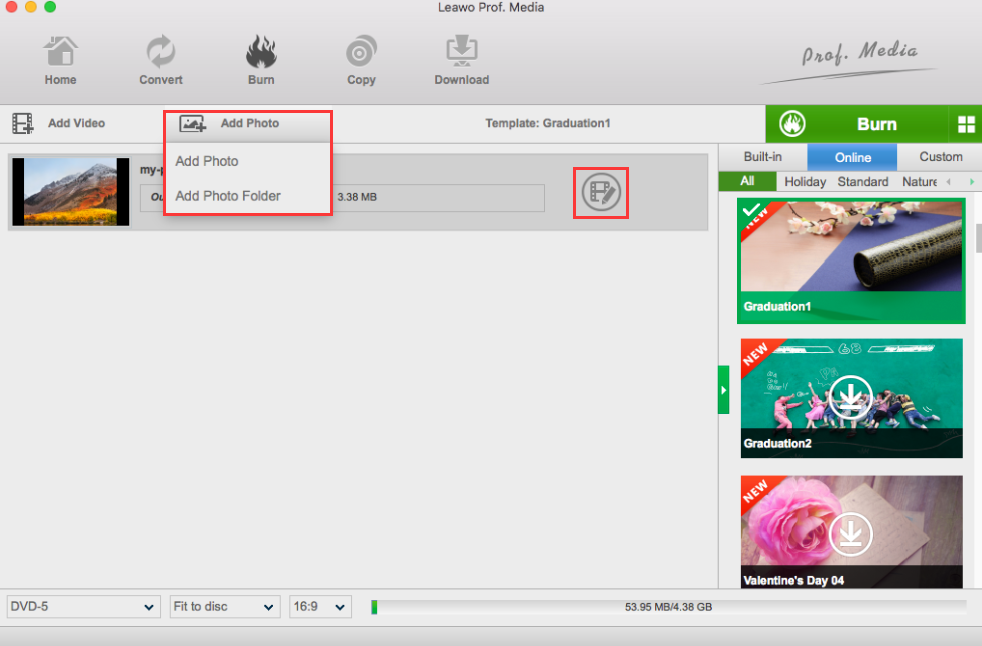
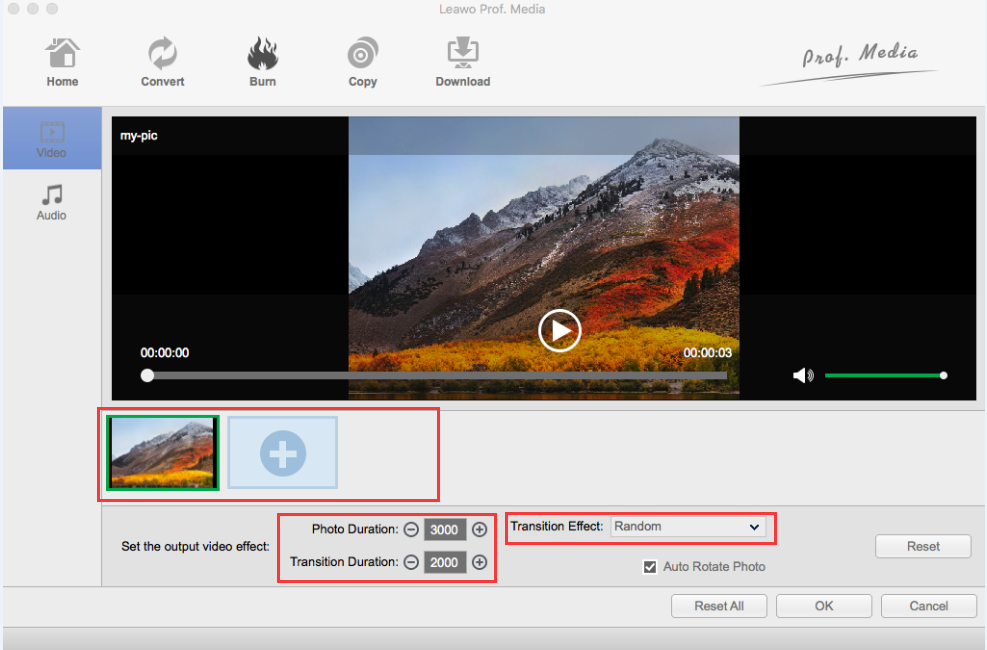
Step 2: Click the edit button on your photos and you can preview your photo slideshow, add background music and set the transition effects. You can also set a menu page like when you are burning a DVD, and the process is entirely the same.
Step 3: Same as you are burning a video, click the "Burn" button, set some parameters and start the burn.
 Sep. 26, 2017 by


 Prof. Media
 Blu-ray Ripper
 Blu-ray Copy
 iOS Data Recovery
 [12/29/23] MAX Downloader V15.0.0
 10,000,000 people are using Leawo!
 All Transactions are protected!
 30-Day Money Back Guarantee!