A great feature of iTunes is the wish list, which allows users to buy the items they desire later. The virtual shopping chat is really useful to save some items for users and can be available from the iTunes media library. You can take advantage of it to manage all purchases from iTunes Store. Let’s see how to add songs to your wishlist on iTunes or create one wishlist for your convenience. You can also check out how to purchase from iTunes wish list and the method to transfer music from Mac to iTunes in the following contents.
Part 1: How to Make a Wishlist on iTunes or How to Add Songs to Wishlist on iTunes App
You can create one wishlist of items you want to buy from iTunes Store later. You will not be charged until you buy an item. This is really convenient for you to consider well to make a good decision to buy the item you are really keen on. However, do you know how do you add songs to your wishlist on iTunes or how to create one? This problem can be solved with the assistance of the steps shown below.
1. Open iTunes app on Mac and then sign into it with your own name and password.
2. Go to iTunes Store to find the item you desire to buy and then click it to enter into the interface of its detailed information.
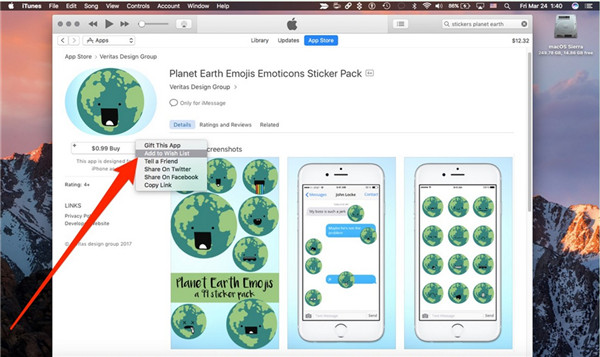
3. Beside the price of the item, you can see an arrow icon. Click on it to choose “Add to Wish List” from the drop-down menu. Thus, you can create one wish list. If you want to add more items to the wishlist, you can make use of the above-mentioned steps according to your demands.
Part 2: How to Buy Songs on iTunes Wish List
You do not have to pay one penny for the items that stored in the wishlist until you want to buy them. As for how to purchase wishlist on iTunes, the steps are very terse. Have a look at the following introductions and you will know why do I say so.
1. Just take the question of “how do I buy songs from my wishlist on iTunes” for instance, and you need to enter into the homepage of iTunes Store on Mac.
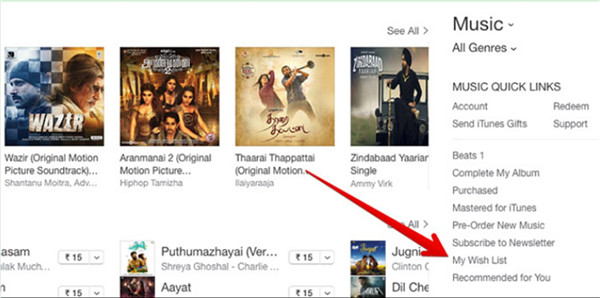
2. Click on “Music” tab and then find the option of “My Wish List” in this interface to tap on.
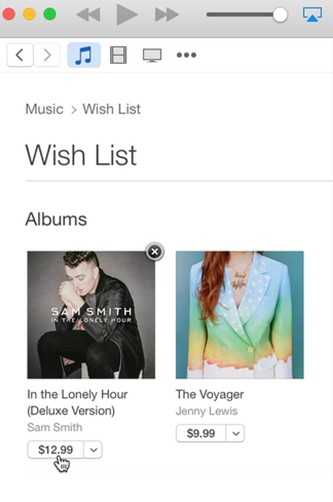
3. After that, you can find the item in the iTunes wish list and click on the price button to pay for it.
It is not a difficult task to settle how to find wishlist on iTunes once you created one. It is just in the interface of your item category. When you find the wishlist, to fix how to purchase songs on iTunes wish list will be a piece of cake for you to handle.
Part 3: How to Fix iTunes Wish List Not Showing
Many users have encountered the issue that when they open iTunes Store, the wishlist has gone and they contacted Apple Company service for help, but the only response is to recommend them create a new one and add their desired items once again from iTunes Store.
Until now, there is still no good method to fix iTunes wish list not working. When it disappeared, you can only try to add them back once again. In case this error occurs, you can keep a screenshot of the items in the wish list of iTunes beforehand. Thus, when it has some issue, you can find the previous items back much more easily. This is the only trick that I can offer to you in case you need.
Part 4: How to Transfer Non-purchased Music to iTunes on Mac via iTransfer for Mac
Now you have understood the solutions to fix iTunes wish list issues, you can continue to have a look at how to transfer non-purchased songs from Mac to iTunes for you to enjoy on other iOS devices for free. There are various tools that can help you to get rid of some transfer issues, but Leawo iTransfer for Mac stands out for its gorgeous functions and user-friendly interface. You can make use of it in daily life to assist you to cope with different kinds of problems that are relative to transfer. Let’s check out right now.
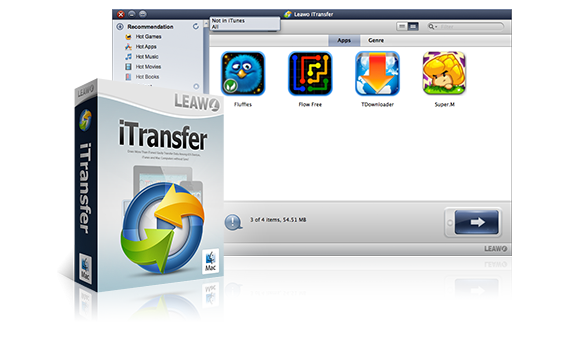
Leawo iTransfer for Mac
☉ copy files among iOS devices, iTunes and PCs with ease.
☉ copy up to 14 kinds of data and files without iTunes.
☉ Support the latest iOS devices like iPhone 7, iPhone 7 Plus, etc.
☉ Play back, view, and delete data and files on iOS devices.
Step 1. Open iTransfer for Mac
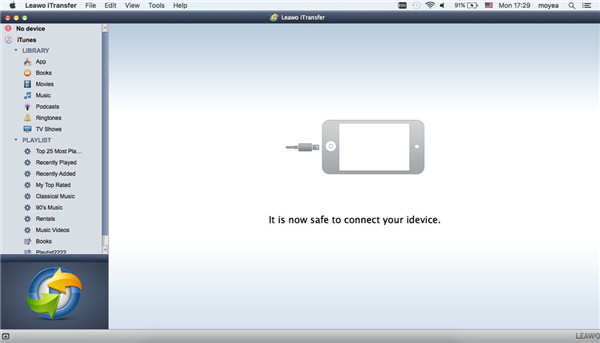
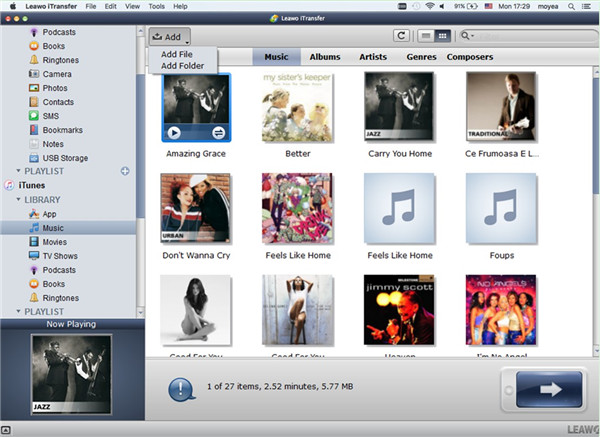
On Mac, you need to run iTransfer for Mac and then you can see iTunes icon in the left side of the interface. As for Mac to iTunes transfer, there is no need for you to connect iDevice to Mac and iTransfer for Mac will detect iTunes items automatically.
Step 2. Transfer Non-purchased Music to iTunes
Find “LIBRARY> Music” tab under iTunes icon to click on and then all iTunes music will show in the right part of the screen. Afterwards, you can hit the “Add” button in the window and choose “Add File” or “Add Folder” to click on. When you find the non-purchased music items on Mac, you can hit “Open” button to initiate the transfer procedure. A percentage bar will show you the detailed rate of progress. Only in a few seconds, this process will end, and Mac music will be accessible on iTunes.
It is no exaggeration to say, iTransfer for Mac is the most efficient transfer program that I have ever met. You can get it from its official website and it will surely become a good assistance tool for you.

