Last updated on 2023-05-23, by
[Solved] Airdrop Failed to Save Item Save to iCloud Drive Instead
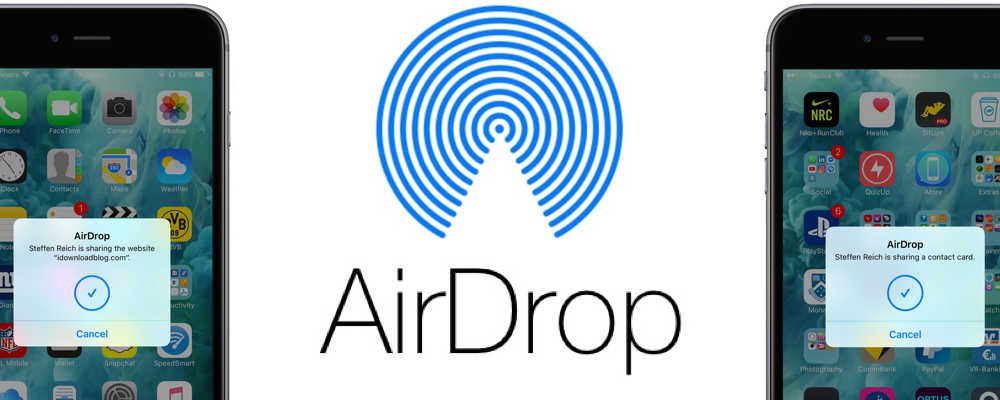
Once upon a time, sharing files with other people would mean a lot of copying and pasting, and fumbling around with USB sticks. But now things have changed completely owing to AirDrop, the same job can now be accomplished in just a few seconds. With AirDrop, you can complete all these things with ease. What is AirDrop? AirDrop is a handy feature built-in to iOS and macOS that allows users to directly transfer files. Undoubtedly, AirDrop is popular with all sorts of users, from teenagers who use it to share innocent memes in public places like concerts and festivals, to professionals who AirDrop significant information to each other across the office.
Menu
Part 1: Which devices and file types are supported by AirDrop?
Obviously, AirDrop plays an important role in our daily life and work. But not all the people know which kind of devices and file types it supports. Read on for more useful information. AirDrop supports documents, photos, videos, websites, map locations, and more... Then what kind of devices are supported by AirDrop?
To share between a Mac and an iPhone, iPad, or iPod touch, make sure these devices and operating systems can meet the needs mentioned below:
Mac from 2012 or later (excluding the mid-2012 Mac Pro) using OS X Yosemite or later
iPhone, iPad, or iPod touch using iOS 7 or later.
To share between Mac computers, both computers should be one of the models we list:
MacBook Pro introduced in late 2008 or later, excluding the MacBook Pro (17-inch, Late 2008)
MacBook Air introduced in late 2010 or later
MacBook introduced in late 2008 or later, excluding the white MacBook (Late 2008)
iMac introduced in early 2009 or later
Mac mini introduced in mid 2010 or later
Mac Pro introduced in early 2009 (model with AirPort Extreme card) or mid 2010
iMac Pro (all models)
Part 2: How to fix "Airdrop failed to save, use iCloud storage instead" issue?
Unfortunately, however, while we are utilizing AirDrop, we may have some problems, for instance, “airdrop failed to save item save to iCloud drive instead”/”airdrop failed to save use iCloud storage instead”. What should we do to tackle such kind of issues. In the post, we will divide the problem “airdrop failed to save item save to iCloud drive instead” into two sections: transferring audio and transferring video.
Tip 1: When transferring audio
If you intend to transfer music between iPhones via AirDrop, it makes sense. But if you are attempting to copy audio files from MacBook Pro to iPhone using AirDrop, Apple won’t allow doing that. To get audio files from MacBook Pro to iPhone, you have to try iTunes. In Part 3, we will show you how to complete the task.
Tip 2: When transferring video
If the video you transfer is an exported file from final cut, you need to go to the exported file, and change the video codec section to H.264. If it does not work, you may try to convert you your original video file to the .mp4 format. It could be helpful. If you do not know any good video converter, try Leawo Video Converter. Leawo Video Converter allows users to convert video to various formats like MP4, MOV, MKV, FLV, F4V, AVI, etc., to extract audio content from source video content and save as MP3, AAC, AC3, etc.
Part 3: Alternative ways to transfer files from Mac to iPhone without AirDrop
Above, we have solved the issue ”airdrop failed to save item save to iCloud drive instead”, which is a bit complicated and time-wasting. However, is there exist other kinds of means that we can share files from Mac to iPhone without Airdrop? Hereby, we've collected three of the best ones for your perusal.
△ 1. Using iTransfer to transfer files from Mac to iPhone
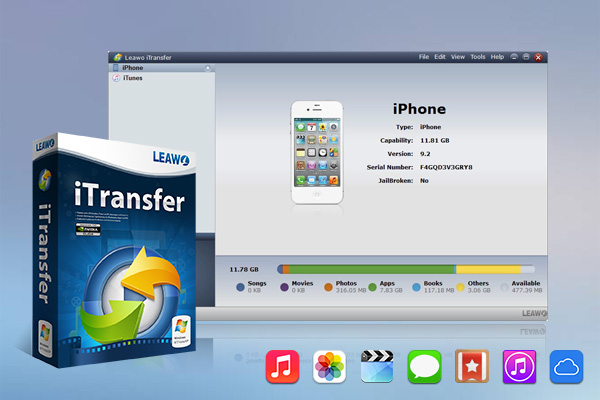
As a piece of multifunctional iPad, iPod and iPhone transfer software, Leawo iTransfer for Mac is used for transferring various kinds of files like music, videos, apps, etc. with no any data loss among iOS devices, iTunes and Mac computers. With this powerful tool, you will find it convenient to backup iPhone, iPad and iPod data to Mac computer. In addition, Leawo iTransfer for Mac offers more functions and higher security assurance than iTunes, and will definitely help you get rid of the sync of iTunes. After you use iTransfer, I am sure, you will not encounter the trouble of “airdrop failed to save use iCloud storage instead”.
-
Leawo iTransfer
- Transfer files among iOS devices, iTunes and PCs with ease.
- 6x faster than iTunes
- Transfer up to 14 kinds of data and files without iTunes.
- Support the latest iOS devices like iPhone 14, iPhone 14 Pro, etc.
- Play back, view, and delete data and files on iOS devices.
- Support Windows & Mac OS
Step 1: Connect iPhone to Mac
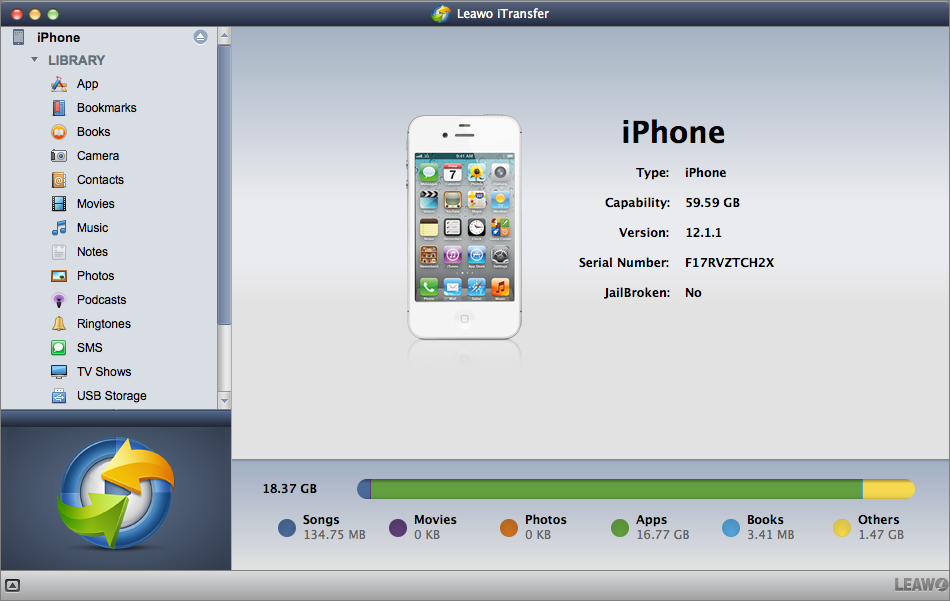
Download iTransfer in your Mac, then connect iPhone to Mac with a USB cable. When you launch iTransfer, it will detect your device automatically. Later, you can notice the information of your iPhone shows on the center of interface. At the left sidebar of the interface, the LIBRARY and PLAYLIST in your iOS device will be listed there accompanied with the LIBRARY and PLAYLIST of iTunes.
Step 2: Add files or folder to iTransfer
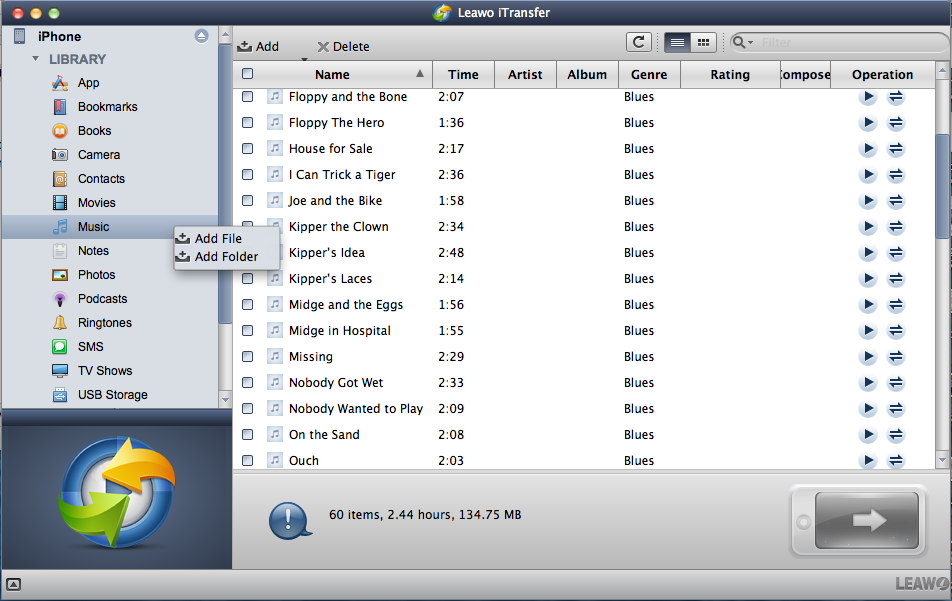
To add files or a folder from Mac to iOS device, Under the LIBRARY option, right-click any type of files, such as the music you want, then there will pop up a menu with “Add File” and “Add Folder” options.
Step 3: Choose desired files to transfer
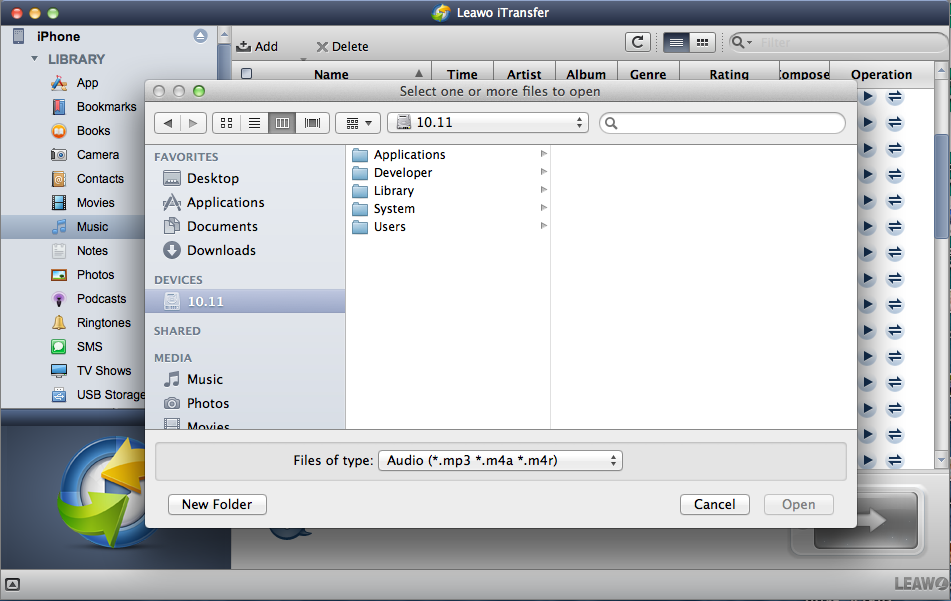
After you click “Add File” or “Add Folder” option, browse and choose the files that you prefer to add in the pop-up window.
Step 4: Transfer files from Mac to iPhone without AirDrop
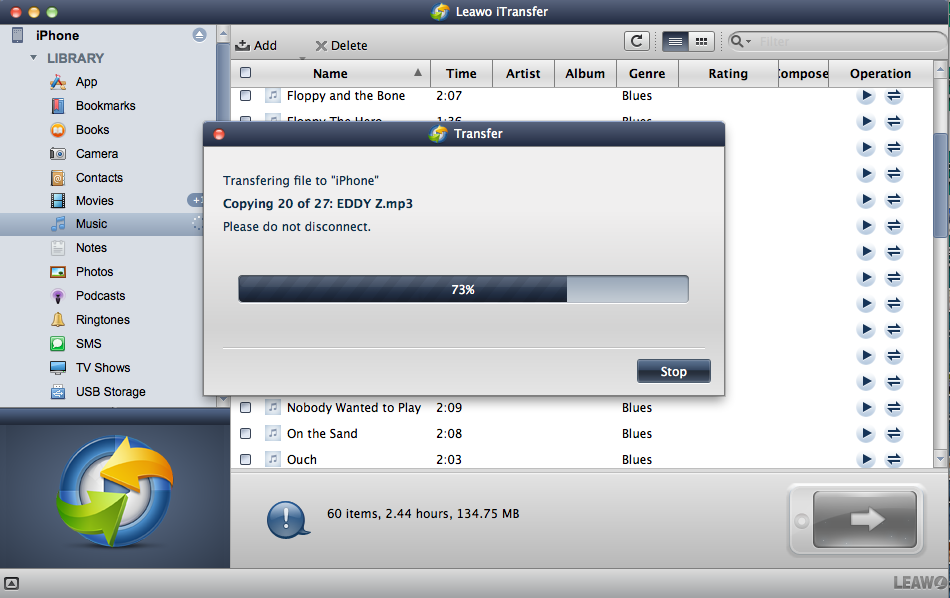
When you select and add files to the software, a dialog of transfer process will appear to show you the percentage of the transfer. Not long later, you will successfully transfer files from Mac to iPhone without Airdrop, but iTransfer instead.
△ 2. Using AirShareUp to transfer files from Mac to iPhone
To avoid “airdrop failed to save item save to iCloud drive instead”, you may want to try AirShareUp. As a free family file sharing app service, you can use it to upload photos, videos and music files from your device to PC or download photos, videos and music files from PC to your handsets. Both local files but and videos and photos in your iCloud Photo Library can be shared and backed up with this wireless file sharing app. Besides, there's also the auto-backup feature to help you back up your photos and videos to the server automatically when connected to the server.
Step 1: Download and install the server program on your Mac first and use it as the server for connecting all other devices around the household.
Note: Make sure all the devices, including the server, have to be connected to the same network.
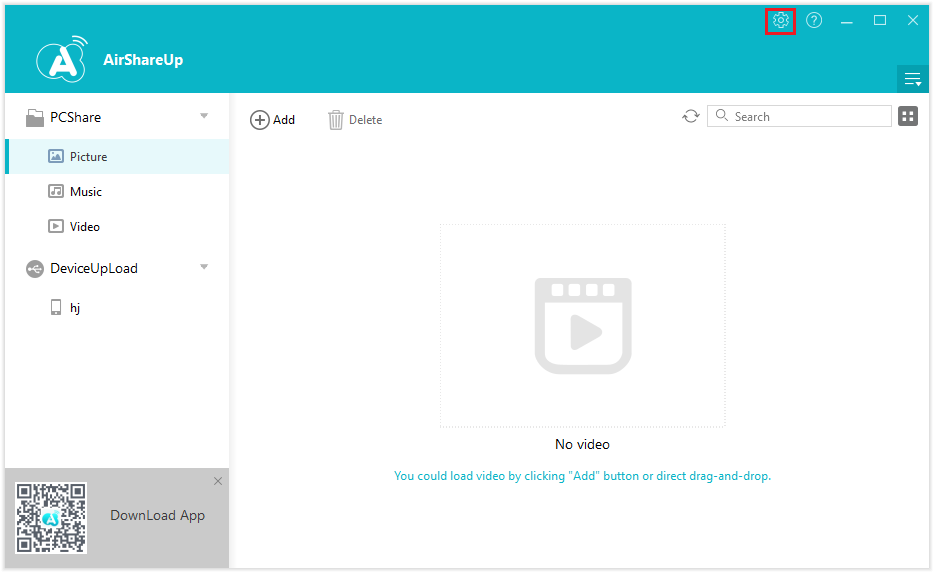
Step 2: After you get into the main interface, click “Settings” in the top right-hand corner. The DeviceName is the name of your Mac as well as the server. You can set a password for connecting to the server.
Step 3: Under “Basic settings” on the left side of the Settings dialog box, click “Transfer settings”, there is a default File Location to store all the shared and backup files.
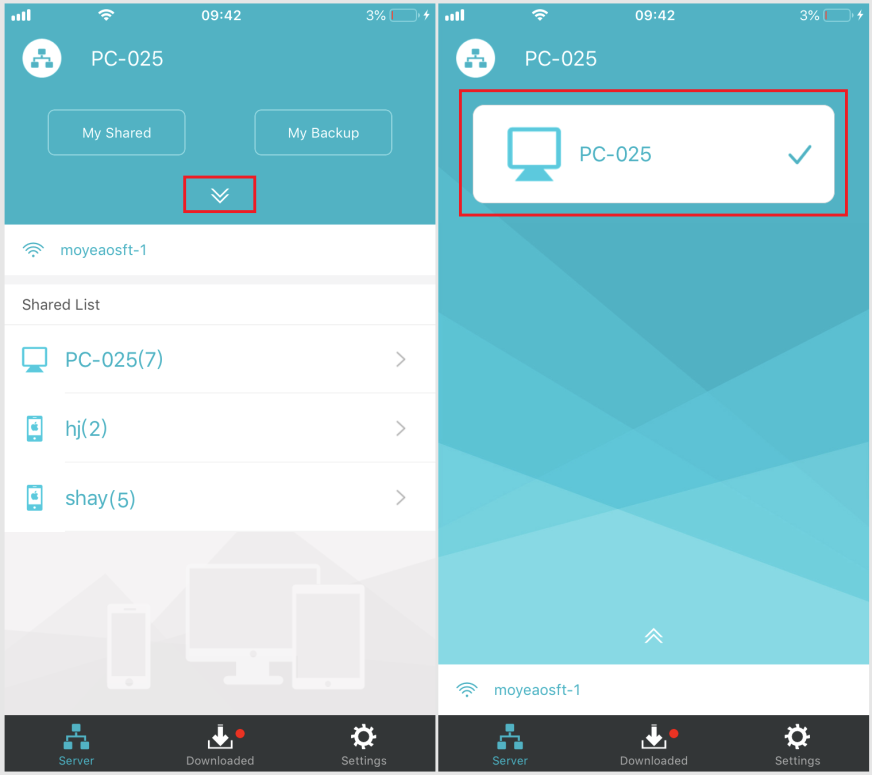
Step 4: Connect to the Wi-Fi network that your server is in and launch AirShareUp on your iPhone. In the main interface, touch the downward triangle button and you will notice the name of the server. Tap on it to connect to it.
Step 5: After connecting successfully, you can find the server under Shared List. Tap on the devices to check out the music it’s currently sharing. To download the media files to your device, all you need to do is to tap on the “Download” button on the file.
△ 3. Using iTunes to transfer files from Mac to iPhone
With iTunes, you are able to transfer files from Mac to iPhone, follow your favorite artists and friends, and discover the music they’re talking about, listening to, and downloading. iTunes puts your entire music and video collection a mere click away, giving you an all-access pass to thousands of hours of digital entertainment, streaming over 50 million songs, ad-free. Or download albums and tracks to listen to offline. In all, iTunes is home to everything that entertains you, as well as the best way to organize and enjoy the music, movies, and TV shows you already have.
Step 1: Download the latest version of iTunes in your Mac. If you have got one, just ignore the step. Then Open iTunes on your Mac.
Step 2: Connect your iPhone to your computer using the USB cable that came with your device. Mac will detect iPhone automatically later. Click your device in iTunes.
Step 3: After getting into the iTunes interface, on the upper left corner, in the main panel of the iTunes application, and then click on “Movies”.
Step 4: Go to File > Add File to Library. A file selector will open allowing you to browse and select the file you want to add to your iPhone. Once done, the video will be imported to your iTunes library.
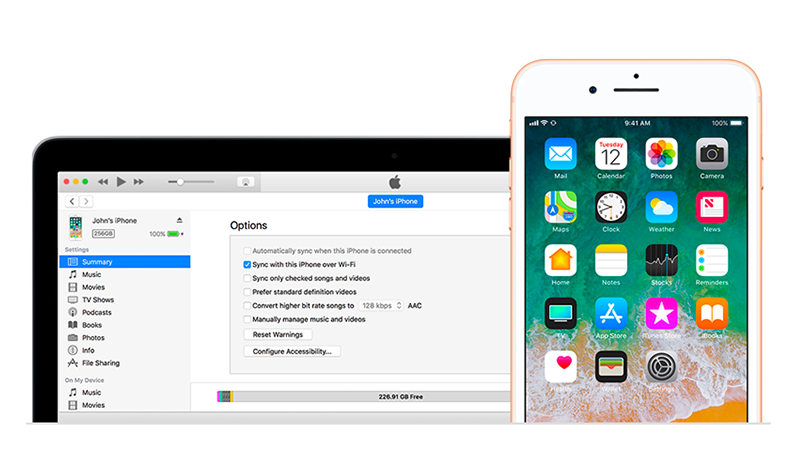
Step 5: Check the small box next to “Sync Movies” and then check mark all the movies that you want to transfer to the iPhone.
Step 6: Finally, once the selection has been made, click on the “Sync” to start the transfer process. Therefore, the files you selected will be added to your iPhone with ease.
Nothing feels more futuristic than using AirDrop to instantly beam pictures, audios and videos to others while you’re out and about. There’s no file size limit, no setup, no software to install, and no password to memorize. When you get stuck with “airdrop failed to save use iCloud storage instead”, you can try the ways we introduce. If you reckon these methods complicated, you may be willing to try the alternative ways, which are also powerful and convenient.


 Try for Free
 Try for Free

