
Have you ever picked up your iPhone to discover the message "iPhone is disabled" and to "try again in 1 minute" or to try again 5, 15, 60 minutes? If your iPhone has been disabled, it is completely locked down. The only way you'll be able to use it again is by restoring it using iTunes or iCloud. If you have a backup, you'll be able to recover your data, but this process will delete everything that is stored on the iPhone. Except for the following four ways, there is no other way to unlock a disabled iPhone.
Method 1. Using iTunes
If your iPhone is disabled, the only way to unlock it is to completely erase and reset it. If you have a backup, you'll be able to restore it, otherwise you'll lose all of your data. There is no way to unlock a disabled iPhone unless you use the correct passcode or you erase it. And the following guidance will show you how to unlock a disabled iPhone with iTunes.
Step 1. Connect your iPhone to the computer with via a USB cable that your iPhone has trusted.
Step 2. Launch iTunes. If you've synced your iPhone with iTunes, then no "enter password" is required.
Step 3. iTunes will automatically sync your iPhone and create a backup file. If it doesn't, you should sync your iTunes and create a backup file manually by clicking "Back up Now" in the Summary window.
Step 4. In the Summary window, you can see the option "Restore iPhone". Click it to reset your iPhone. Once the reset process is complete, you'll be taken through the iPod's initial setup process.
Step 5. Select "Restore from iTunes backup" during the setup process. This will load the backup that you created so that all of your data is restored.

Method 2. Using iCloud Find My iPhone
You can also unlock your disabled iPhone using the Find My iPhone website, as long as your iPhone was registered with your Apple ID and Find My iPod was enabled in the iCloud menu. This will only work if the iPhone is currently connected to a wireless network.
Step 1. Go to icloud.com and log in with your Apple ID and password on your computer.
Step 2. Click Find My iPhone. Then click All Devices at the top of your browser window.
Step 3. Select your iPhone from all the devices listed. Click Erase iPhone to erase your iPhone along with its passcode.

Step 4. Once the reset is finished, you'll be prompted to setup your iPhone as if it were new. You'll be given the option to load a backup if you've made one in the past. Use the Setup Assistant on your device to restore the most recent backup of your device.
Method 3. via Recovery Mode
If you can't restore your iPhone using the iTunes method above because you're prompted for a passcode, or you've never used your iPhone with iTunes before, you'll need to put your iPhone into Recovery Mode. This will allow you to restore it without needing the passcode.
Step 1. Disconnect all cables from your iPhone and turn it off.
Step 2. Press and hold the Home button and connect your device to iTunes. If your iPhone does not turn on, please turn it on manually.
Step 3. Continue holding the Home button until you see the Connect to iTunes screen. iTunes will remind you that it has detected your iPhone in recovery mode.

Step 4. Click OK. The Summary tab in iTunes appears. Click "Restore iPhone" and restore your iPhone.

Step 5. Once the restore process is complete, you'll be prompted to setup your iPod as if it were new. If you have an existing backup, you'll be able to load it.
Recovery Mode will erase all your data and passcode from your iPhone, resetting it to factory defaults. Thus, you'll have brand new iPhone without any personal data after you unlock a disabled iPhone with Recovery Mode. Therefore, please consider carefully whether you need to use this method to fix the issue.
Method 4. via DFU Mode
DFU mode is similar to Recovery Mode, and many users have reported this working when Recovery Mode doesn't. Like Recovery Mode, you won't be able to create a backup before your iPod is restored.
Step 1. Connect your iPhone to the computer with an USB cable and run iTunes.
Step 2. Turn your iPhone off by pressing the Power button on the top of your iPhone.
Step 3. Press the Power and Home buttons at the same time for exactly 10 seconds.
Step 4. After that, release the Power button and keep pressing the Home button for another 10 seconds.
Step 5. When you see a pop-up message from iTunes as follows, you can let your finger pressing on the Home button go.

Step 6. Click "Restore" to begin the restore process. Your iPod will begin restoring, which may take a little while to complete. Once the restore is complete, you can setup your iPod as new. If you have an existing backup, you'll be able to load it, otherwise all of your existing data will be lost.
With the method above, you are able to unlock a disabled iPhone by restoring iPhone. Please note that you need to backup and resore iPhone data from iTunes or iCloud after you finish the operation. Or you will lose all your important data. If you have no previous backup before restoring iPhone, you may need the third-party iPhone data recovery software to help you get deleted files back.
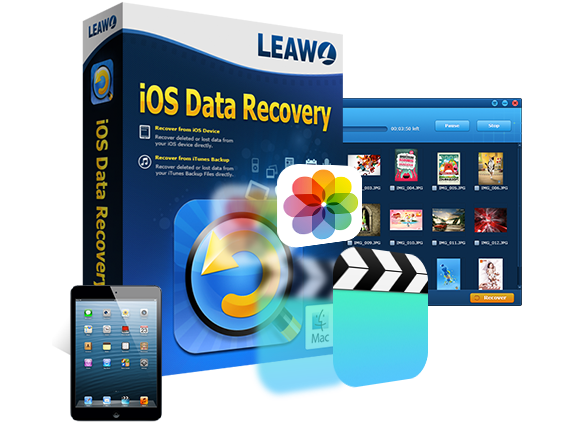
iOS Data Recovery
☉ Recover multiple deleted data directly from iPhone/iPad/iPod touch
☉ Extract and export 14 types of files from previous iTunes&iCloud backup
☉ Back up 14 kinds of data on iOS devices to computer
☉ Recover data lost due to jailbreak, iOS upgrade, deletion, etc.
☉ Support iPhone SE/6s/6s plus, iOS 9.3.4, iTunes 12.4 & Win10
![]()
![]()
 Sep. 07, 2021 by


 Prof. Media
 Blu-ray Ripper
 Blu-ray Copy
 iOS Data Recovery
 [12/29/23] MAX Downloader V15.0.0
 10,000,000 people are using Leawo!
 All Transactions are protected!
 30-Day Money Back Guarantee!