
Converting speed to text, also known as voice to text (VTT), has been a great help in daily life, especially for those people who are busy with their hands, have hand injuries or disabilities, need to improve work or communication efficiency, etc. Speech-to-text converter, or voice-to-text software, or VTT software, is speech recognition technology that turns spoken words into written words. Speech-to-text converter apps have made things easier and simpler, for both desktop and mobile devices. On this page, we would like to share the best and top ways for converting speech to text for free on PC and mobile phones.
OutlineCLOSE
Part 1: Can I Convert Speech to Text on PC Directly?
Many people might be wondering: can I convert speech to text on PC/Mac directly? Quite obviously, the answer is definitely yes. No matter you are using a Windows PC or Mac computer, you could get assistance to convert speech to text directly. Voice-to-text converters are available for both Windows and Mac computers.
It’s quite easy and simple to convert speech to text on Mac/Windows PC. Both Microsoft and Apple have provided a dictation feature for their computer customers. Here 2 speech-to-text converters will be shared in detail for Windows and Mac computers respectively.
Section 1: Convert speech to text on Windows with the dictation function
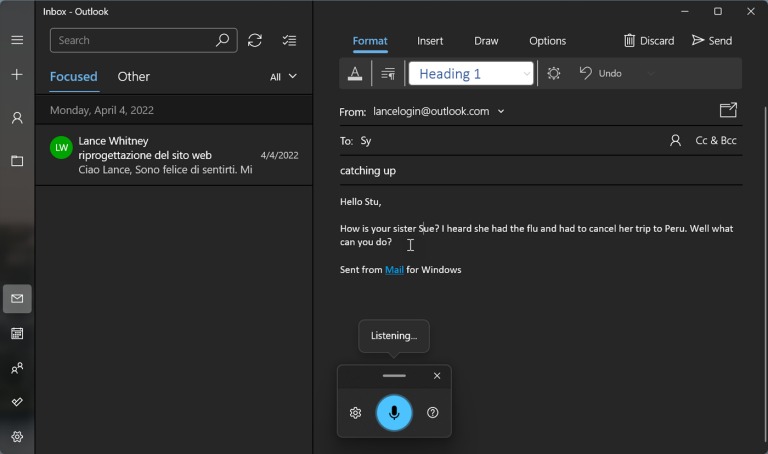
Windows offers a dictation feature that you can use to create documents, emails, and other files using the sound of your voice. Once the dictation is active, you’re able to dictate text as well as punctuation marks, special characters, and cursor movements. Follow the below guide to learn how to use the dictation software on Windows:
Step 1: On your Windows 10/11 computer, open “Settings > Privacy > Speech” and enable “Online speech recognition”.
Step 2: Then, open an application in which you want to dictate text, such as Notepad, WordPad, Microsoft Word, or Mail.
Step 3: To trigger the dictation, press the Windows key + H.
Note:
- When you start speaking, Windows is smart enough to handle certain tasks automatically, such as capitalizing the first word of a sentence. You can then dictate punctuation and start a new paragraph by saying "period," "comma," "new line," "new paragraph," or whatever other action you need Windows to take.
Section 2: Convert speech to text on Mac with the dictation function
If you are using a Mac computer, you could also get a Dictation feature to convert speech to text on Mac. Follow the below steps:
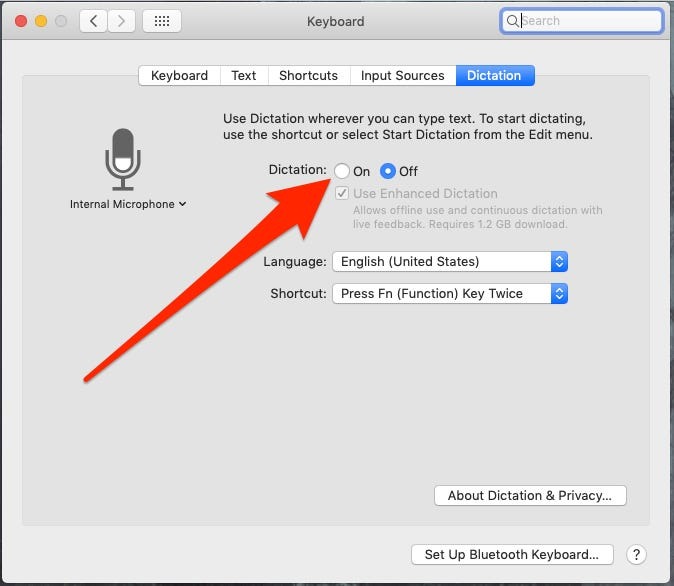
Step 1: On your Mac, choose "Apple menu > System Preferences > Keyboard" to open the "Dictation" tab. Then click On. If a prompt appears, click "Enable Dictation".
Step 2: In an app on your Mac, place the insertion point where you want the dictated text to appear.
Step 3: Press the dictation keyboard shortcut (By default, you press the Fn key twice) or choose "Edit > Start Dictation" option.
Step 4: When the feedback window shows a microphone icon with a fluctuating loudness indicator, or you hear the tone that signals your Mac is ready for keyboard dictation, dictate your text.
Note:
- To insert a punctuation mark or perform simple formatting tasks, you could directly say the name of the punctuation mark, such as “exclamation mark”, or “new line” (equivalent to pressing the Return key once) or “new paragraph” (equivalent to pressing the Return key twice). For your convenience, you could check Commands for dictating text.
Part 2: How to Convert Speech to Text with Dictation Extension?
To convert speech to text, besides using the dictation feature built in Windows 10/11 and Mac computers, you could also get multiple dictation extensions. Here we have collected 2 dictation extensions with a detailed guide on how to convert speech to text with these dictation extensions.
Section 1: Convert speech to text with the Speech to Text dictation extension
Speech to Text (Voice Recognition) is a Chrome extension. As its name suggests, Speech to Text is a speech-to-text converting tool that works in your browser without any internet connection. It can recognize a wide variety of languages and related dialects. You could follow the below steps to learn how to download the Speech to Text extension for your Chrome and convert voice to text with it:

step 1: Search for the Speech to Text extension within Chrome extension store. Then click the "Add to Chrome" button to download and add Speech to Text extension to your Chrome browser.
step 2: Open the addon's UI on the Chrome browser and then click the big microphone icon to start converting your voice to text.
step 3: All the captured text is placed in the top text area within the UI. Use the "Ctrl+C" keys to copy the captured text.
Note:
- When the add-on is first started, it asks for microphone permission. Please accept the permission to start working with the add-on.
Section 2: Convert Speech to Text with Speech Recognition Anywhere 365
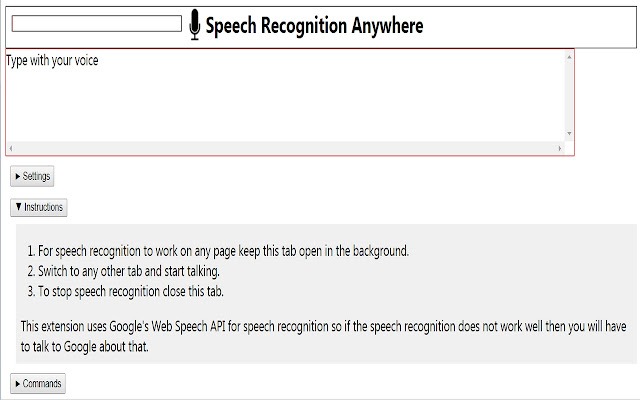
Speech Recognition Anywhere expands the capabilities of the Web Speech API in both Chrome and Edge, in order to allow users to control the Internet or to fill out documents and forms using their voice. A user can use simple voice commands to go to websites or to click on buttons and links. It also works with Google Docs, Microsoft Word Online, Gmail, outlook.com, and more. Medical professionals use it to fill out web-based online medical records.
Follow the below guide to learn how to use Speech Recognition Anywhere 365 to turn voice into text for various purposes:
step 1: Search for the Speech Recognition Anywhere extension within Chrome extension store. Then click the "Add to Chrome" button to download and add Speech Recognition Anywhere 365 extension to your Chrome/Edge browser.
step 2: Click on the extension icon to start it. You could pin it to the taskbar from the extension center.
step 3: Then copy and paste the generated text via Ctrl+C or even voice commands like “copy what I said”.
With these speech-to-text converters, you could not only generate text from voice but also command your computer to do what you say.
Part 3: How to Convert Speech to Text with Phone Apps?
If you are using a mobile phone and would like to turn voice to text on your mobile phones, you also get quite a few speech-to-text apps for phones. Here we have collected 2 speech to text converter apps for mobile phones.
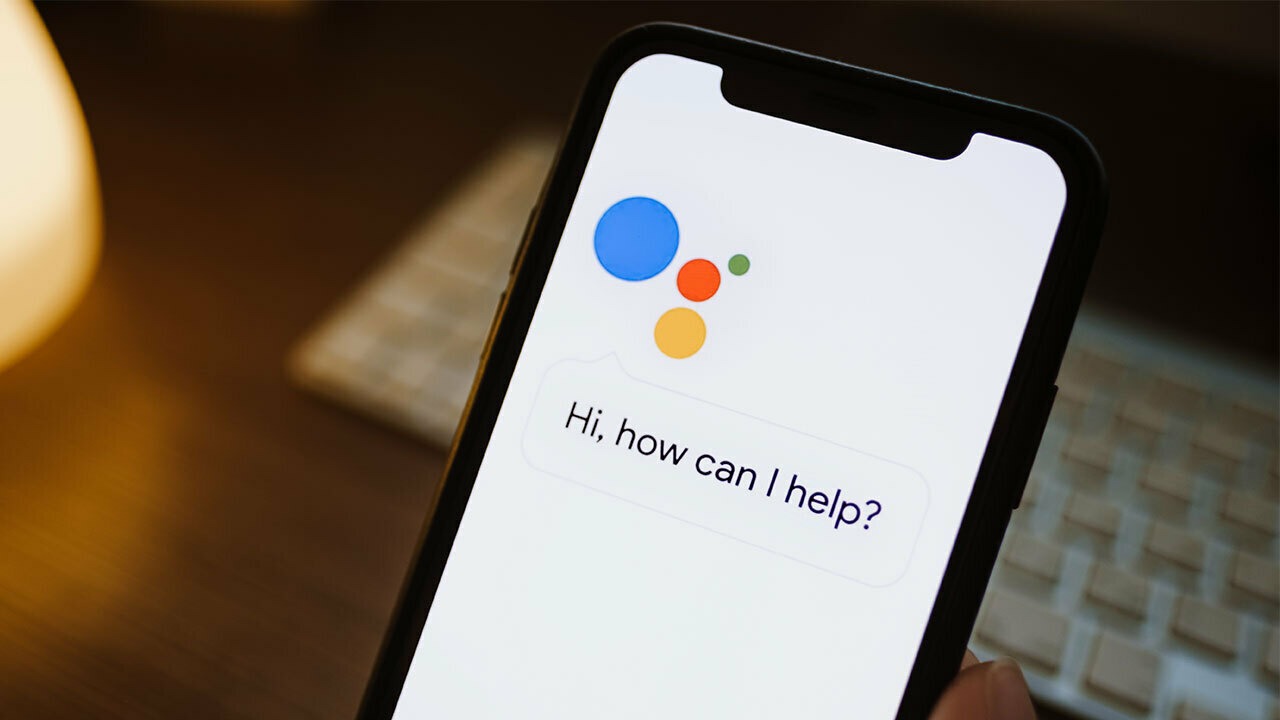
◎ 1. Google Assistant
Google Assistant is your personal assistant and includes many helpful features, including speech-to-text applications. Google Assistant can search for things for you, adjust your smart home’s temperature and lighting, and send text messages. Google Assistant integrates with mobile devices, smart speakers, smart displays, your car, TV, laptop, and smartwatches.
It’s easy to convert speech to text with Google Assistant:
Step 1: On your Android phone or tablet, install Gboard.
Step 2: Open any app that you can type with, like Gmail or Keep. Then tap an area where you can enter text.
Step 3: At the top of your keyboard, touch and hold the Microphone. When you see "Speak now," say what you want written.
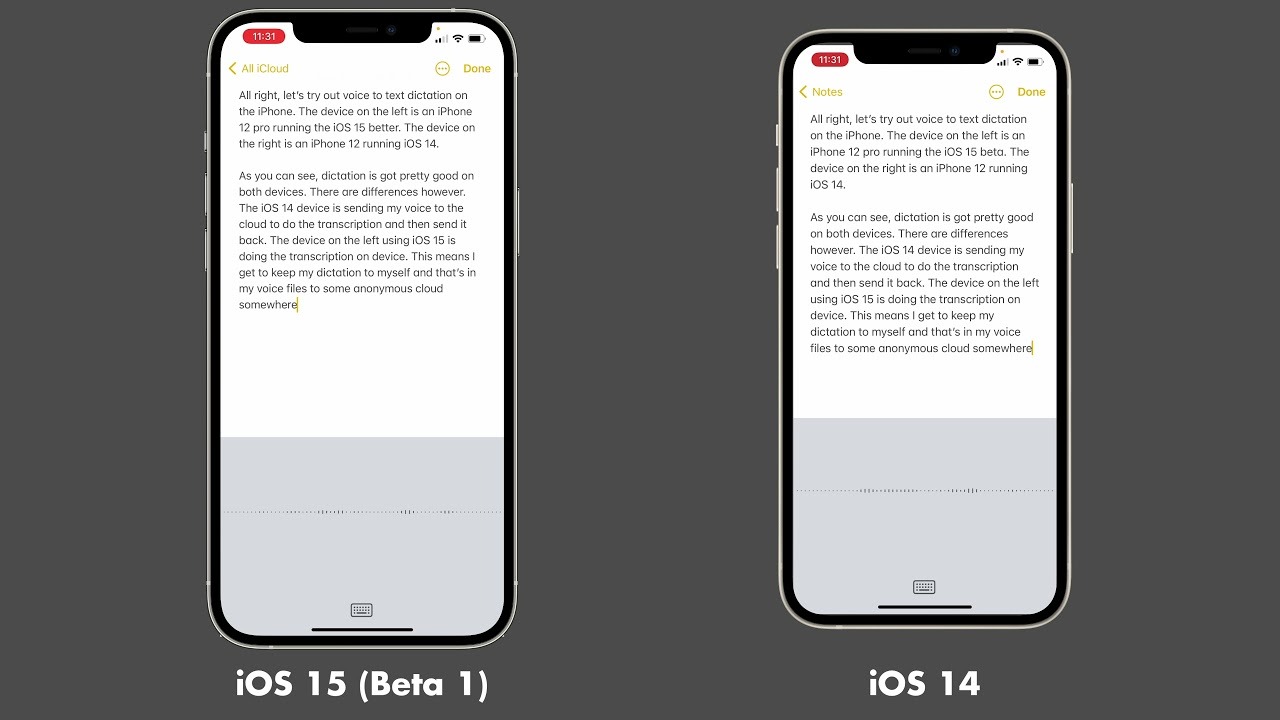
◎ 2. Apple Dictation for iOS
Apple Dictation is a versatile, accurate speech-to-text app built into iPhone 6s or higher and iPads. It can be used without an Internet connection and offers a high accuracy rating. In addition, this app has impressive customer reviews and features great punctuation and formatting tools that we haven’t seen with many speech-to-text apps. With a few basic punctuation and formatting commands, you can format and add punctuation, like periods, commas, dollar signs, quotation marks, colons, and much more.
You could follow the below steps to learn how to turn voice to text on iPhone and iPad with the Apple Dictation feature:
Step 1: On iPhone or iPad, go to "Settings > General > Keyboard" tab to turn on "Enable Dictation" option.
Step 2: Whenever you open an app that allows for dictation, there will be a microphone icon. Tap the microphone to dictate your message.
Step 3: When you want to go back to typing, tap the keyboard icon.
Like its computer version, iPhone and iPad Dictation also has quite a few commands like "quote...end quote", "new paragraph", "new line", "winky", etc.
Tip: Transfer Data Among iPhone/iPad/PC
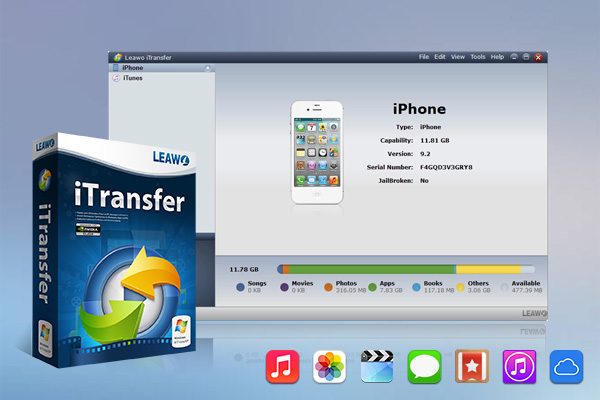
Sometimes you might want to transfer the generated text from your computer to iOS devices or vice versa, or between your iOS devices. Apple has introduced iTunes and iCloud to help you do this. However, iTunes is very complicated to operate while iCloud requires login with the same Apple ID between various iOS devices for data transferring. Therefore, we would like to recommend you the best iOS data transfer tool - Leawo iTransfer.
Leawo iTransfer provides perfect solutions for iPhone transfer, iPad transfer, and iPod transfer issues. It can be used for transferring many kinds of files among iOS devices, iTunes, and PCs. Leawo iTransfer is helpful for backing up iPod (touch) files, iPhone, and iPad to a computer. It makes the iPod, iPhone, and iPad, as flash drives so that users can put anything they want into their iOS devices. Moreover, Leawo iTransfer allows users to manage the playlists of iOS devices and iTunes within the software.
-
Leawo iTransfer
- Support the latest iOS devices like iPhone 14 series, all models of iPad Pro, iPod Nano3/4/5/6/7, etc.
- Backup and transfer photos/music/contacts/SMS between iOS devices/iTunes and computer.
- Manage iPhone/iPad/iPad files without limits.
- Finish the data transfer task rapidly and safely without data loss.
It’s quite simple to transfer audio files between iPhone and computer with Leawo iTransfer. Download and install Leawo iTransfer on your computer first, and then follow the below guide:
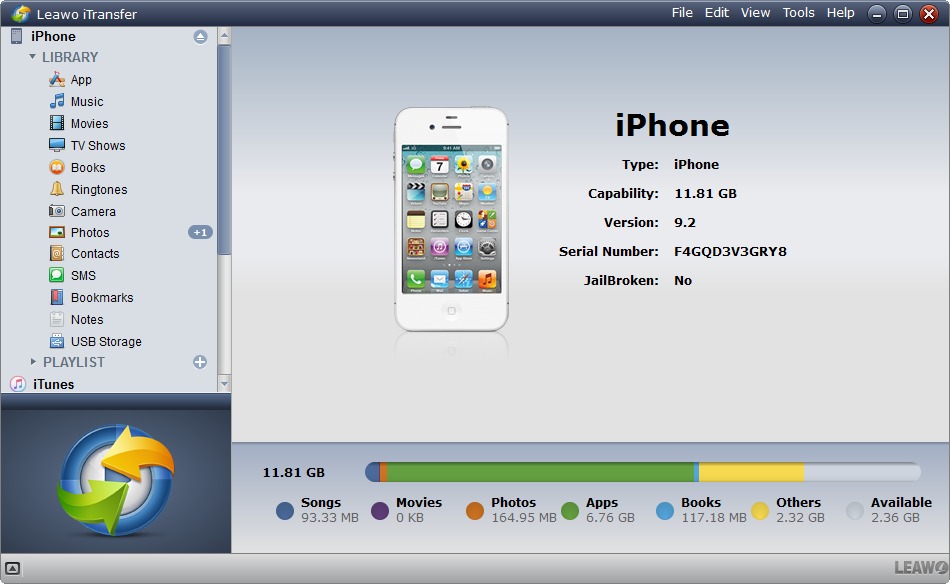
Step 1: Connect iPhone/iPad to Computer.
When you have connected iPhone/iPad to computer, the software will show detailed information about the iPhone/iPad. The library and playlists of iPhone will show in the left sidebar accompanied with the library and playlists of iTunes.
Step 2: Choose files to transfer.
Successively open the "iPhone > LIBRARY" tab and then choose one you want to transfer on the right panel. Check the square checkbox beside Name to select all files, then right-click the selected files and choose "Transfer to > My Computer".
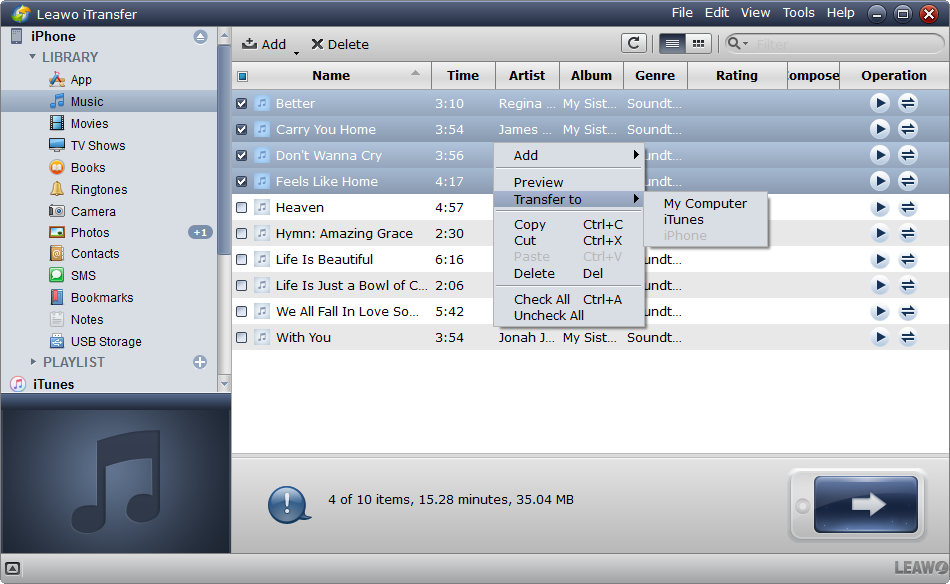
- Plus, if you want to transfer files from computer, just click “File > Add > Add File/Add Folder” option at the upper right corner to browse and transfer the data.
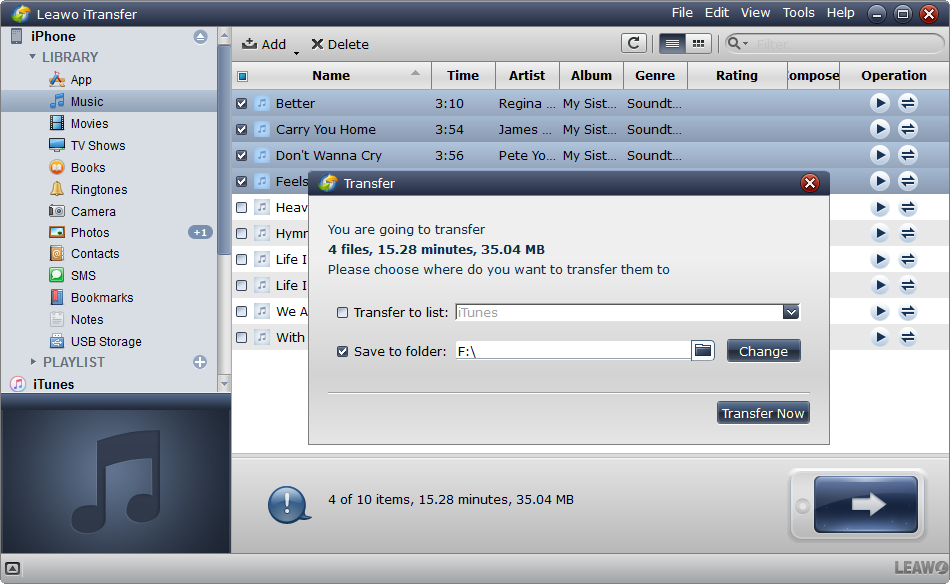
Step 3: Select folder to transfer data.
After choosing files for transferring, The dialog of transfer settings will pop up after the files are selected. Check "Save to Folder" and click "Change" to choose a target folder on your computer to save the files. Then click "Transfer Now" to transfer iPhone/iPad files to computer. The transferring will last for a few seconds depending on the size of files.
 Aug. 03, 2023 by


 Prof. Media
 Blu-ray Ripper
 Blu-ray Copy
 iOS Data Recovery
 [12/29/23] MAX Downloader V15.0.0
 10,000,000 people are using Leawo!
 All Transactions are protected!
 30-Day Money Back Guarantee!