Nowadays, more and more people have the needs on photo manipulation. As one of the best photo manipulation software, Photoshop should be the first one jumping into our minds. However, it requires high learning cost. If you have no idea on what the tools exactly about and how to use them, you will be stuck and give up this software soon. Luckily, more and more software are provided for beginner on the market. Among them, Leawo PhotoIns can be called the most eye-catching one, for it can enhance photo quality automatically with AI technology. There is even no requirement on operation. What you need to do is just import your photo and then wait for the photo manipulation result. Furthermore, if you don’t like to install photo manipulation software on your computer, then you should take online photo manipulation software in consideration. This post will introduce Photoshop, Pixlr and PhotoIns for three photo manipulation software in each field. Read on to learn more.
Menu
Part 1: Photoshop Photo Manipulation Tutorial
As an incredibly powerful photo edit and design software, Adobe Photoshop has included a lot of professional features and functions to edit and enhance photos. Even if you may not be a professional graphic designer, you may have already heard of Adobe Photoshop a lot. Without any doubts, Adobe Photoshop can be able to handle with all kinds of photo tasks for business and personal uses. But if this is your first time to use Photoshop, you may be totally confused about the main processing screen. However, in this post, some important Photoshop tutorials would be listed below to help you to handle with this tool in an easy way. You can find that learning how to use Photoshop would be easier than you think. In order to further understand how to use Photoshop in the better way, here several useful tools would be introduced below and then more explanation would be listed. You could get started from the following useful tools and manipulation tutorials.
△ 1. The Layer Tool
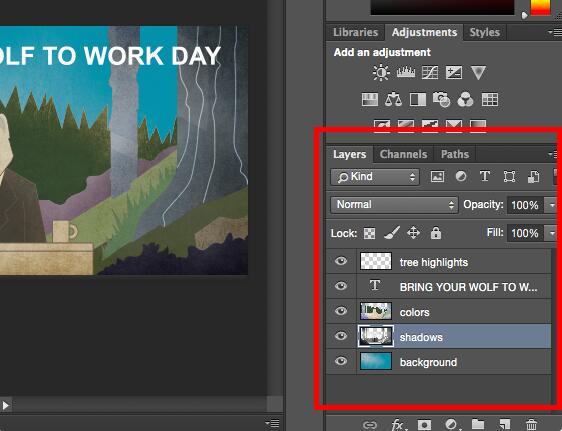
As an image processing software, Photoshop turns the "selection" into an independent entity, namely "Layer", which can be processed separately without any influence on the original image. There are no image parts in the layer. It is transparent. For example, it seems to cover a picture with a glass plate, and then make a picture on the glass plate. If you are not satisfied, you can modify it on the glass plate at any time without affecting the painting underneath. The glass plate here is equivalent to the layer in Photoshop, and in Photoshop, such a "glass plate" can have infinite layers. You may have encountered such a problem: you have made an image, no matter you choose Save or Save as, you cannot save it in the format you want, such as BMP or JPG, because your image contains multiple layers. As long as you select Save a copy, you can save it as a file in any format.
△ 2. Custom Fonts & The Text Tool
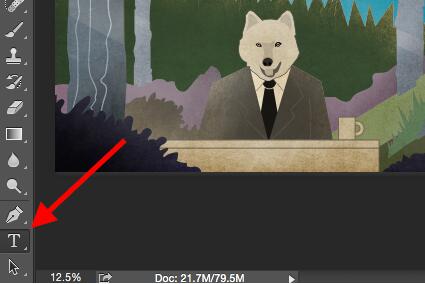
The text tool of Photoshop contains four tools, which are horizontal text tool, vertical text tool, horizontal text mask tool, and vertical text mask tool. The shortcut key of this tool is the letter T. Users can choose the font style you need here, also including the size of the font, the form of the font, the alignment, the color of the font, the adjustment of the text paragraph and so on. The input and adjustment of the text is similar to that in Word, you can try it yourself and it will be clear. The Text tool lets you add custom fonts to your database, and it gives you access to advanced font settings that give your text some serious style.
△ 3. The Select Tool
In order to meet the needs of image production, Photoshop provides us with three selection tools: regular selection tools, irregular selection tools and magic wand selection tools. The rule selection tools include rectangle selection tool, ellipse selection tool, single row and single column selection tool, and the shortcut key is M. You can use Shift+M to switch between rectangle selection tool and ellipse selection tool. Irregular selection tools include lasso tools, polygon tools, and magnetic lasso tools. They are mainly used to select irregular parts of the image. Press the shortcuts Shift+L to switch between the three tools. The magic wand selection tool can determine the size of the selected area according to the pixel of the clicked point and the tolerance value given, of course, the selected area is continuous.
△ 4. The Move Tool
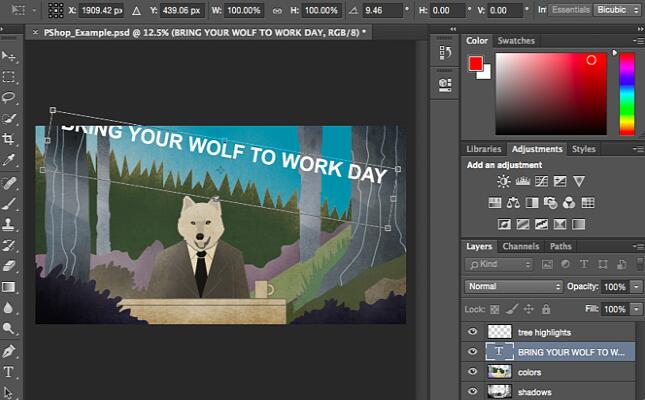
The move tool is one of the frequently used tools in the PS software toolbar. The main function is to move and copy layers, selections, etc., as well as to move, copy, paste, and cut the selected area of the automatically selected image. The main function of the PS moving tool is to move the material on the canvas. The usage is also very simple. After selecting the tool, place the mouse on the corresponding material and hold down the left mouse button to drag. The photo is now in a white canvas once it is moved. Users can use the move tool to drag it to any position on the canvas.
△ 5. The Eraser Tools
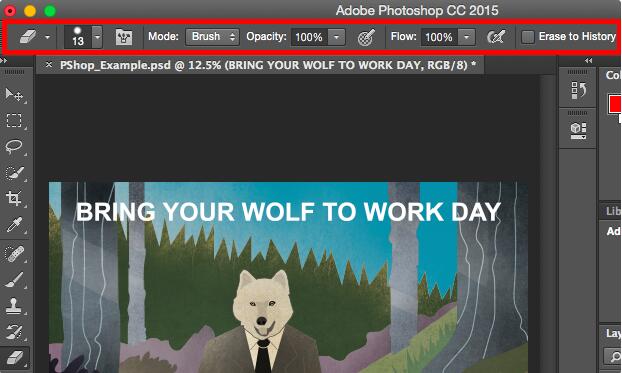
Eraser tools include Eraser Tool, Background Eraser Tool and Magic Eraser Tool. As shown in the Photoshop, this is a set of multi-functional editing tools, which can not only be used to erase unnecessary parts of the image, but also can be used for filling, selecting and other operations. The Eraser Tool is used to erase unwanted images with a background color in an image or selected area. Click the eraser tool in the toolbox, and its property bar will automatically pop up below the menu bar. The usage of Background Eraser Tool is similar to that of Eraser Tool. Both are erased with the mouse, but it deletes the circular area centered on the mouse. Magic Eraser Tool is similar to other eraser tools which can quickly erase the pixels within the specified error range.
△ 6. The Zoom Tool
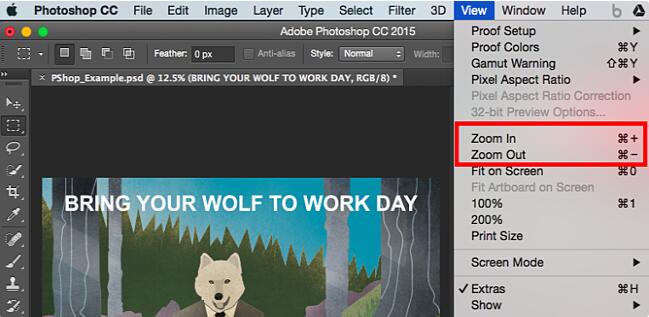
The PS zoom tool is also a very commonly used. Usually users often need to zoom in on the details when drawing, or zoom out to view the full picture. The zoom tool can enlarge or reduce the image according to a certain proportion. Select the zoom tool, then move the cursor to the image and click. Each time you click, the image will be enlarged according to a certain ratio. Click continuously until the image size reaches the appropriate size. Then, hold down the Alt key to switch the zoom tool to zoom out. At this time, click on the image to reduce the image by a certain ratio. Keep clicking until the picture is the right size.
Part 2: Pixlr Online Photo Manipulation Tutorial
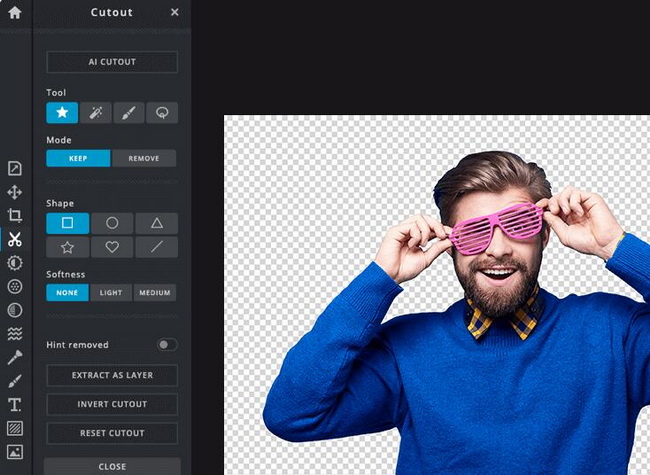
Beside the most famous Photoshop editing program, for some beginner users, some simpler online photo editing software would be more proper for them. Here among various online photo editors, Pixlr should not be missed. Pixlr allows you to design by using the right amount of easy-to-browse photo editing tools to experience the best online image editor built with cutting-edge technology. It can help you find all the basic photo editing tools you need to edit photos online quickly! You can easily crop, resize, cut or delete the background, and even add your own text or customize the text template to use with the text tool. Users can also use popular filters from Pixlr to upgrade your photos to the next level to achieve the desired photo effects. Pixlr is a photo editor for everyone: whether you are a newcomer who has never edited photos or a professional, Pixlr can provide all the tools and special effects you need. It is so easy to get started. Here are some key manipulation tools you can refer to.
◎ 1. Tools and Brushes
In the Tools and Brushes column, it basically includes all the commonly used retouching tools, such as cropping, rotating, sharpening, etc., as well as removing red eyes, double-exposing photos, and everything.
◎ 2. Special Effects
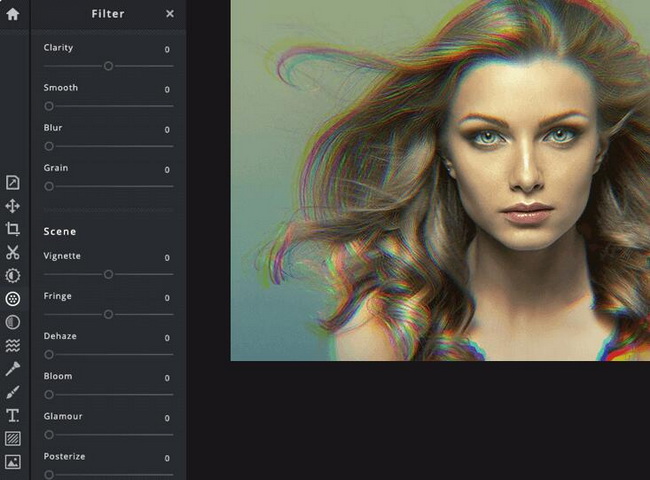
In the Special Effects column, you can not only select various special filter effects, but also superimpose many beautiful negatives to make your pictures unique.
◎ 3. Font and Style
For the function of adding border stickers and adding words to pictures, Pixlr will naturally not fall. You can find corresponding tools in the Border and Text columns. There are hundreds of effects, which are absolutely satisfactory for your requirements.
◎ 4. Image Splicing
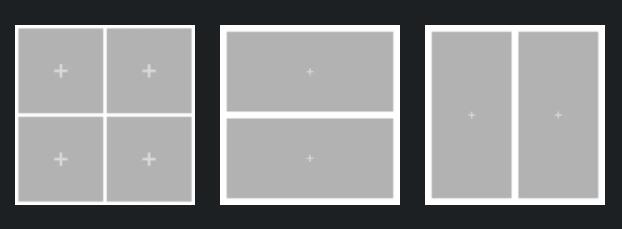
Pixl" even has a multi-picture splicing function, which provides splicing of up to 16 pictures, and can adjust the rounded corners of the pictures, the interval between pictures, etc.
Part 3: PhotoIns Photo Manipulation Tutorial
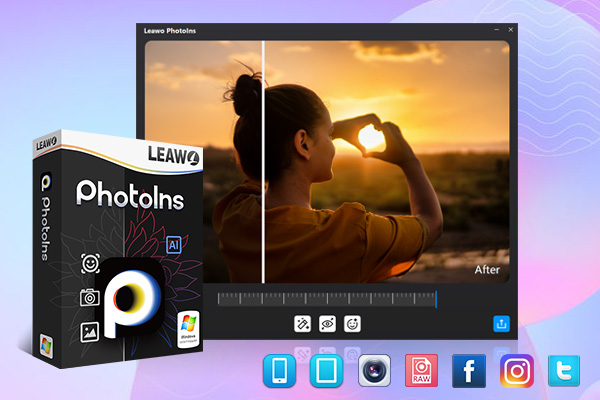
Among the above-mentioned popular photo editors, which one is your preferred one? If you prefer more choices, here Leawo PhotoIns would be the one that you could adopt easily. As a powerful AI enhancer, this program can beautify photos easily, including enlarging your eyes, retouching skin, removing freckles, adjusting lighting, etc. in your portrait photos. No matter how dark or bright your photos are, Leawo PhotoIns can automatically detect these areas instantly and accordingly, some adjustment would be added to make your photos look much more comfortable. Among them, if you have further requirements on the sky photos, this tool would improve these photos in a more vivid way which could optimize colors and tints easily. To put it in a simple way, Leawo PhotoIns could enhance your photos to be looked in the most nature way with the best visual effects. You don’t have to worry about the steps since its simple and easy-to-use interface, which would be one of the best photo enhancers for both beginners and professionals.
Step 1. Download Leawo PhotoIns
Download and install Leawo PhotoIns on your computer.
-
Leawo PhotoIns
- Enhance portrait photos easily with advanced AI technology
- Fix photo exposure and white balance issues automatically
- Optimize photo colors and perfect photo tints
- Make photos perfectly clear with smart dehaze
- Boost photo lighting and color quality
- Process RAW and JPG files
Step 2. Import Source Photos to Leawo PhotoIns
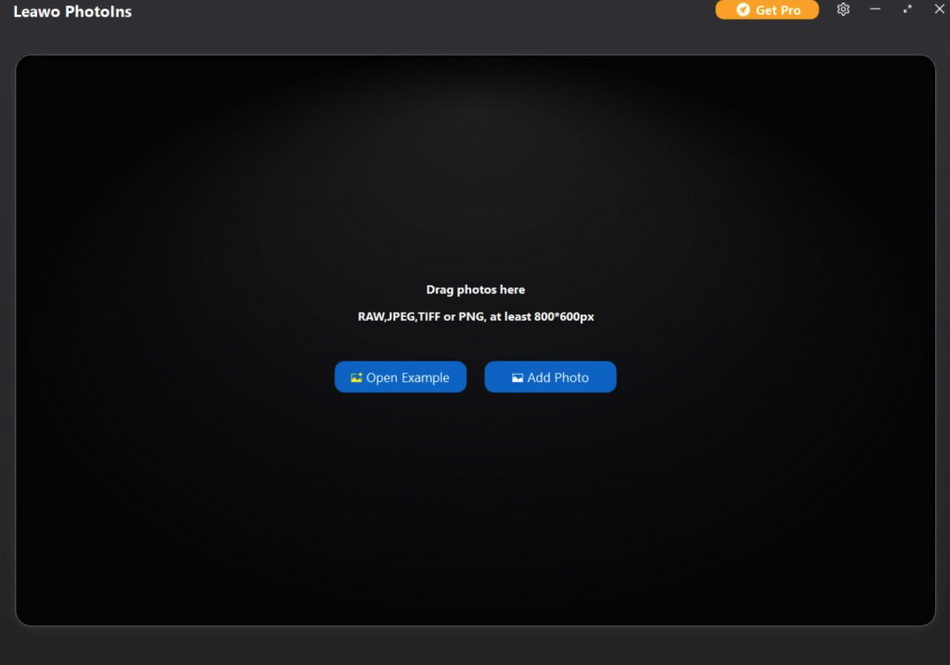
Once you have installed Leawo PhotoIns on your computer, then open it and import source photos you would like to enhance to this program. Enter the main interface of Leawo PhotoIns and you can load preferred photos into the program by clicking the option “Add Photo”. Or you can simply drag and drop your photos to this program directly. By the way, you can also right click on the loaded photos to delete them as you like. Furthermore, Leawo PhotoIns allows users to edit the photos in batch. You only need to click on “Add Files” to load other more photos.
Step 3. Enhance photos
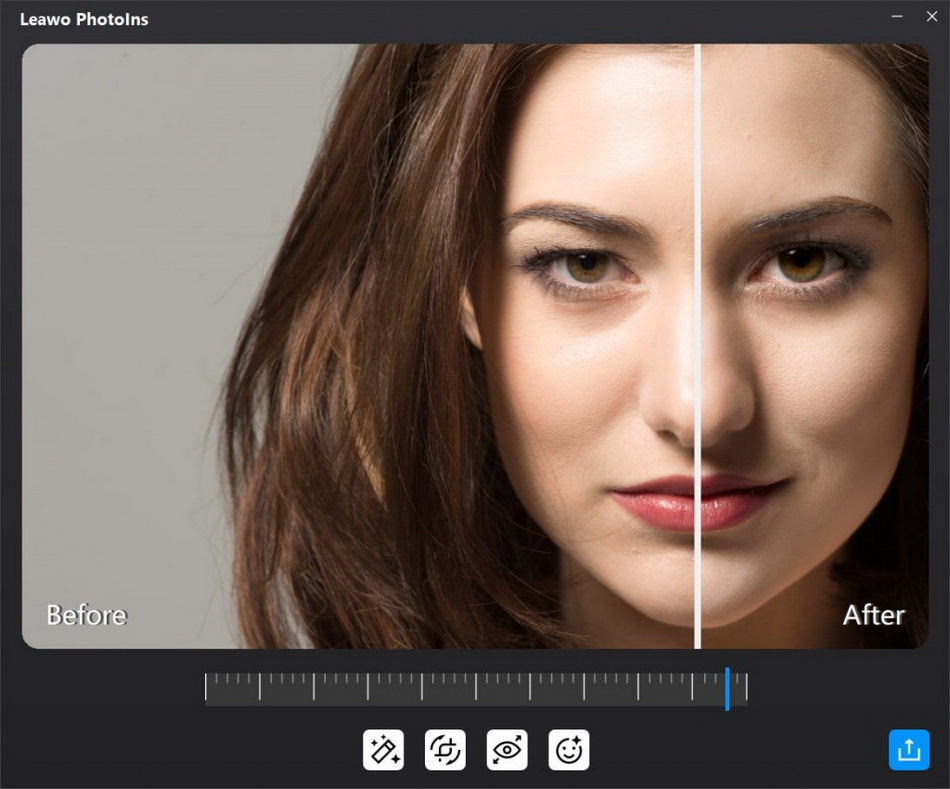
After loading your preferred JPEG photos to the tool, then you can start to enhance the photos. You can click the AI Enhance tab to choose the features, including "Automatic Lens Correction", "Face Enhance" and "Enlarge Eyes". Furthermore, you can find an effect adjuster bar right below the previewer which could allow you to set the degree of each effect.
Step 4. Set output parameters
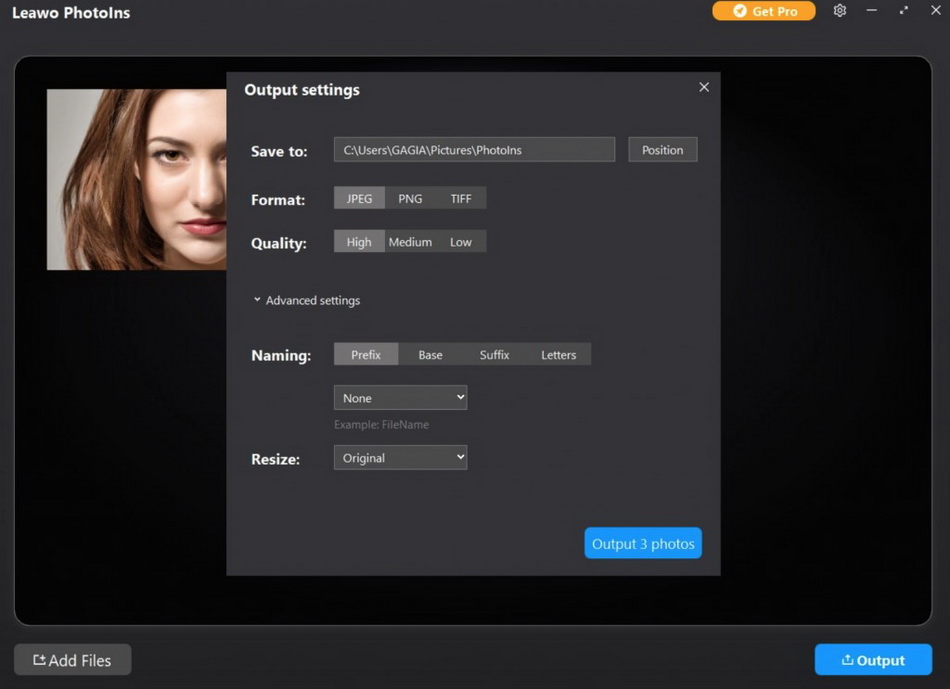
Once you have chosen your preferred effects and you have applied the AI Enhancer to your chosen JPEG pictures, now you need to click the bottom right output icon to proceed for output settings. On the Output Setting panel, you can complete the following things: “Save to” route, “Format”, “Quality”, “Naming”, “Resizing” and so on. Finally, click “Output” to export the enhanced photo to your computer.

