
Sony's Bloggie is the company's series of pocket video cameras. Pocket video cameras are born with the purpose to allow people to carry a high quality video recording device in their pocket. And that's why the size and shape of these pocket video cameras are similar to mobile phones these days. Traditional cameras are gigantic compared to a pocket video camera and it's basically impossible to fit in your pocket. Although you can argue that you can put a traditional camera in a bag, but the portability is no match for a pocket video camera. So as a traditional giant in developing high-end cameras, Sony also rolled out its own series of pocket video cameras. There are a lot of different models under the Bloggie series and people can easily find a suitable camera among all those choices.
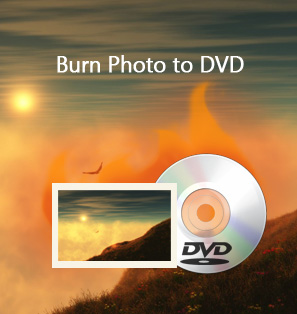
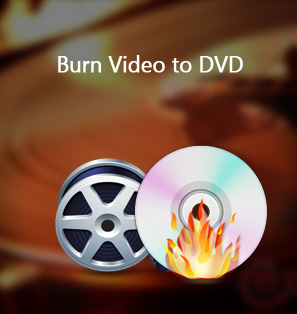
People use pocket video cameras to record life, and the excellent portability of the Sony Bloggie cameras are good choices for the job. After recording videos, burning them to DVD is a good way to preserve them, not to mention you would be able to watch them with your family together on your TV. So if you use a Sony Bloggie camera, check out the content below and see how to burn Sony Bloggie video to DVD.
Find the right Sony Bloggie video to DVD burner
The output format of the video recordings you shoot with the Sony Bloggie is MP4, so if you want to burn Sony Bloggie video to DVD, just find an MP4 to DVD burner and it’ll be able to do the job for you.
To save you from the trouble of looking for a Sony Bloggie video to DVD burner online, I would just go ahead and recommend to you Leawo DVD Creator. It's a high quality video to DVD burner that can burn videos in 180+ formats to DVDs easily. The developer of the software, Leawo Software, is a well-known multimedia processing software developer with a number of prestigious Blu-ray processing programs like Leawo Blu-ray Ripper and Leawo Blu-ray Copy. With that being said, you won't have to worry about the quality of the DVD as you've got a top-notch program to help you burn the Sony Bloggie video.
Note that Leawo Software integrate DVD Creator with several other media processing programs and now it's inside a program package called Prof.Media. It's now an individual module in this package and other module won’t affect how the DVD Creator works.
![]()
![]()
How to transfer the Sony Bloggie video to computer
Before we start the video burning process, let's first learn how to transfer the video recordings from the Sony Bloggie camera to your computer. If you are using the Sony Bloggie camera for the first time, you should take a look at this. But if you've already known how, then you can skip this chapter and jump right to the next phase. The video and photo transfer program is stored in the Sony Bloggie camera’s memory, so you can directly run it without having to install a driver or a third-party data transfer program.
1. Connect your Sony Bloggie camera to your computer with a USB cable.
2. Open File Explorer and open My Computer. There should be a new device at the bottom named "PMBPORTABLE". Double-click on it to open it.

3. When you see the PMB_Win file, double-click to run it.

4. Here you can see all the videos and photos you took and stored in the Sony Bloggie camera. Select the video you want and click Save to PC.

After transferring the videos to PC, you can start burning them to DVD.
How to burn Sony Bloggie Video to DVD
Now you have the program and the video ready for burning, it's time to get down to business.
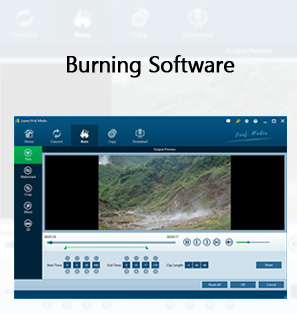
1. Launch Leawo DVD Creator.
As is mentioned above, the program is now inside Prof.Media. So just open Prof. Media and then you can see the DVD Creator module in it. Click on it to launch it.

2. Load source Sony Bloggie video.
To add your Sony Bloggie videos to the module, the most direct way is drag and drop them to the blank area of the interface. Or click the Add Video button up in the top left-hand corner and select them from the import dialog.

3. Select disc menu template.
As you are burning a video to a DVD disc, it's going to need a disc menu. Pick one from the templates provided on the right side. Or if you can't find one you like, you can customize them yourself. If you are interested in making your own disc menu, check out how to do it at the end of this tutorial.

4. Disc burning settings.

Choose the DVD format at the bottom right-hand corner by clicking the DVD-5 box and select between DVD-5 and DVD-9.

Click Fit to disc to select the quality level.

Click 16:9 to select the aspect ratio of the DVD between 16:9 and 4:3.

5. Start burning Sony Bloggie Video to DVD
Now it's time to start burning the Sony Bloggie video to DVD. Click the Burn button with green background and a burning settings menu would appear.

Under the Burn to label you will see 3 different options. Insert a writable DVD to your DVD-ROM and you will be able to select it as the target in the third box under the Burn to label. You can either burn the video to the disc as a folder or an ISO file and that's what the previous two options are for. Select one according to your needs. When you burn a video to a DVD, a backup of the DVD will also be created at the same. The output path under the Save to label is where the backup is going to be. You can click the "…" button to reset the directory. Click Burn and your Sony Bloggie videos will start to be burnt to the DVD.
Wait for the burning process to finish and you will have a DVD ready for playback. Leawo DVD Creator is a practical video burning program. If you need, you can also use it to burn videos in other popular formats like MOV to DVD.
Tips: How to create a disc menu of your own style
There are several things you can do with the disc menu that could totally change the tone of it.
Here's what you can do with the disc menu.
Move your mouse over onto one of the menus, and there will be a Preview button in the center, click on it to enter the preview page, and on the top row of buttons, there's an Edit button on the right, click on it to enter the menu editing page.

The picture below shows the main menu. You can change the position of the preview window and the texts. Also the texts are all editable, just double-click them to edit. And right-click them for more options.

Click on the 1 tag at the top to see the chapter list. Also on this page, the position of the texts, preview window and even the back button can all be changed as you like. You can also edit the texts here.

You can also change the background by using a new picture or even a video. Click the second button at the bottom row of icons and enable Background Image and add an image or video file to the background as you need.

To add background music, click on the first button at the bottom, enable Background Music option and import a song by clicking the "…" button next to the Source From box. You can also decide the duration and the effects of the music.

You can have fun customizing your own disc menu. And that's one of the reasons why I'd recommend it to you to convert your Sony Bloggie video to DVD. It’d make a great Sony Bloggie video to DVD burner.
 Jun. 14, 2018 by


 Prof. Media
 Blu-ray Ripper
 Blu-ray Copy
 iOS Data Recovery
 [12/29/23] MAX Downloader V15.0.0
 10,000,000 people are using Leawo!
 All Transactions are protected!
 30-Day Money Back Guarantee!