It is not always easy to use your hands on iPhone when you are in cold outside or you are doing something in the middle and not able to use hands, such as cooking. Indeed, there are circumstances where we need more effective ways to use our iPhone instead of using hands to press physical buttons. Take a specific example, when learning on the internet during cooking, you may need to take screenshots and save them for future reference. Pressing physical buttons to make that happen is not the best option. Here comes a more effective solution - take a screenshot with voice control. Isn’t it amazing? Read on to see how the magic happens!
Part 1: Siri vs. Voice Control
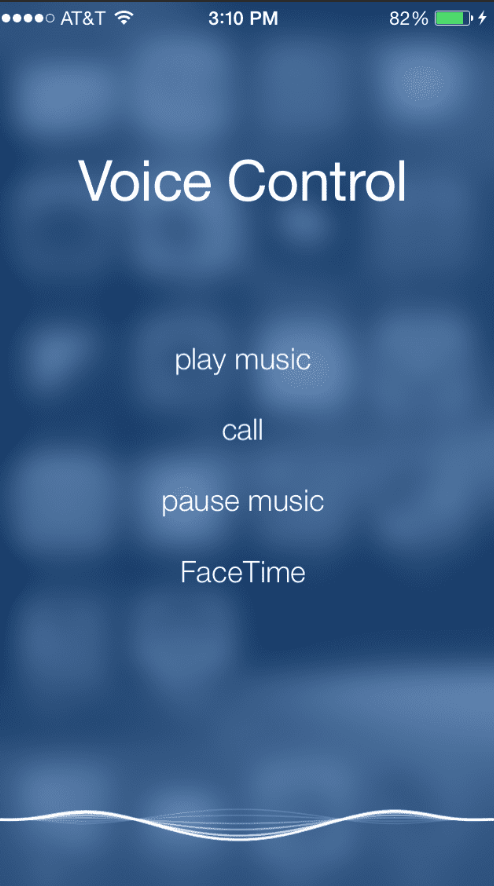
Have you heard about voice control on iPhone? I bet you did though it is not used all the time. Literally, voice control is a very basic app designed for use in devices without an internet connection. It does all it's processing locally and has a very basic set of commands that it can understand. With Voice Control, you can navigate and interact with your device using your voice to tap, swipe, type, and more. But your device must be iOS 13 or later. Some of you may wonder whether voice control is the same as Siri. Honestly, they share some common functions but in the meanwhile they are different in most cases. Siri, on the other hand, is cloud based. Siri, the assistant, uses voice queries and a natural-language user interface to answer questions, make recommendations, and perform actions by delegating requests to a set of Internet services.
In general, Siri is cloud-based which requires internet access to fulfill tasks queried by users in most cases while voice control can perform basic commands like “wipe down” “long press” “take screenshots” even if no network is available.
Part 2: How to enable or turn off voice control on iPhone
Let’s get down to details and show you how we can enable or disable voice control on iPhone. First of all, make sure your device is running on iOS 13 or later. As indicated and instructed clearly on Apple, a file download is required and once the download is complete, you don't need a Wi-Fi connection to use Voice Control. It's recommended that you connect to Wi-Fi before you turn on Voice Control for the first time. To enable voice control on iPhone, follow steps below:
Step 1: Go to Settings and select Accessibility.
Step 2: Select Voice Control, then select Set up Voice Control. A download will begin in the background. After that, you will see a microphone icon shown on the status bar, which indicates whether voice control is listening or not. Then you can speak commands just like you would perform an action by touch.
You can also customize a few things on voice control such as language and commands, which turn out to be very personalized and efficient. It is just premium for you.
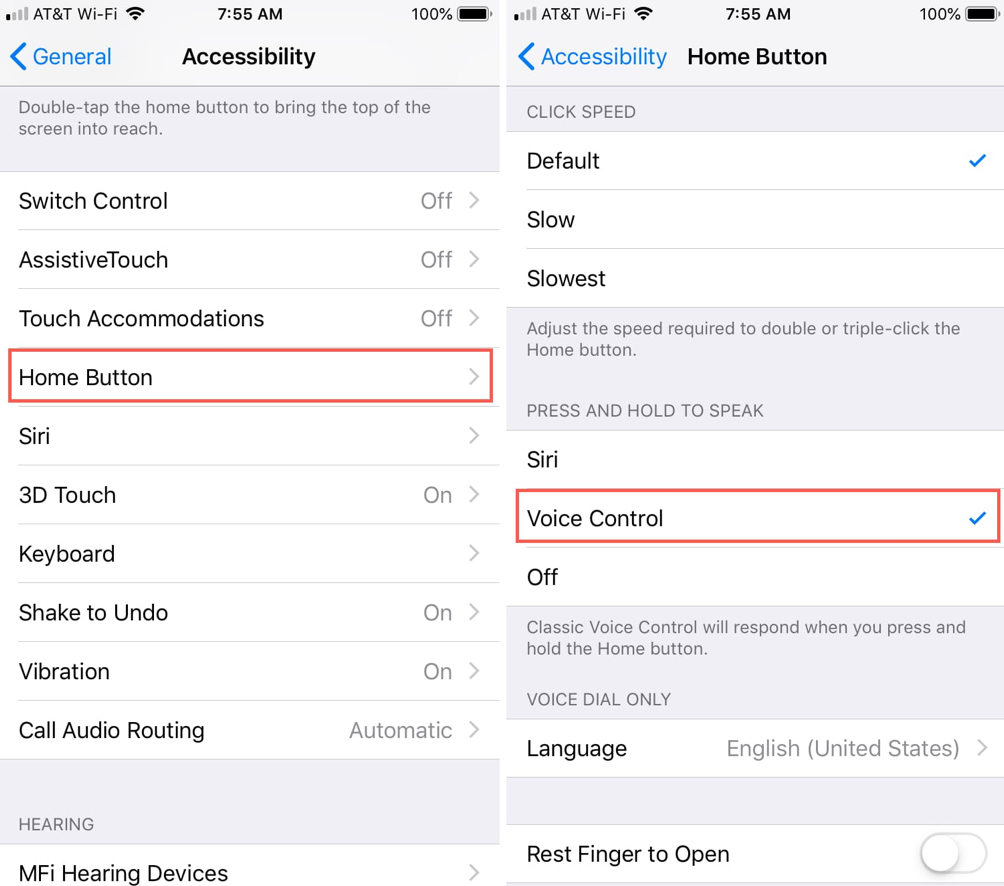
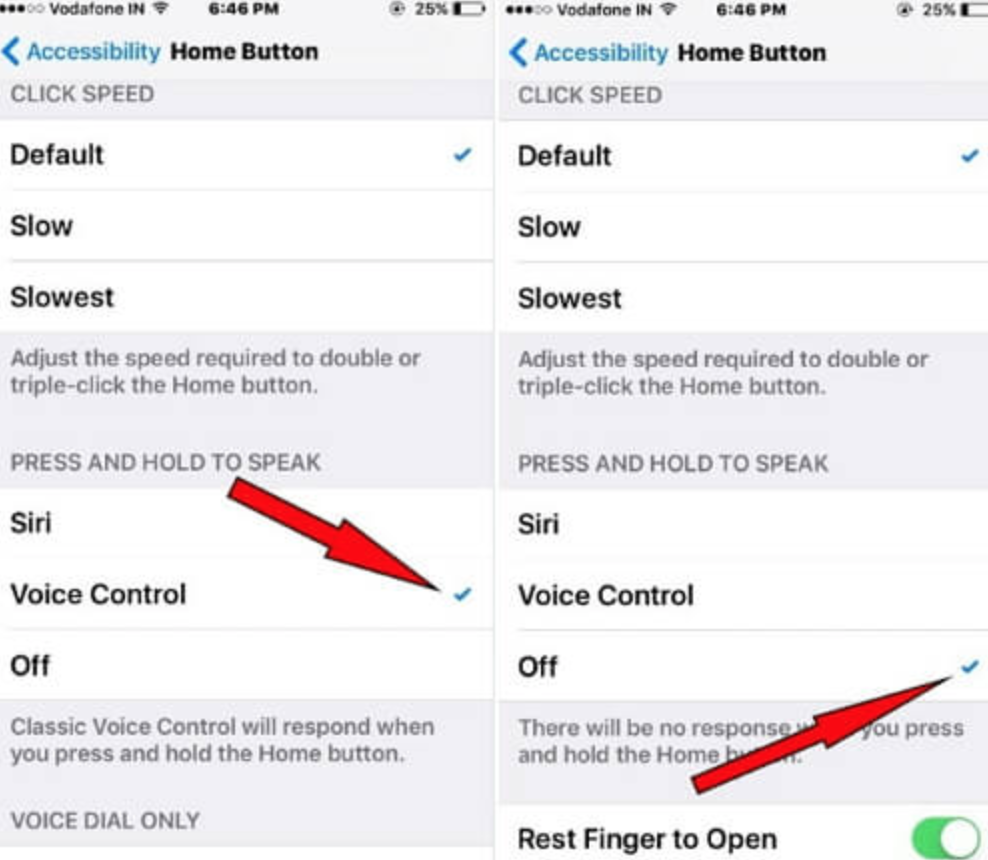
However, if you get annoyed by voice control on iPhone, you can disable it. Simply go to Settings > Accessibility, then hit Home Button and click Voice Control on the displayed window to turn it off.
Part 3: How to take screen shot with voice control
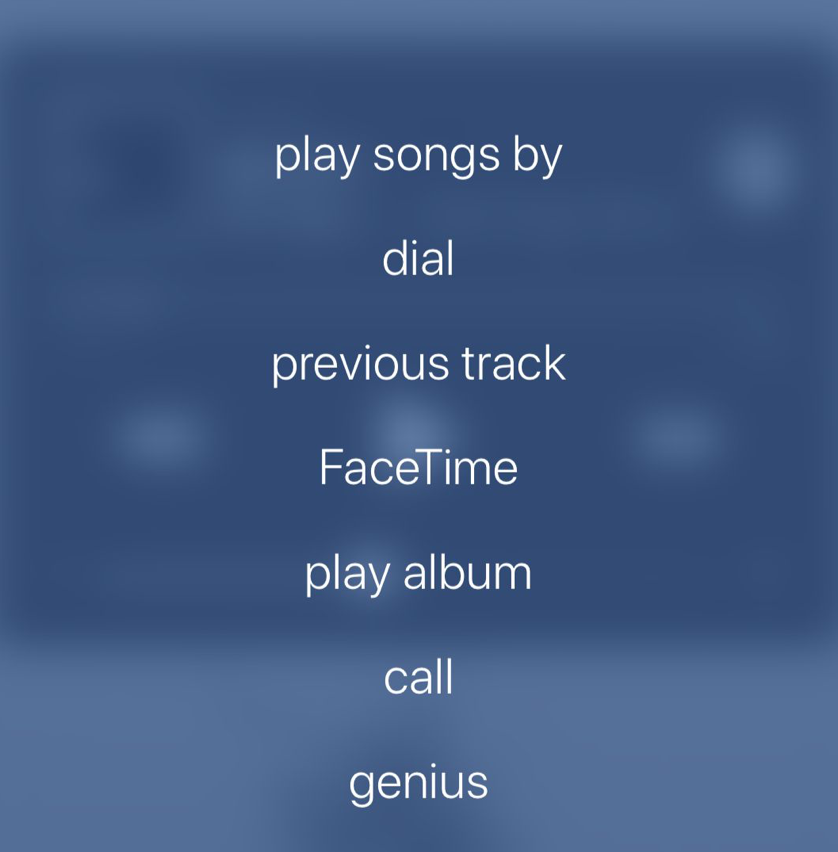
It is easy to take screenshot using voice control, much easier than using hands to press buttons to handle that. Just now you have enabled voice control on iPhone, you will be able to see the microphone icon on the status bar. When you see the blue microphone, say, “Take screenshot” or “take a screenshot.” Then the device will automatically take the screenshot for you. Now you are able to voice another command to open your screenshot just taken. To view your screenshot, say “Open Photos”. Your screenshot will be in the Screenshots and Recents albums. That’s it. Theoretically, that’s how you take screenshots using Voice Control! You can be an expert here in a minute. Of course, you are free to use other commands on voice control, for example, play music, etc.
Part 4: How to transfer screen shot between iPhone and PC via iTransfer
When you finish taking screenshots via voice control, you may need to save them to your PC sometime. Or when screenshots take up too much space on your iPhone, you need to free up space and transfer screenshots or pictures to PC. Speaking of this, Leawo iTransfer will be a great tool to you. Being developed to transfer data between iOS devices, iTunes, and PC, this smart and intuitive tool provides professional and easy-to-use services for users who have needed to transfer data. It is 100% safe and reliable and all your data will be protected with utmost efforts. It can be used as flash drives to backup files from iOS devices as well. It is convenient for users to transfer software, or files between devices and iTunes and PCs. Transferring screenshots from iPhone to PC can be easily fulfilled using Leawo iTransfer.
Step 1: Download and install the app to your PC
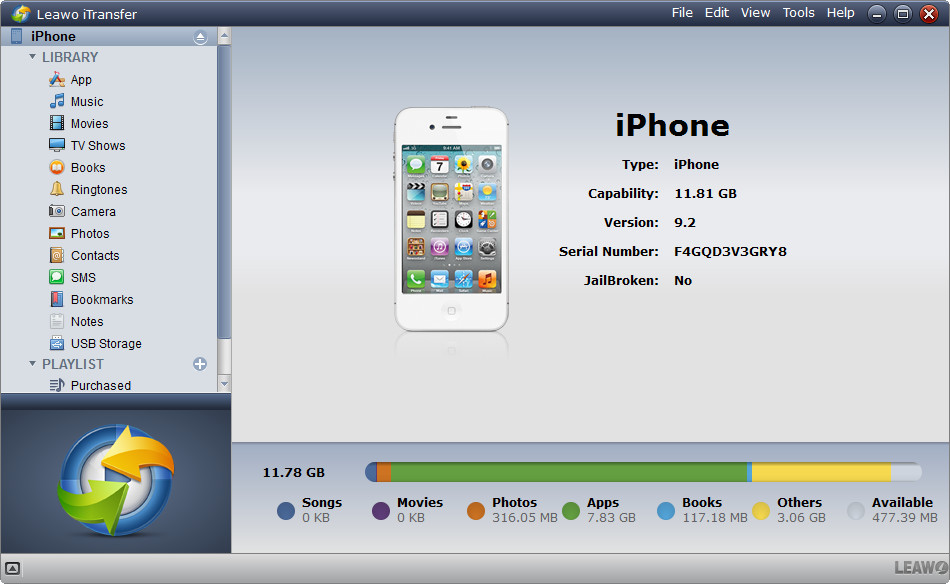
Click the button below to download and install the app to your PC. When the installation is done, launch the app. The user interface is intuitive so you can see device on the left pane and details of the device on the right.
Step 2: Connect the iPhone to the PC and scan the file on the device
Actually before you can view the device on the left pane, you need to connect the iPhone to the PC and the app will detect and analyze the device. Then all data files on the device will be scanned and shown on the app.
Step 3: Choose the files to transfer
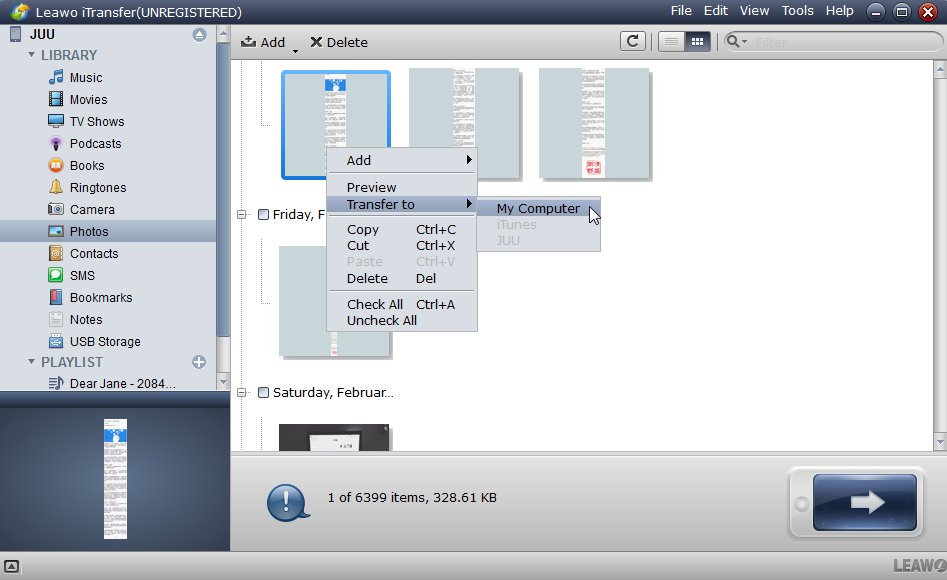
Now select the target folder from the left pane and click on it to show the detailed files inside the folder. Then check the boxes in front of the files that you need to transfer to PC. Hit the transfer icon on the lower right corner to continue. You may choose to right-click what you selected and choose Transfer to > My Computer, indicating you will transfer these files from iPhone to PC later on.
Step 4: Transfer the selected files to PC
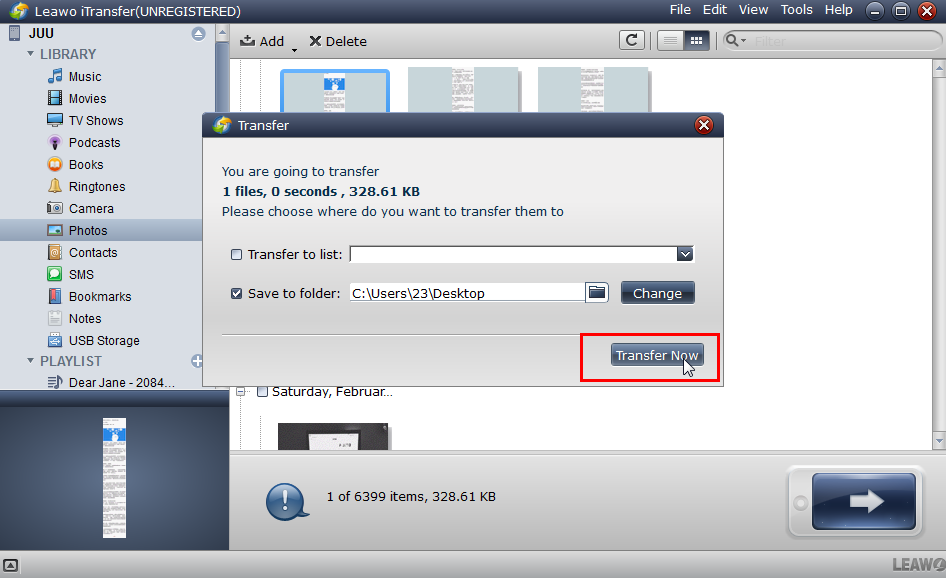
Before kicking off the transfer process, you need to set a directory to save the files in PC. You can specify a folder to save these files and then hit Transfer Now to start transferring files.
After the process is fully complete, you will see the screenshots on PC under the folder you specified just now. This helps release space on your device and save your screenshots or other data from the device to PC. Besides that, you can also use Leawo iTransfer to transfer data files from one iOS device to another, which is very useful when you buy a new iPhone. The procedure is similar and you can easily learn to master it within the intuitive user interface.
Part 5: Conclusion
To sum up, voice control on the iPhone is another breakthrough for iOS devices since iOS 13 that it kind of relieves our hands a great deal. We can voice out to our device and it will take actions on iPhone smartly. For some simple operations, we can totally rely on voice control to get them done perfectly and efficiently. In this article, we have shared our views on the differences between Siri and voice control and simple steps to enable and disable voice control on iPhone. Then we get down to talking about a specific case, which guides us to use voice control to take screenshots. That has been done by only saying “take screenshot” to our device and that’s it. No hassle anymore! Furthermore, after taking screenshots using voice control, we will be able to view the screenshot and verify whether it looks good. Otherwise we may ask to take another one. Fortunately, we can say “open screenshot” to our device and let it display our screenshot immediately. Plus, you can do so much more with voice control that it has been a very useful tool on iPhone.
Last but not least, if your iPhone is stuffed with screenshots or photos, you need to transfer these data files to PC and release space for iPhone to make it run faster. Consider Leawo iTransfer, an incredible and powerful app to help transfer all kinds of data between iOS devices, iTunes and PC. All it can do for you is 100% safe and reliable. Have fun and enjoy the great service it brings to you.

