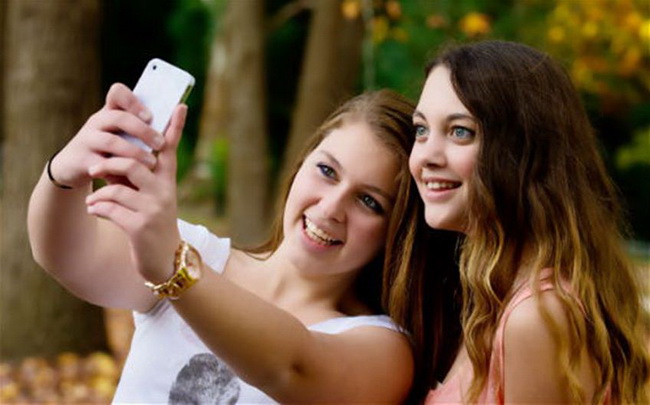
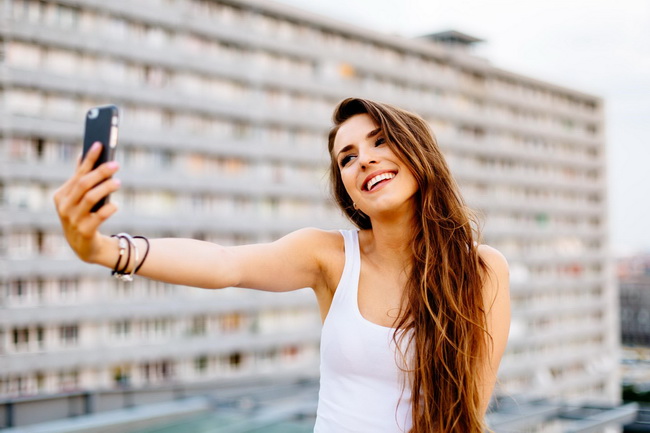
First of all, one of the reasons why some iPhone users like taking selfies may be to catch attention, get likes and replies from others, which makes them feel a sense of accomplishment to some extent. Some iPhone users may just post selfies on social media or on Moments to record their life and happy moments. No matter what the chief reason is, you may prefer to take selfies when you are going for a travel with your iPhone and it is significantly helpful and convenient to get skilled in how to take a good selfie with iPhone. There are some tips of value to help you take a good selfie with iPhone.
Part 1: Why is iPhone Selfie Real but Unlikable?
There is no doubt that iPhone has been one of the most powerful smartphones in the world. iPhone keeps updating annually since the first generation was announced on January 9, 2007. With the improvement of its high-performance operating system, its camera is also developed a lot at the same time. iPhone has rear camera and front camera for different use. Its front camera is designed for you to take a selfie, which is powerful in giving you a real selfie but not as welcomed as it would be.
One of the main reasons is that it gives you so many details, from being able to see what you really look like, to being able to see the wrinkles, the pores, pimples, blackheads, acne and pimples on your face. Undoubtedly, the sharpness of your selfies is not that pleasant since everyone wants to get flattering selfies rather than sharp ones that show those disliked and declined flaws. Surely, that doesn’t mean you cannot take a good selfie with iPhone. There are some skillful tips that will help you out.
Part 2: 9 Tips on How to Take a Good Selfie with iPhone?
Actually, it shouldn’t be unflattering to take a selfie with iPhone. To be skilled at how to take a good selfie with iPhone, there are some iPhone-specific tips that help you really improve your selfie and take iPhone selfies to the next level.
△ Tip 1. Use Portrait Mode
As you know, Portrait mode separates the foreground, subject, and background of a picture and adds an artificial “bokeh”-style blur to the foreground and background to isolate and highlight the subject. With Portrait mode supported, you can apply a depth-of-field effect that easily take a portrait photo with the rear camera and take a selfie with its front camera. It can keep your subject—people, pets, objects, and more—sharp while creating a beautifully blurred background. There are several studio-quality lighting effects available, which helps you easily take a spectacular selfie in Portrait mode.
△ Tip 2. Focus on you
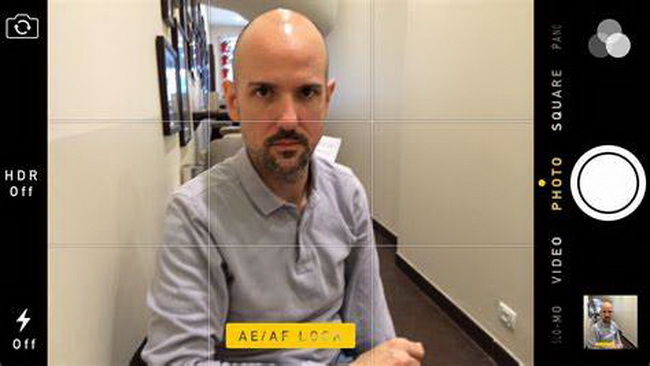
While taking a selfie with your iPhone, it is necessary to keep the focus always on your face. However, when you just slightly move the iPhone, it would notice the movement and lose its focus from your face. To take a good selfie with the subject arresting, you need to lock the exposure to achieve perfect iPhone focus. You can press and hold on the screen for a few seconds to activate AE/AF Lock on your iPhone camera, and then the focus is locked on the intended part of the subject.
△ Tip 3. Use the Volume Button or a Remote Shutter
With the latest iPhone models released, you’d better grip it in a convenient manner or use earpods to take a clear selfie. When you are taking a selfie, you can hold your iPhone properly so that you can put your fingers aptly on the up volume button to extend your hands for a shot rather than hold the phone’s bottom and tap the on-screen virtual button. Besides, you can also connect the EarPods that include a mic to your iPhone and take a selfie by pressing the volume button to avoid blur in your selfies.
△ Tip 4. Change Filters and Effects
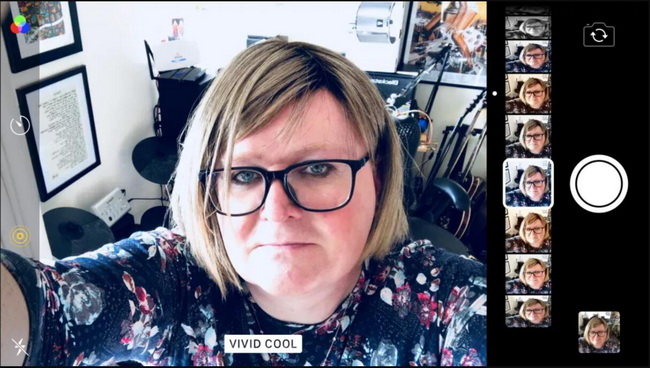
When you tap the filters button in the Camera app, you can scroll through your filter options and select the built-in camera filter that makes your selfie more flattering. There are nine options: Vivid, Vivid Warm, Vivid Cool, Dramatic, Dramatic Warm, Dramatic Cool, Mono, Silvertone and Noir. The available filters can make colors more or less vivid, brighten or reduce the colors and so on. Obviously, one iPhone filter is unlikely to work in all situations, so it’s significant to experiment every time you take a selfie.
△ Tip 5. Take a Live Photo
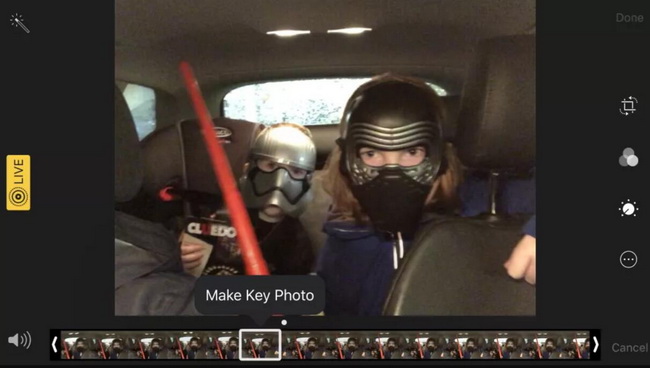
If you are using iPhone 6S Plus or later, you can take Live Photos with the selfie camera: this takes a combination of still images after tapping the shutter. Actually, a Live Photo captures what happens just before and after you take your selfie, and then you can open it in Photos and swipe between each still to choose the best one.
△ Tip 6. Take Selfies with Night mode
On iPhone 12 and later models, you can make use of Night mode to take selfies in low-light environment. When you tap the circle in the bottom right-corner to flip to the front-facing camera, Night mode will automatically turn on if it’s dark enough. When you take a selfie in Night mode, a number appears next to the Night mode icon to indicate how long the shot will take. This Night mode features a faster aperture and captures more light than iPhone 11 models so that you can get clearer and brighter selfies in dark environment.
△ Tip 7. Find the Right Angle
To take an amazing selfie, the sense of angles plays an important role as well. Many of you may have found that shooting a selfie from a very low angle below your face will leave some unpleasant flaws, such as non-existent double chins, possibly weary looking eyelids and so on. While going for an angle too high may end up with weird looking selfies. You can get a stunning selfie in perfect right angle by putting your iPhone just above your chest. However, if you intend to capture more than two figures in your selfie, selfie-stick will be needed.
△ Tip 8. Choose a Popular Spot
To take a selfie in a popular spot will make your selfie more interesting. You may want to shoot a selfie at the park, your home, or those most popular scenic spots in the world. There are many great spots recommended to you, such as Niagara Fall in USA/Canada, Salar De Uyuni in Bolivia, the Eiffel Tower in Paris, the Great Wall in China, and so on.
△ Tip 9. Use a Third-party Camera App
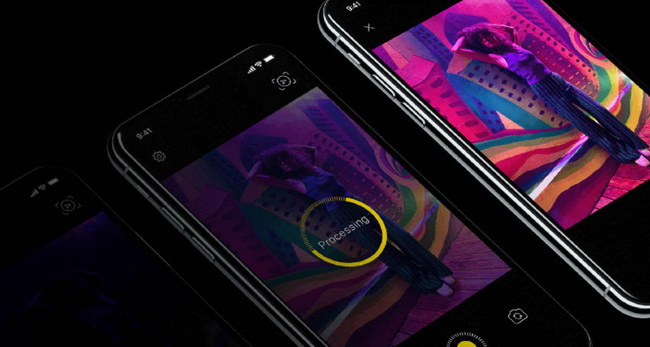
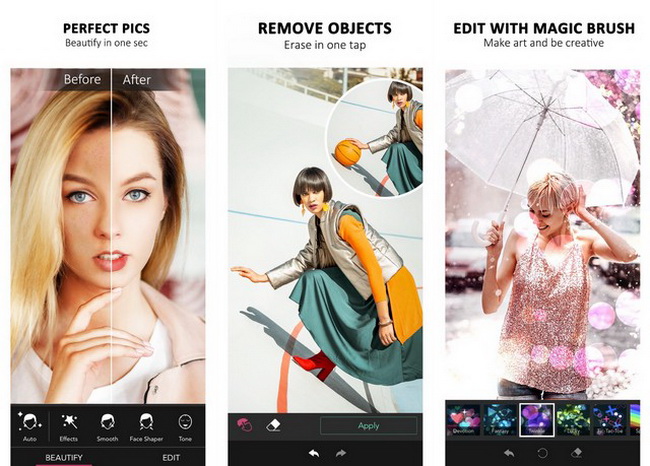
It is obvious that iPhone’s Camera app is significantly powerful, but a third-party camera app is also a good option that adds some superior camera features to easily enhance a selfie. There are many apps with some exceptional features available for iPhone. Besides, some popular free beauty apps like Photo Wonder, YouCam Perfect, CreamCam and PhotoIns will help you edit and enhance selfies as you like, you can feel free to try them out.
Part 3: How to Enhance Selfies with Leawo PhotoIns?
Though there are many advantageous tips to guide you to take a good selfie with iPhone, you still need to perfect selfies with powerful beauty apps. Leawo PhotoIns is a professional AI portrait enhancer that beautifies your portrait photos and selfies instantly. It automatically retouches skin, removes freckles, enhances eyes, adjusts lighting, fixes exposure, etc. The simple instructions come as below to help you enhance your selfies effectively.
Step 1: Download Leawo PhotoIns
At the beginning, you are required to download Leawo PhotoIns and install it on your PC.
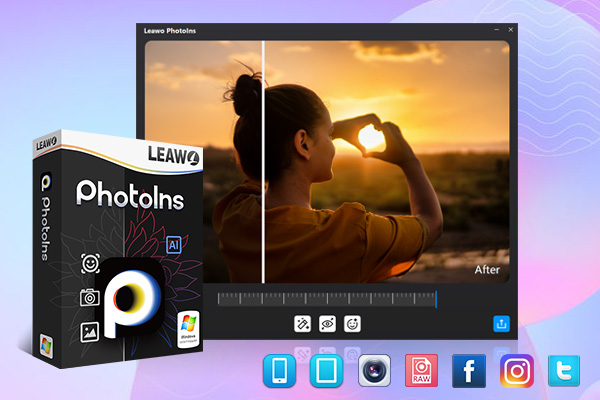
-
Leawo PhotoIns
- Enhance portrait photos easily with advanced AI technology
- Fix photo exposure and white balance issues automatically
- Optimize photo colors and perfect photo tints
- Make photos perfectly clear with smart dehaze
- Boost photo lighting and color quality
- Process RAW and JPG files
Step 2. Transfer Selfies from iPhone to PC
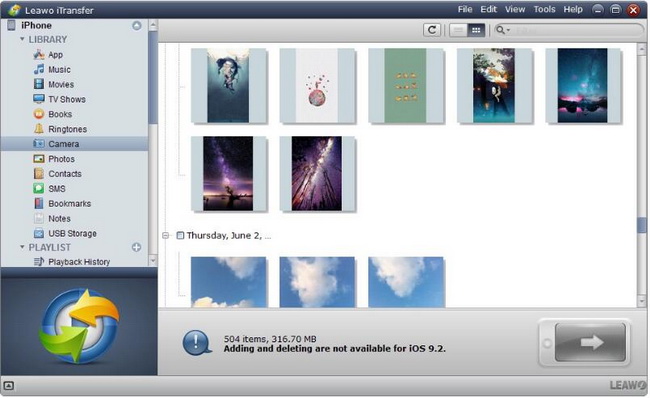
Make sure that you transfer selfies from iPhone to your PC before you do the enhancement. Usually, you can simply copy your selfies and photos to your PC with Leawo iTransfer, an all-in-one iPhone transfer software used for transferring files among iOS devices, iTunes and PCs, enabling you to transfer photos apps, music, movies, TV shows, ringtones, eBooks and Camera Roll.
Step 3. Add Selfies to the Program
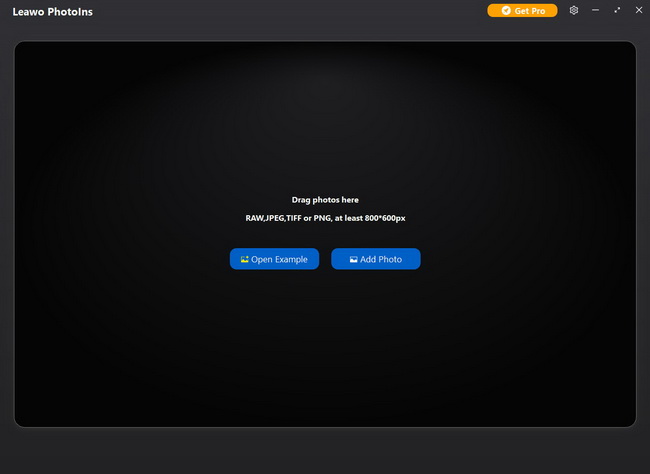
Click “Add Photo” button to browse and select the transferred selfies taken by your iPhone for importing into Leawo PhotoIns. Besides, you can also directly add selfies to the program with drag-and-drops.
Step 4. Enhance Your Selfies
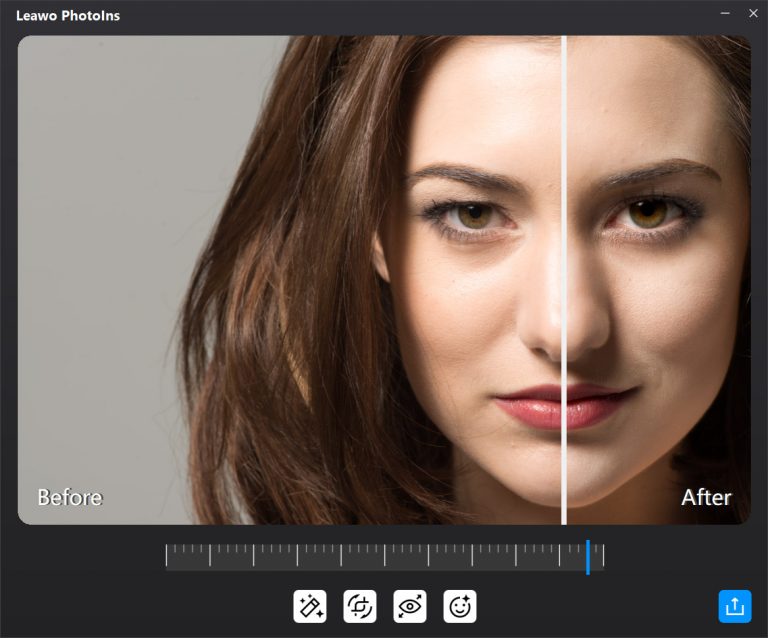
Leawo PhotoIns can enhance photos in batch or one by one with the internal AI enhancer. If you want to enhance selfies in batch, you can click the “Settings” button to enable enhancing features like “Automatic Lens Correction”, “Face enhance” and/or “Enlarge eyes” and then quickly enhance selfies all together. To get better enhancement, you can select one selfie and double click it to open the photo enhancer editing preview window, where you can directly adjust the photo AI enhancing effects.
Step 5. Output the Enhanced Selfies
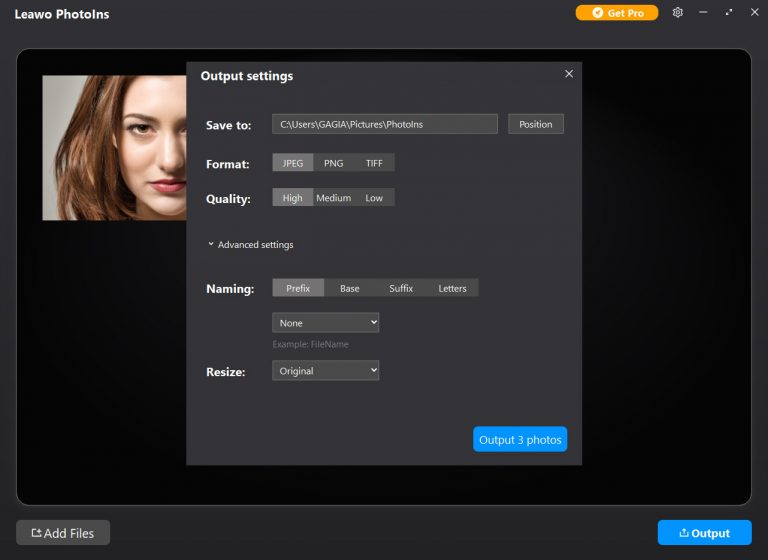
After finishing AI enhancement, click “Output” button to enter the “Output settings” window. And then you can complete the output settings, including the output folder, format, quality and resize the photo, etc. After all settings are done, click the blue “Output photos” button to output all the beautified selfies.


