
Have you ever come across the occasion that your friend asks for help so as to record audio of high quality? For an instant you may betray uncertainty. Luckily, you could get the solution by using WM Recorder and continue reading the article below. You may need to read the passage below before you use WM Recorder to record audios freely.
Part 1:How to Record Audio with WM Recorder
WM Recorder is such one revolutionary application tool that could help you record videos/audios of streaming media. With the powerful program, you're able to save the recorded files on your computer or share them with your friends freely. The user interface of WM Recorder should be obvious, presenting its buttons clearly and boldly. The recording effect of the Windows Media Recorder could be the exact same playback, with extremely low resource utilization. Here the article below would show you the steps on how to record audio with it in detail. First of all, you may need to download WM Recorder for free and launch the Installation procedures in the compressed cabinet file.
Step 1. Click to Open Audio Recorder
After opening the Windows Media Recorder is finished, you could view its main interface clearly, and then you may need to click the "Menu" tab > Open Audio Recorder.

Step 2. Customize your recording settings
There's the pop-up WM Audio window and you could customize your recordings settings by clicking the "Settings" tab, here you could choose the "Recording Silence" or not, or you could also choose to convert the final recording files to MP3/WMA/AAC files, and you could also rename your recordings in the "Name" bar.

Step 3. Choose exported folder
You may need to select the output directory by clicking the "Storage" menu to save the final exported files.

Step 4. Start to record audios
Tap the plus sign (+) to expand your music selections on your computer and choose individual items for uploading to Amazon Cloud.

Part 2: Better than WM Recorder in Audio Recording - Leawo Music Recorder
Leawo Music Recorder is such one powerful program that could provide the most effective means for recording audios/music freely. Editing your recording could be the most important peculiarity in the software. Good visual interface of Leawo Music Recorder could make the best use out of the minimal set of visual and functional elements, which makes the tool much easier to use. Below you could learn how to use the program to record audio in detailed steps. Firstly, you may need to go to the official website so as to download Leawo Music Recorder for free and open the application easily.
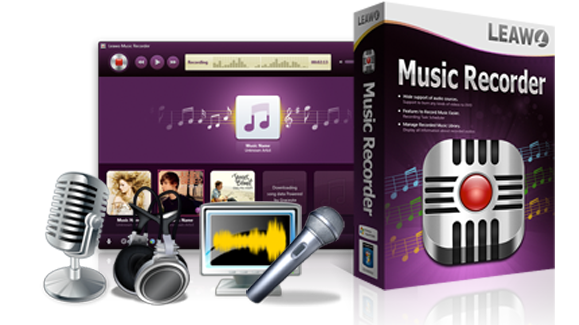
Leawo Music Recorder
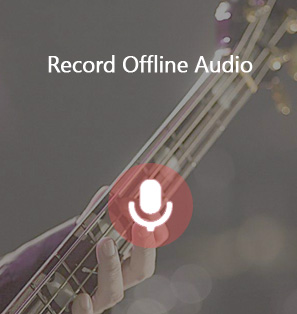
☉ Record any sound from computer stream audio and built-in input audio.
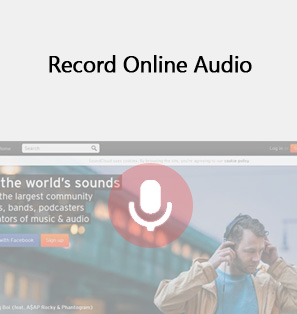
☉ Record music from 1000+ music sites like YouTube, Facebook, Veoh, VEVO, etc.
☉ Schedule music recording via the internal recording task scheduler.
☉ Automatically/manually add and complete music tags like artist, album, cover, genre, etc.
☉ Save recorded musicfiles into either WAV or MP3 format for wide uses.
![]()
![]()
Download and install this Music Recorder software onto your computer and then follow the below steps to learn how to record audio with Leawo Music Recorder.
Step 1: Choose audio source
Leawo Music Recorder could be one application which is very easy to operate. You may need to follow the sequential operations one after another. You could view the main interface and click the microphone icon to activate the audio settings window, and then you may view two options of audio source, here you may choose "Record Computer Audio" or "Record Audio Input" according to your own specified needs.

Step 2: Choose the output profile and customize the settings
What you then must do is to select the output format, you could complete the step by clicking the "Format" menu to choose and save the recordings as WAV or MP3 files. As mentioned in the article above, the most notable characteristic of the tool is its editing function which allows to customize the recorded files settings like bit rate, sample rate and audio codec. The application could offer you an unexpected surprise for your final recording effect.

Step 3: Set the output directory
After all of the settings are finished, what comes next is to select the output directory to export your recordings finally. Just click the "General" menu to choose the output location in the "Output" tab, and then click the "OK" button to close the window.

Step 4: Start recording music
The final step is to record audios, you could finish the step by clicking the big red "Record" button. You're also able to record voice as play the audio freely. The whole recording process is very simple.

If you're using a Mac computer, you could turn to Leawo Music Recorder for Mac, which could do exactly the same thing as that of the Windows version, and be compatible with Mac OS 10.6 and later. The Mac version supports one more audio format - W4A.
Video Demo of How to Use Leawo Music Recorder
Conclusion:
Comparing the two tools between Windows Media Recorder and Leawo Music Recorder, Leawo Music Recorder could offer the robust functions of editing your recordings by doing some specified settings so as to make your own recordings of high quality. Meanwhile, the program with its easy-to-use interface could make it easy to operate for new users. You could also upload the recording file to iTunes with only one simple click. In conclusion, you could get the recordings of better quality for better enjoyment.
 Jun. 07, 2017 by


 Prof. Media
 Blu-ray Ripper
 Blu-ray Copy
 iOS Data Recovery
 [12/29/23] MAX Downloader V15.0.0
 10,000,000 people are using Leawo!
 All Transactions are protected!
 30-Day Money Back Guarantee!