
Either to make a business presentation or want to enjoy the multimedia to its best, we often need to mirror our mobile phone to a bigger screen. Apple offers unmatched user experiences that allow you to enjoy such continuity, which is a seamless experience across all the products. Yet most users still don’t know how to mirror iPhone to PC. If you are one of them, here’re the solutions, just read on.
Part 1: How to Mirror iPhone to PC via Airplay
You can mirror iPhone to PC via Airplay, which is a feature that allows you to cast your iPhone to external screens such as TV, iPad, and other devices. Please note that mirroring iPhone to the iPad is not possible without Wi-Fi. Check out the steps below to learn how to mirror iPhone to PC via Airplay. Please make sure both iPhone and PC are connected to the same Wi-Fi.
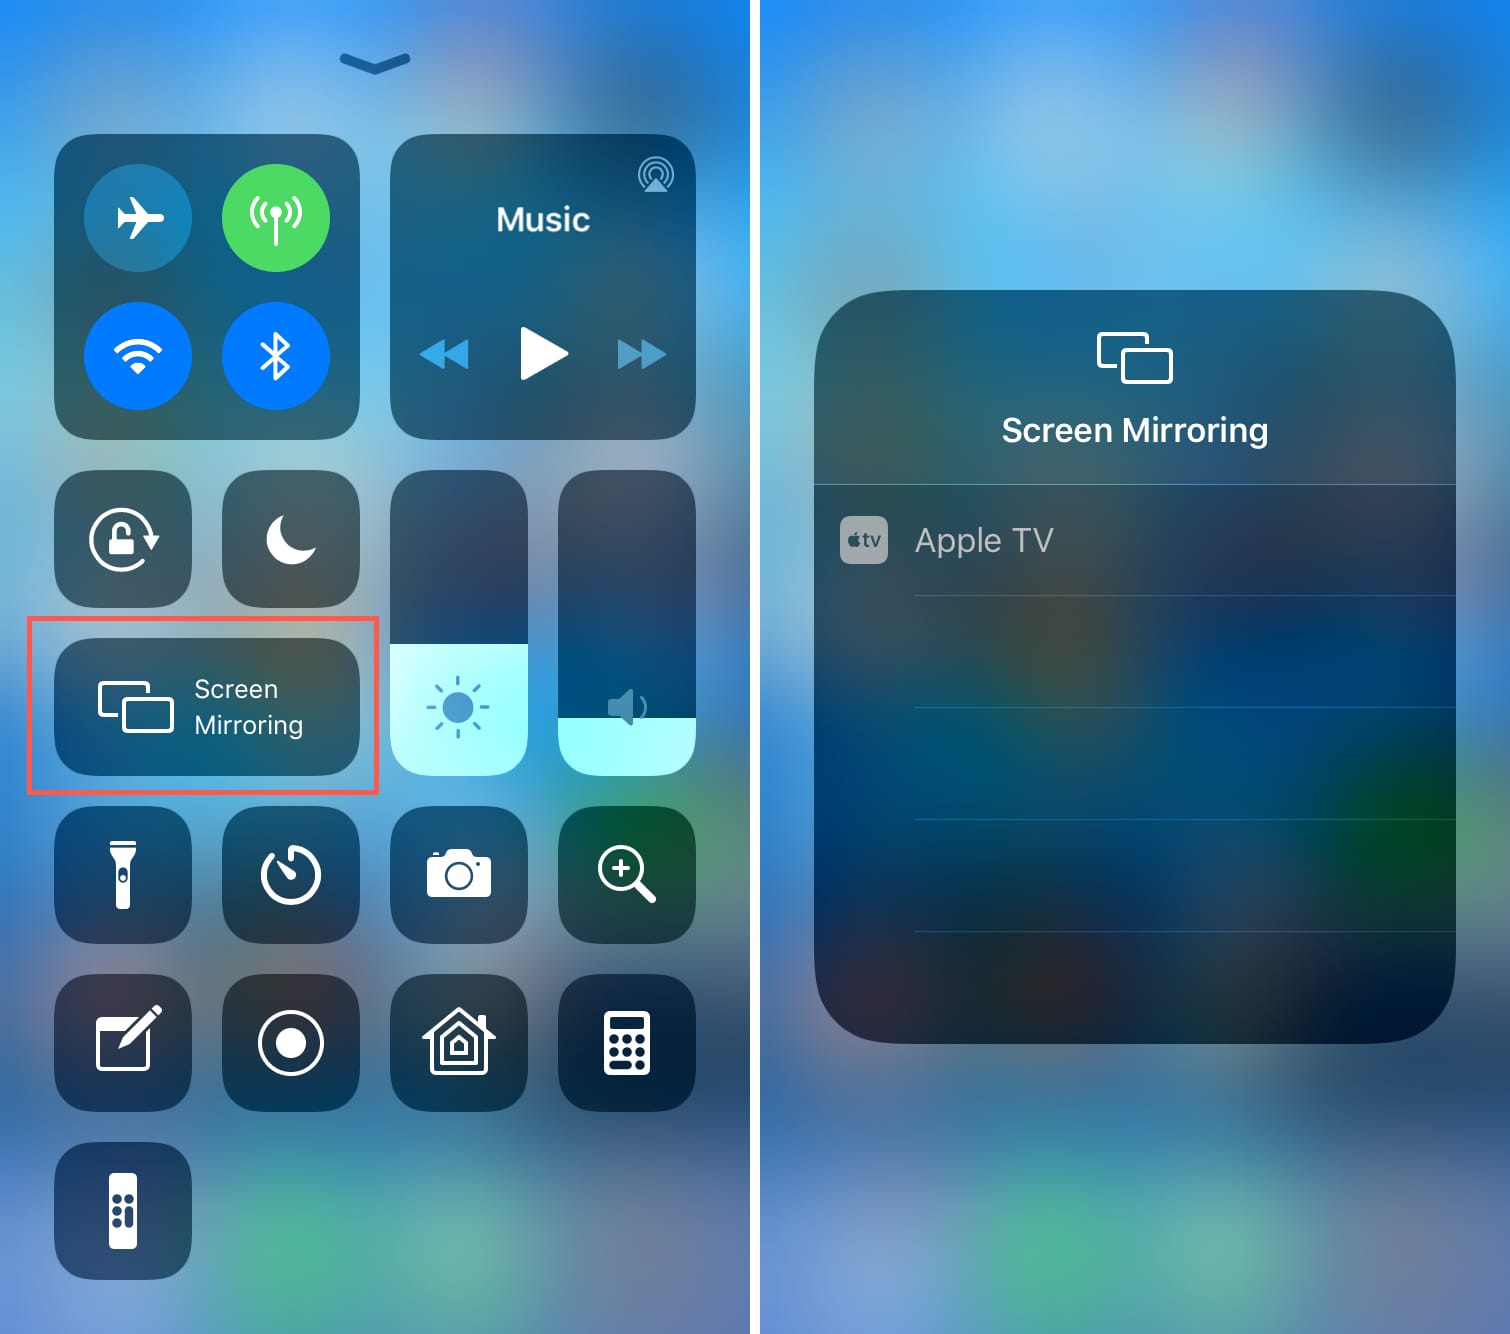
Step 1: For iPhone X and later, open the Control Center by swiping down from the top right corner of the screen; for iPhone SE, iPhone 8, and earlier, swipe up from the bottom edge of any screen.
Step 2: Tap the "Screen Mirroring" or "AirPlay" button, and select your computer.
Step 3: Your iPhone screen will be able to sync with your computer now.
Pros:
- Seamlessly connected with Apple devices
- Easy to mirror with just one tap
- No extra cost
Cons:
- Requires uninterrupted network
- Mirroring is a bit slow
- Sometimes it just doesn’t work
Part 2: How to Mirror iPhone to PC via AirBeamTV
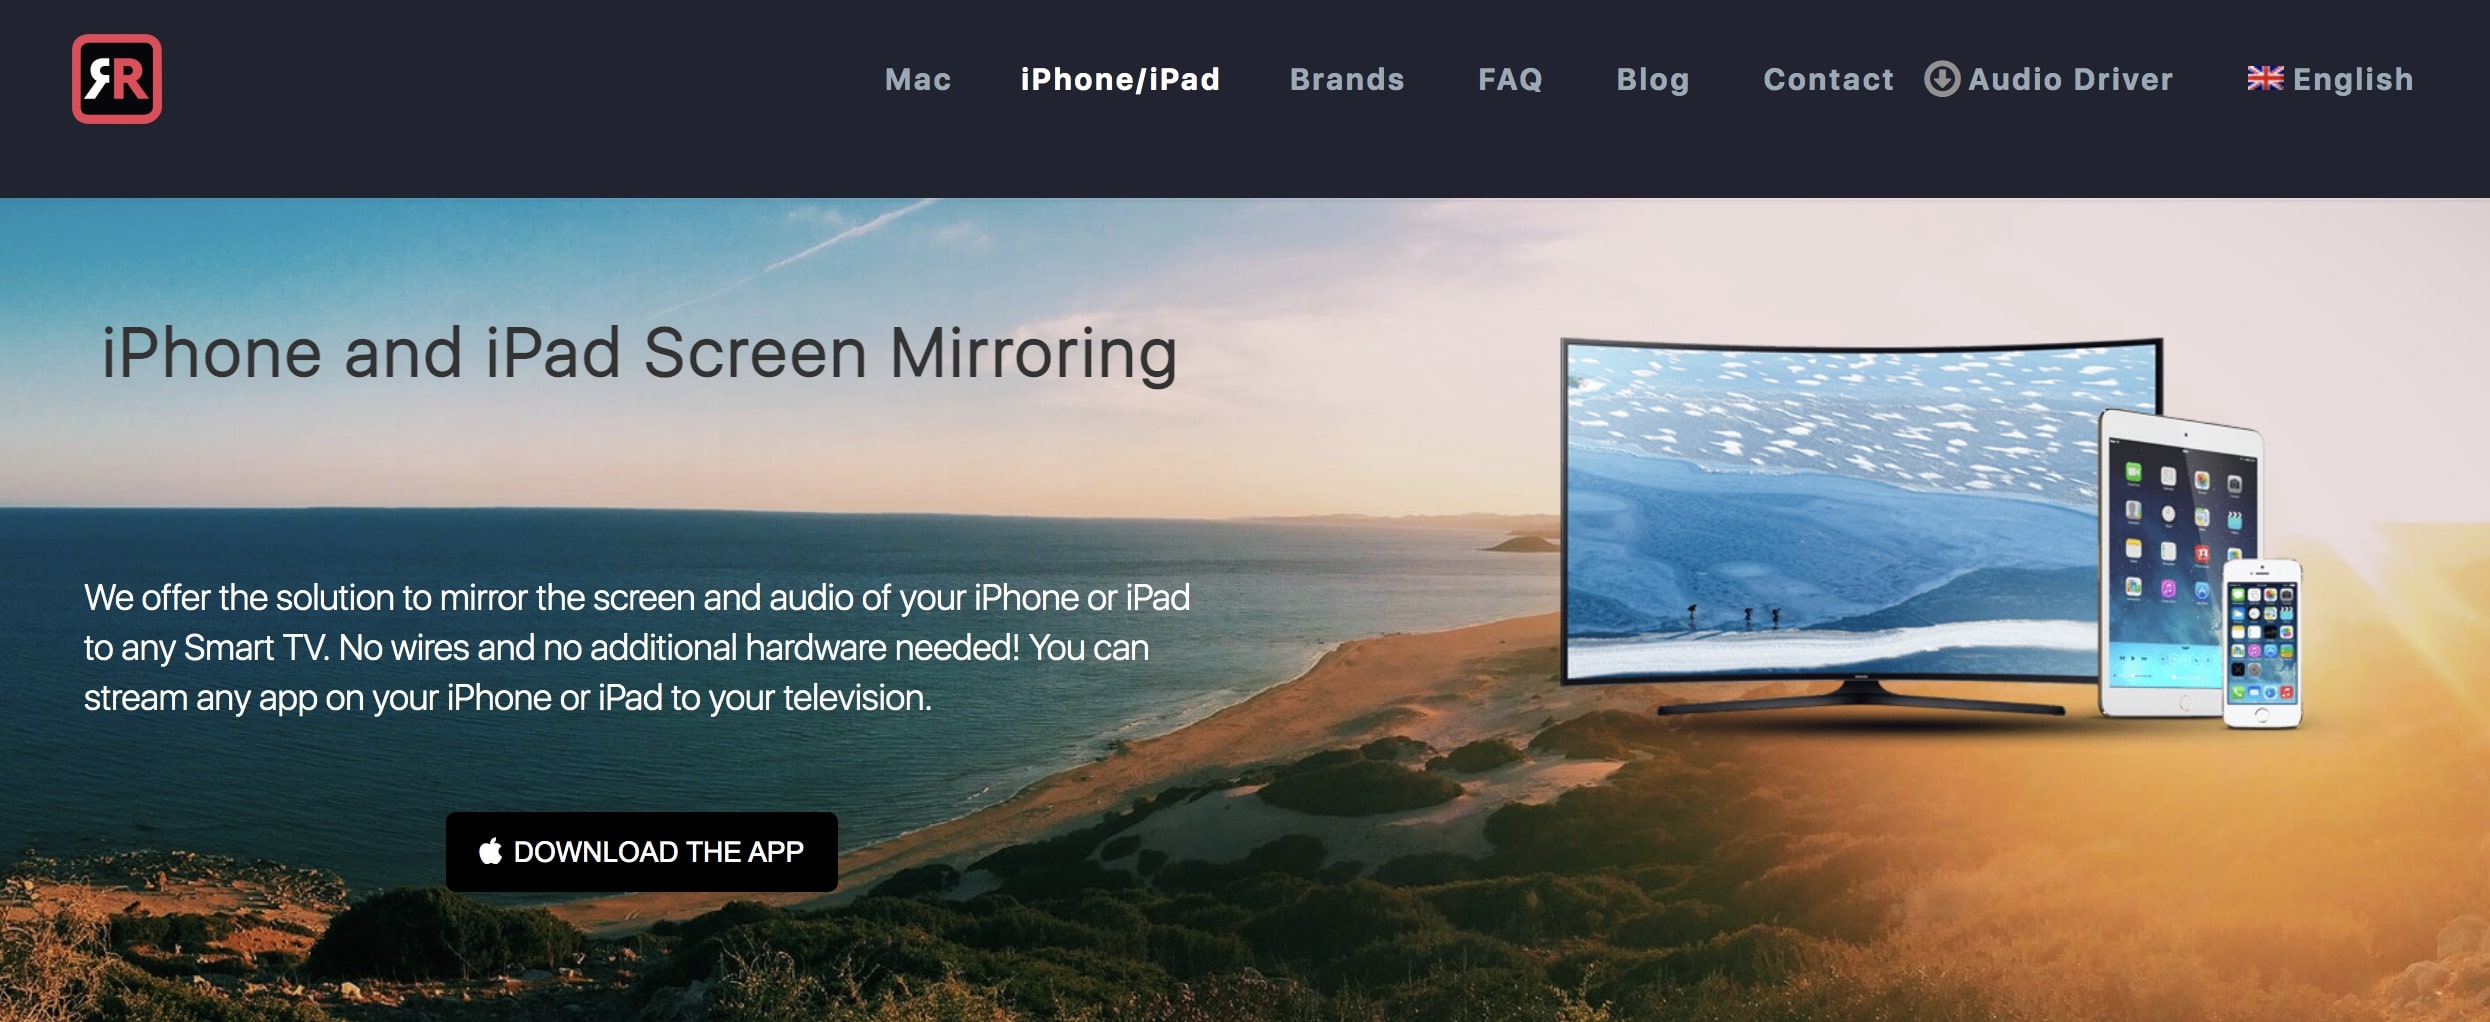
You can also try to mirror iPhone to PC via AirBeamTV. AirBeamTV is a professional tool that helps mirror device screens to your Windows PC or Mac computer. The software is compatible with iOS, Android, Chromebook, Windows, and Mac. You can also cast your iPhone, iPad, or Mac to your Smart TV. Now let’s see how to mirror iPhone to the PC via AirBeamTV. Before everything else, you’ll need to download and install AirBeamTV on both iPhone and PC.
Step 1: Launch the app on iPhone and you’ll see a nine-digit number. Open the Chrome browser on the PC and go to start.airbeam.tv, type in the code. Click the "Connect" button and the connection is now built between iPhone and PC.
Step 2: Click on the ‘Screen recording’ icon to start mirroring. There is a notification telling you the mirroring has been built.
Step 3: Now you can start enjoying the full mirroring experience. You’ll receive a notification to confirm the status of the connection.
Please note that the connection code only works with Chrome and not with any other browser like Edge or Firefox.
Pros:
- Compatible with a lot of TV brands
- Professional and reliable software
- Quick and easy to use
Cons:
- Supports Apple devices only
- Paid service
- Requires smooth network
Part 3: How to Mirror iPhone to PC via ApowerMirror
ApowerMirror is another app when it comes to mirroring iPhone to PC. It’s a popular screen mirroring program that is reliable and safe. The interface is simple to navigate and the app is easy to use. Check out the simple steps below to learn how to mirror iPhone to PC via ApowerMirror.

Step 1: Install the app on your iPhone and PC.
Step 2: Launch ApowerMirror, tap the "mirror" button and choose the name of the PC.
Step 3: Access Control Center, tap and hold the "Record" icon then choose ApowerMirror. Tap the "Start Broadcast" then your iPhone is now mirrored to your PC.
Pros:
- Clean and simple interface
- Easy to use
- Connection is fast
Cons:
- Supports Apple devices only
- Paid service
- Requires good network
Part 4: How to Play iTunes Video without Mirroring iPhone to PC?
For users who often watch iTunes videos on mobile devices such as iPhone or iPad, enjoying the videos on a bigger screen like PC or TV can be much more fun. Naturally, you can mirror iPhone to PC with the built-in feature – Airplay, but honestly, the whole process is a bit slow and sometimes it just doesn’t work. The mirror app is quick, but still, you’ll need an uninterrupted network to ensure flawless mirroring. The best way to enjoy iTunes videos on PC is to download them from iTunes as local files, so you are free to transfer them to any device, even a big screen. If you want to get desktop software, Leawo Prof. DRM is recommended here.

-
Leawo Prof. DRM
- Convert iTunes DRM-protected M4V movie and TV show to DRM-Free MP4
- Remove DRM from M4B, AA, AAX files and convert any Audible AA, AAX file to MP3, even without iTunes authorization
- Convert iTunes DRM-Protected M4P and non-DRM iTunes M4A Music to MP3
- Remove DRM-protection on Spotify music and convert to Universal audio format for enjoying music offline on any devices
- Convert DRM-protected eBook from Kindle, Kobo, Adobe to DRM-free epub, mobi, azw3, txt, etc., format
As known to us all that the Apple has their own media format which is M4P and M4V for audio and video respectively. This is because all the media are protected upon DRM, an access control technology that can limit the use, modification, and distribution of copyrighted work. With Leawo Prof. DRM, you can successfully remove the DRM protection upon iTunes video, download, and convert them to mp4 or any other formats you like. Leawo Prof. DRM is designed to be the most professional DRM removal software that can help remove the DRM protection upon almost all the digital content such as videos, music, ebooks, and audiobooks. You can use it to convert Spotify music as well. That’s not just it, you can also download ebooks from Kindle with Leawo Prof. DRM.
Now let’s see how to download the iTunes video with Leawo Prof. DRM. You will need to download the software from the links above.
IMPORTANT:
- You will need to sign in with your Apple ID to play the iTunes video. Doing so, the Leawo Prof. DRM will ask you for authorization first. And please do not open iTunes during the entire DRM removal process.
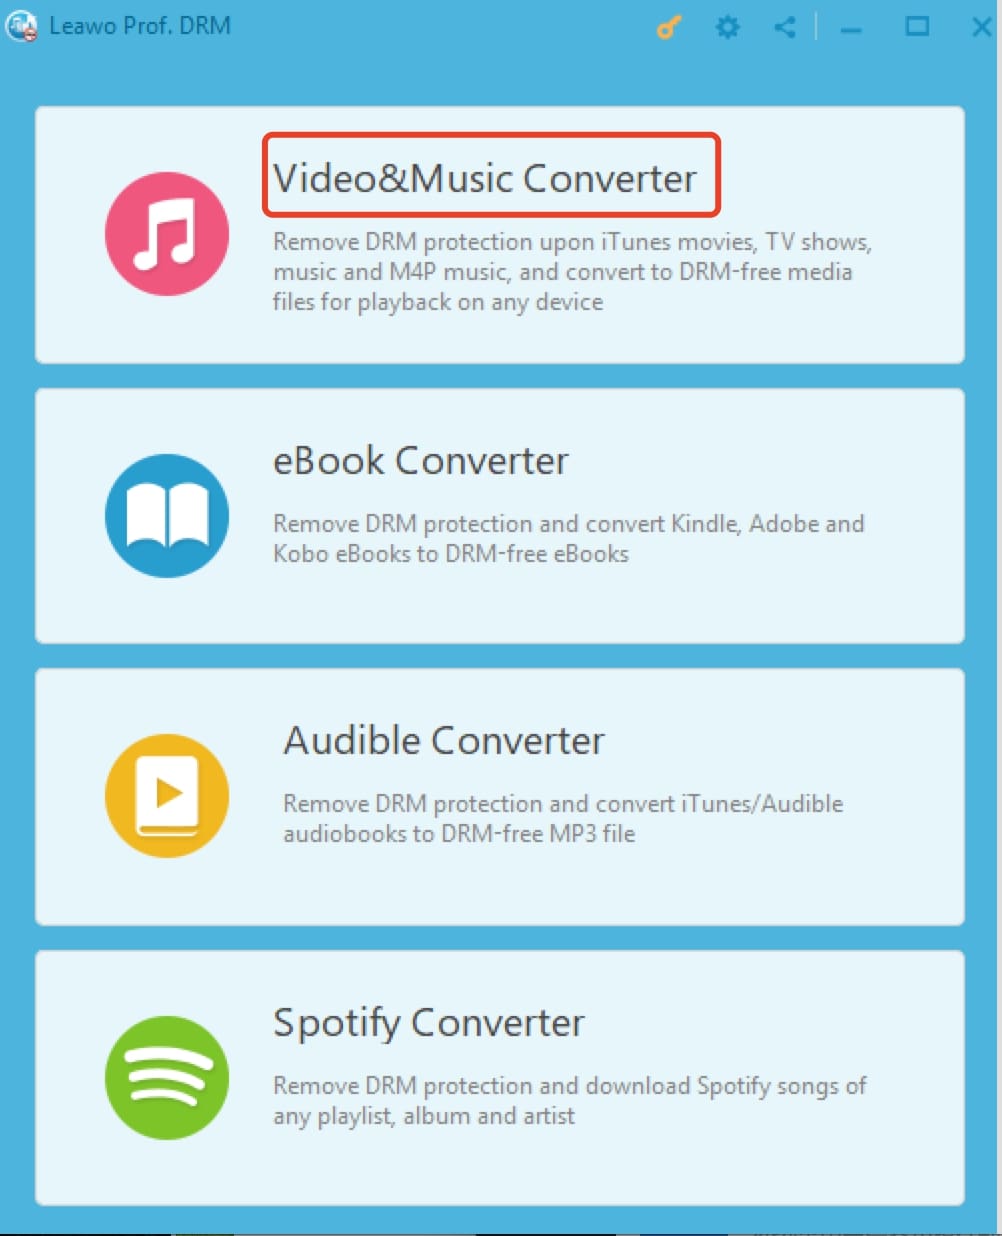
◎Step 1: Locate Music Converter
Launch Leawo Prof. DRM and click the "Video & Music Converter".
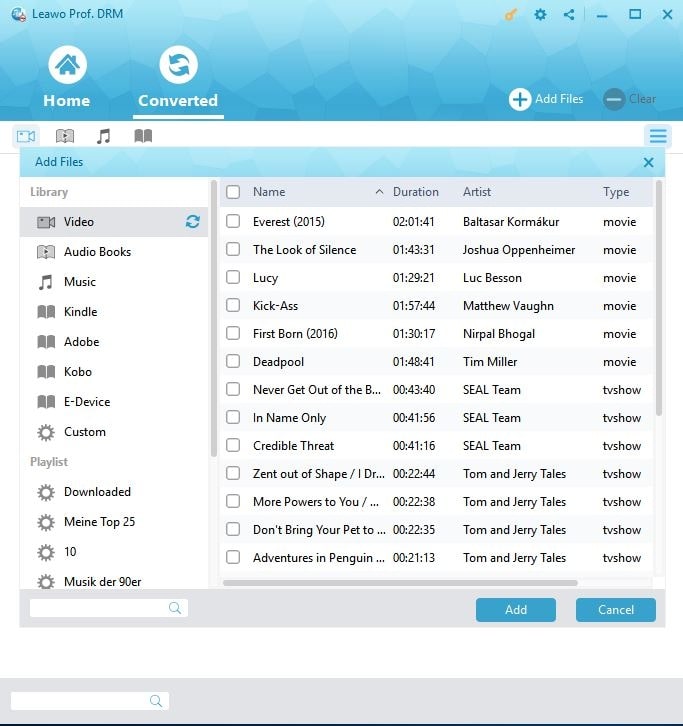
◎Step 2. Import iTunes Videos
Click "Add File" and import one or multiple iTunes videos. Or you can simply just drag and drop.
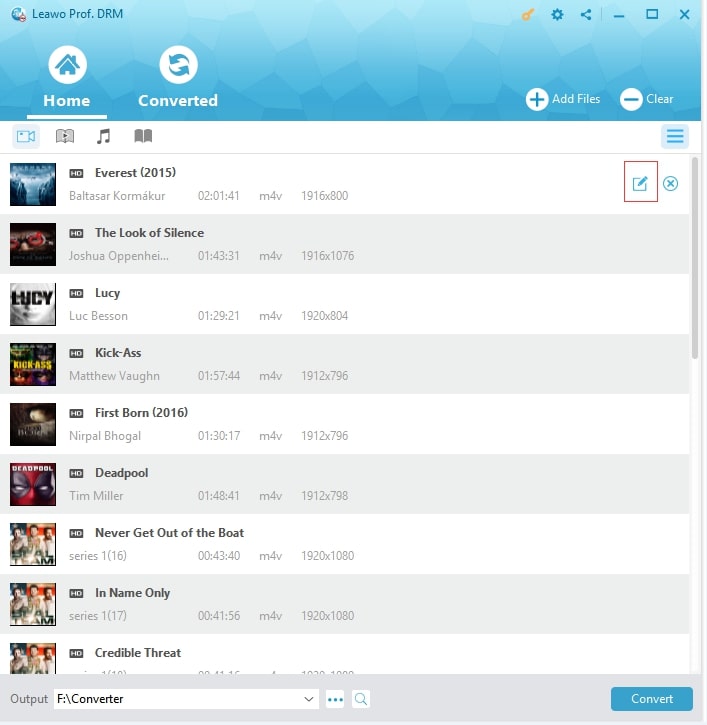
◎Step 3. Customize the Output Settings
After importing iTunes DRM movies into Prof. DRM, click the "Edit" button which is a pencil icon on the right of the videos, to set output settings such as subtitles and format.
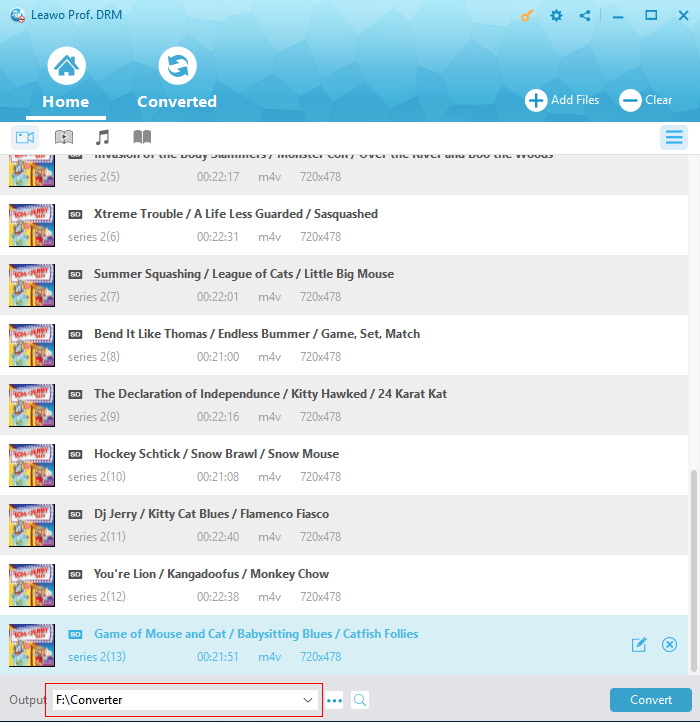
◎Step 4: Set Output Directory
Return to the main screen and look for the "…" button at the bottom. Click it to set the output directory.
◎Step 5: Start Converting videos
Click the blue "Convert" button at the bottom to start removing DRM from M4V and converting it to MP3. The removal and conversion can usually be done very soon but also depends on the number of files you’d like to process. Once the conversion is done, you can click the "Converted" tab to see all the converted files.

IMPORTANT: You will be asked to authorize the computer for playing iTunes video before conversion if you have not yet done so.
Leawo Prof. DRM is the ultimate DRM Removal Program and DRM Media Converter on the market. With Leawo, you can successfully remove the DRM protection upon iTunes music and videos, download and convert iTunes media to MP3, MP4, etc as you like. If you want to mirror your iPhone to PC to enjoy your iTunes video, you can just download them from the desktop. No more fiddling with the devices or bothering the internet connection.
Part 5: How to Transfer Files from iPhone to Computer via iTransfer?
If you have files on your iPhone and want to transfer them to a computer or simply want to back up the files, Leawo iTransfer is here to help! It’s a powerful program provided by Leawo to help transfer files between iPhone and PC. The interface is clean and simple to navigate, and it’s easy to use! Follow the steps below to learn how to do it. You will need to download the software from links before transfer.

Leawo iTransfer
☉ Transfer files among iOS devices, iTunes and PCs with ease.
☉ Transfer up to 14 kinds of data and files without iTunes.
☉ Support the latest iOS devices like iPhone 7, iPhone 7 Plus, etc.
☉ Play back, view, and delete data and files on iOS devices.
![]()
![]()
△Step 1. Connect iPhone to Computer
Launch Leawo iTransfer and connect iPhone to your computer. The program will automatically detect the device and load the library on the left panel.

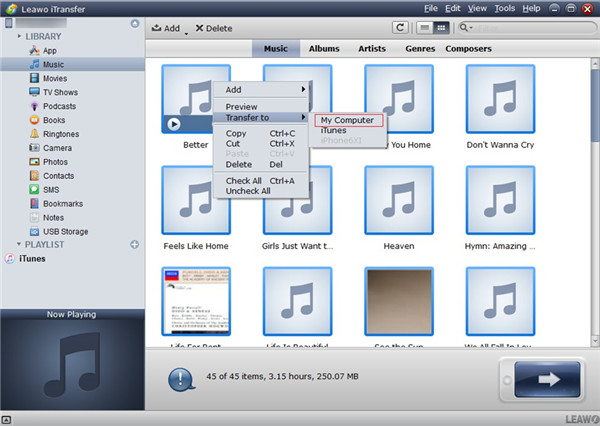
△Step 2. Choose files to transfer
For instance, if you want to transfer music to PC, look for the menus from "iPhone > Library > Music''. Then you’ll see all the music in your iPhone library. If you want to transfer movies just click on the category of movies on the left side. Choose the files you want to transfer to the PC and click the blue “Transfer” button on the bottom right. Select "Transfer to >My Computer" in the pop-up menu.
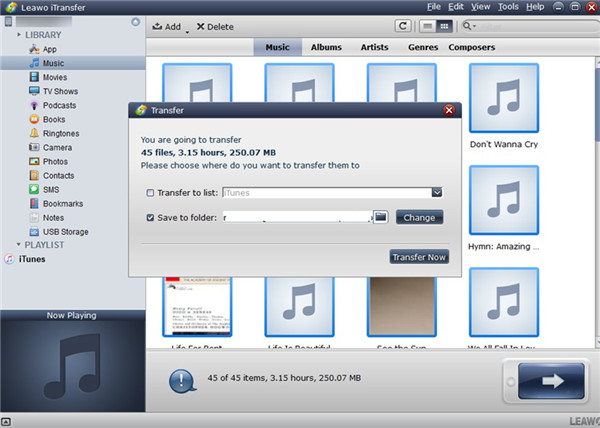
△Step 3. Set Output directory and Transfer Files
You can choose the output directory on the PC here. Click the “Change” button on the right of the option "Save to Folder" to set the output directory. Click on the "Transfer Now" to start transferring files from iPhone to the designated folder on the PC.
That’s it! The whole process is extremely easy and straightforward. All you have to do is just connect your iPhone to your PC. iTransfer is very quick when transferring files so you don’t have to wait around for it to be finished. If you want to backup files on your iPhone and save them to your PC, go get iTransfer.
 Nov. 20, 2018 by


 Prof. Media
 Blu-ray Ripper
 Blu-ray Copy
 iOS Data Recovery
 [12/29/23] MAX Downloader V15.0.0
 10,000,000 people are using Leawo!
 All Transactions are protected!
 30-Day Money Back Guarantee!