As an iPhone user, you may encounter various errors of iTunes, such as error 4005, 2 and so on. Not everyone is clear on what is iPhone error 4005 and how to fix iTunes error 4005. If this is just the contents you do not know, this tutorial will play a role in explaining these two issues for you.
Part 1: Explain What is iTunes Error 4005
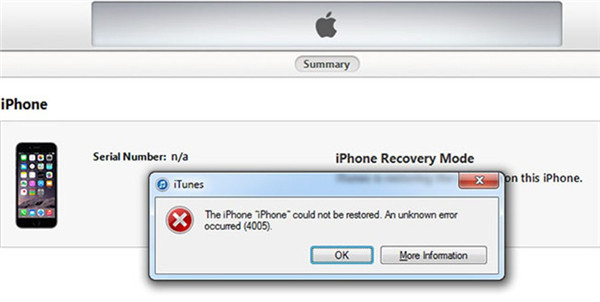
iTunes restore error 4005 is a problem that may occur when you restore your iDevice. You can see one error message shows up in the iTunes screen and then you need to fix it. It may be iTunes error 4005 or iPhone error 4005, which means your iOS device has some problem and can not be restored successfully. However, as for the accurate meaning of this error, iTunes can not identify. This is a bit frustrating, but you can get some methods to fix it by reading the second part of this guidance.
Part 2: How to Fix iTunes Error 4005 When Restore iPhone
Solutions are always more than errors in number. In fact, you can try iPhone error 4005 solution to cope this issue in several ways. You need to choose one method that suits you to deal with iPhone restore error 4005. Here I would like to list some of them for you to pick up.
1. Check USB
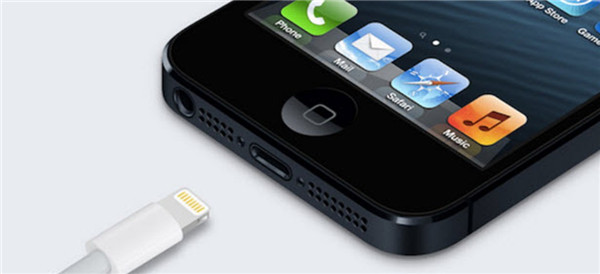
This error may be caused by the connection of USB. You need to make sure your USB port work normally and try to use another cable to connect iPhone with computer. You can also try a different computer to check whether the computer port can work properly.
2. Restart iPhone and Computer
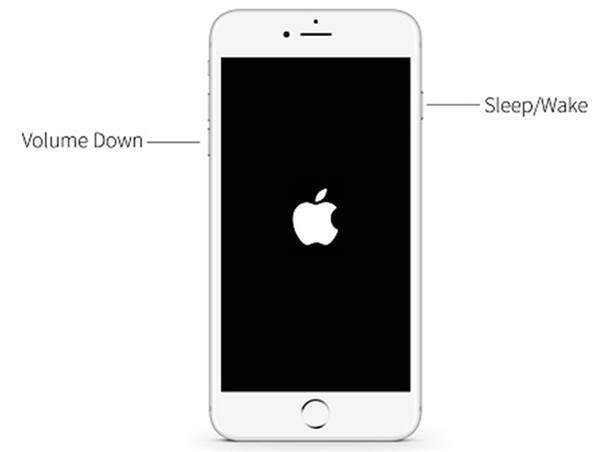
It is a typical and common method to fix errors by restarting iDevice and computer. If you want to force restart iPhone, you need to press and hold sleep/wake and volume down (-) buttons for several seconds until the Apple logo shows up. If your device is iPhone 6 or lower, you can make use of the sleep/wake button and home button to realize your goal of force restarting.
3. Update Computer and iTunes
You can check whether your computer system and iTunes versions are the latest ones. If not, you can use the method shown below to update.
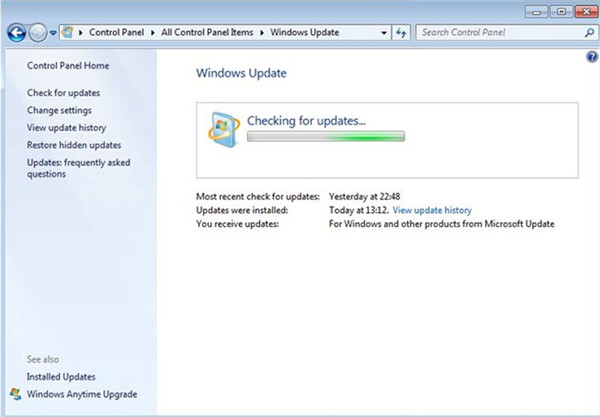
1) As for Windows updating, you need to hit the button of “Start” and then type “Update” in the searching bar. Click on “Windows Update” to realize reach your target.
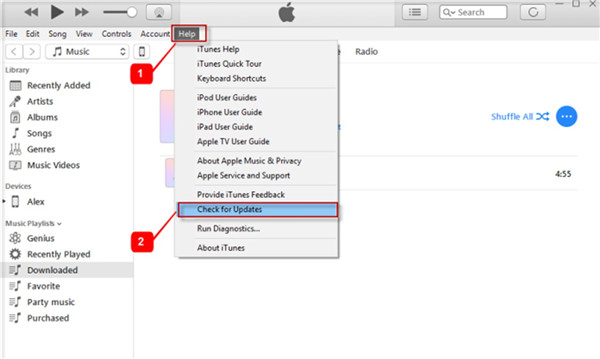
2) If your iTunes is not the latest version, you can run iTunes and then click on “Help” in the toolbar at the top of the main interface. After that, hit “Check for Updates” and then follow the screen directions to finish the iTunes updating task.
4. Use iPhone DFU Mode and Restore
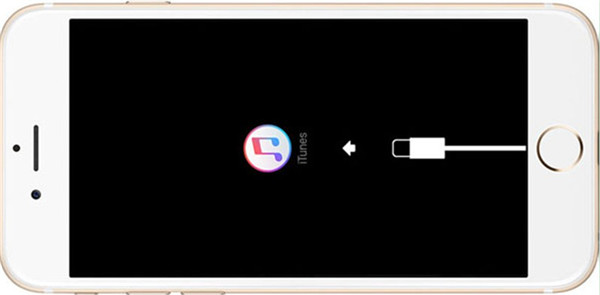
In order to fix iPhone could not be restored 4005 error, you can try to turn off your iDevice after you connect it with computer and run iTunes. After that, press and hold on/off button and then the volume down button for 10 seconds until the screen become black. Thus, you are in DFU mode. You can make use of this mode to complete iTunes error 4005 fix.
Part 3: How to Restore iPhone Backup via Leawo iOS Data Recovery
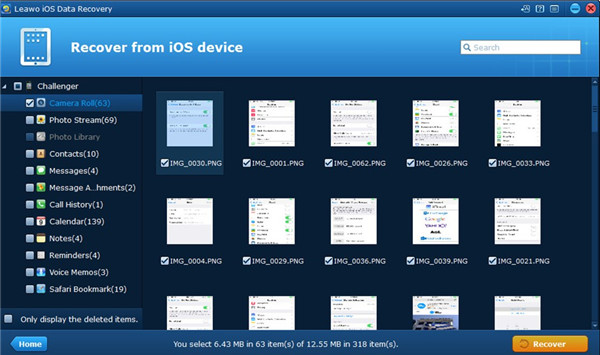
It is really one annoying thing when the iPhone could not be restored an unknown error occurred. For the purpose of restoring iPhone backup, you can try the 4 solutions shown in Part 2. However, if all of them do not work, you can also take advantage of a third-party tool to handle this issue. There is an amazing data recovery tool that I would like to recommend to you: Leawo iOS Data Recovery. This program is quite efficient in solving various data recovery problems and the two modes of it are quite convenient for you to use. Normal mode and DFU mode have their own advantages and disadvantages. For Normal Mode can be used by all iOS devices, here I would take this mode for instance to recover iPhone camera roll from iOS device.

iOS Data Recovery
☉ Recover multiple deleted data directly from iPhone/iPad/iPod touch
☉ Extract and export 12 types of files from previous iTunes&iCloud backup
☉ Back up 12 kinds of data on iOS devices to computer
☉ Recover data lost due to jailbreak, iOS upgrade, deletion, etc.
☉ Support iPhone 6s/6s plus, iOS 9.3.2, iTunes 12.4 & Win10
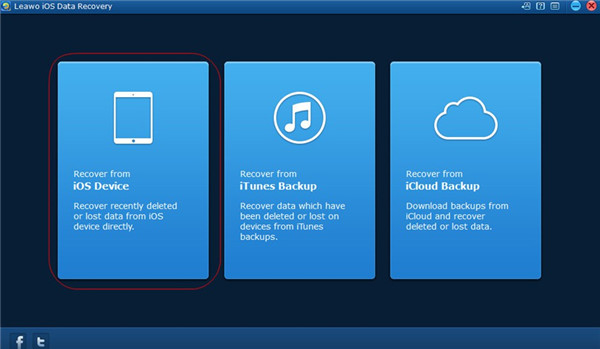
1. Choose Backup Source
Connect your iPhone with computer and run Leawo iOS Data Recovery, and then hit the panel of “Recover from iOS Device”.
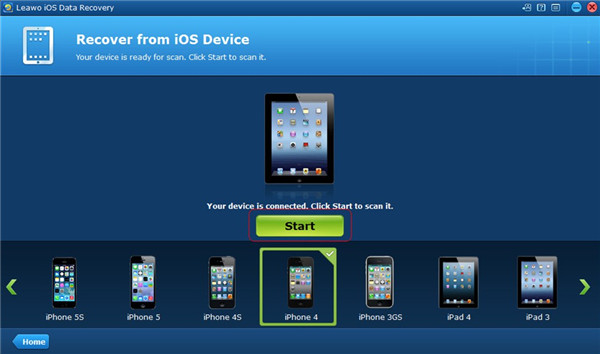
2. Hit Start
Tap on the green button “Start” to start scanning iPhone data.
3. Choose iPhone Pictures
When the software finishes the scanning process, you can check “Camera Roll” and then choose the pictures you want to recover. After that, hit “Recover” button at the bottom right of the screen.
4. Set Target Folder
In the next panel that pops up, click on “Open” button and then choose a folder on computer to save the exported files. Afterwards, click on “Go” button in this panel to begin to recover pictures from iPhone.
As for recovering other types of data, you can check the corresponding category in the left sidebar and choose the files you desire to export to computer. With just several clicks, this issue can be solved perfectly. There is no need for you to hesitate any more. You just need to download this software and install it on computer to prepare for the data recovery right now. You will not be disappointed.

