Nothing is more annoying than forgetting your iPhone passcode. Worse than that, it is difficult to unlock a disabled iPhone if you are a green hand. Imagine when your kids are playing with your iPhone and use their chubby fingers trying to open your iPhone which of course fails in the end and consequently you are so angry that your iPhone has been locked and you fail to unlock your iPhone anymore. That’s frustrating, isn’t it? In this article, we are going to help you out and show you the best ways to fix the iPhone is disabled error.
Part 1: What is the cause of this error
As I said in the introduction part, incorrect passcode entries will lead to the iPhone is disabled error. This is especially true when you have kids who would rack their brains to use your iPhone for playing games while they do not have the passcode. What can they do? Usually they will try random passcode to unlock your iPhone however as we all know, this is dangerous and they have very low possibility to enter the correct passcode, right? As a consequence, your iPhone might probably be locked after a certain time of incorrect entries. Apple has a strict rule to protect your iPhone being stolen which in fact, will safeguard your iPhone data from being accessed by somebody else.
In addition, some users would change their passcode from time to time in an attempt to keep their iPhone secure to some extent. This is a good idea to prevent others from memorizing your passcode and unlock your iPhone but this is also easy to let you forget your iPhone passcode. There are so many passcodes and which one is correct? Forgetting your passcode and incorrect passcode entries will absolutely drive you crazy and lead to iPhone is disabled error. If you have genuinely forgotten your passcode and have no apparent way to unlock your iPhone with ease, you can try our recommended methods below.
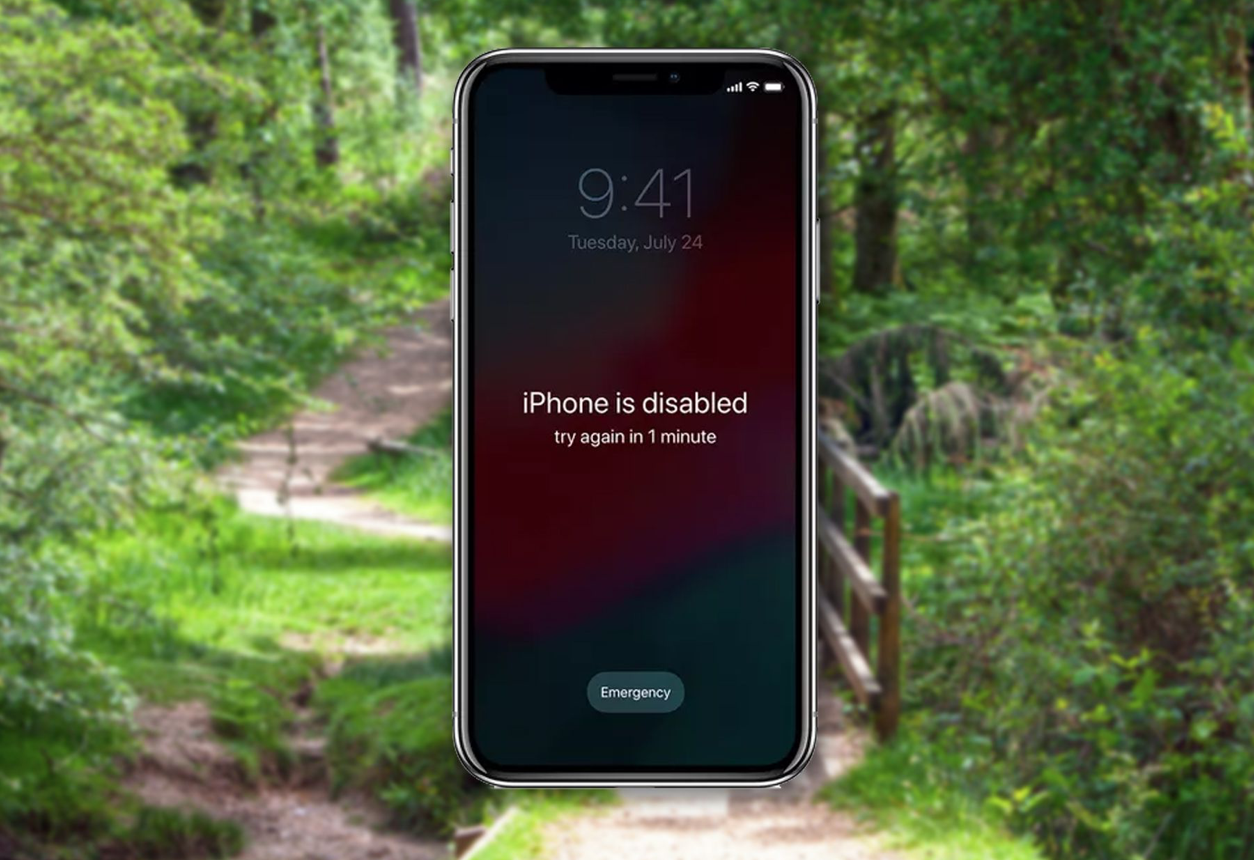
I will let you know that any iOS device—iPhone, iPad, iPod touch—can be disabled, but the messages you see come in a few different forms. Sometimes you'll get just the plain "iPhone is Disabled" message or one that says that and adds that you should retry it in 1 minute or 5 minutes.
Part 2: How to fix “iPhone is disabled” issue
When you encounter this error indicating your iPhone is disabled, try not to freak out and sit down reading our solutions carefully. It will help you out! Trust me!
Of course when possible, I suggest you enter the passcode to try a few times, maybe you get the luck to hit the right one, who knows! But bear in mind not to try too many times like 11 times, which will inadvertently delete your own data. This is the upper limit after which Apple will stop you from doing anything on this iPhone because the device detects too many failed trials and treats you as a fake user. That may be a sign that someone is trying to break into the phone. Disabling the phone prevents them from continuing. If you are a genuine user, you cannot be more frustrated. But you are not completely out of options. You have ways to fix the error “your iPhone is disabled”.
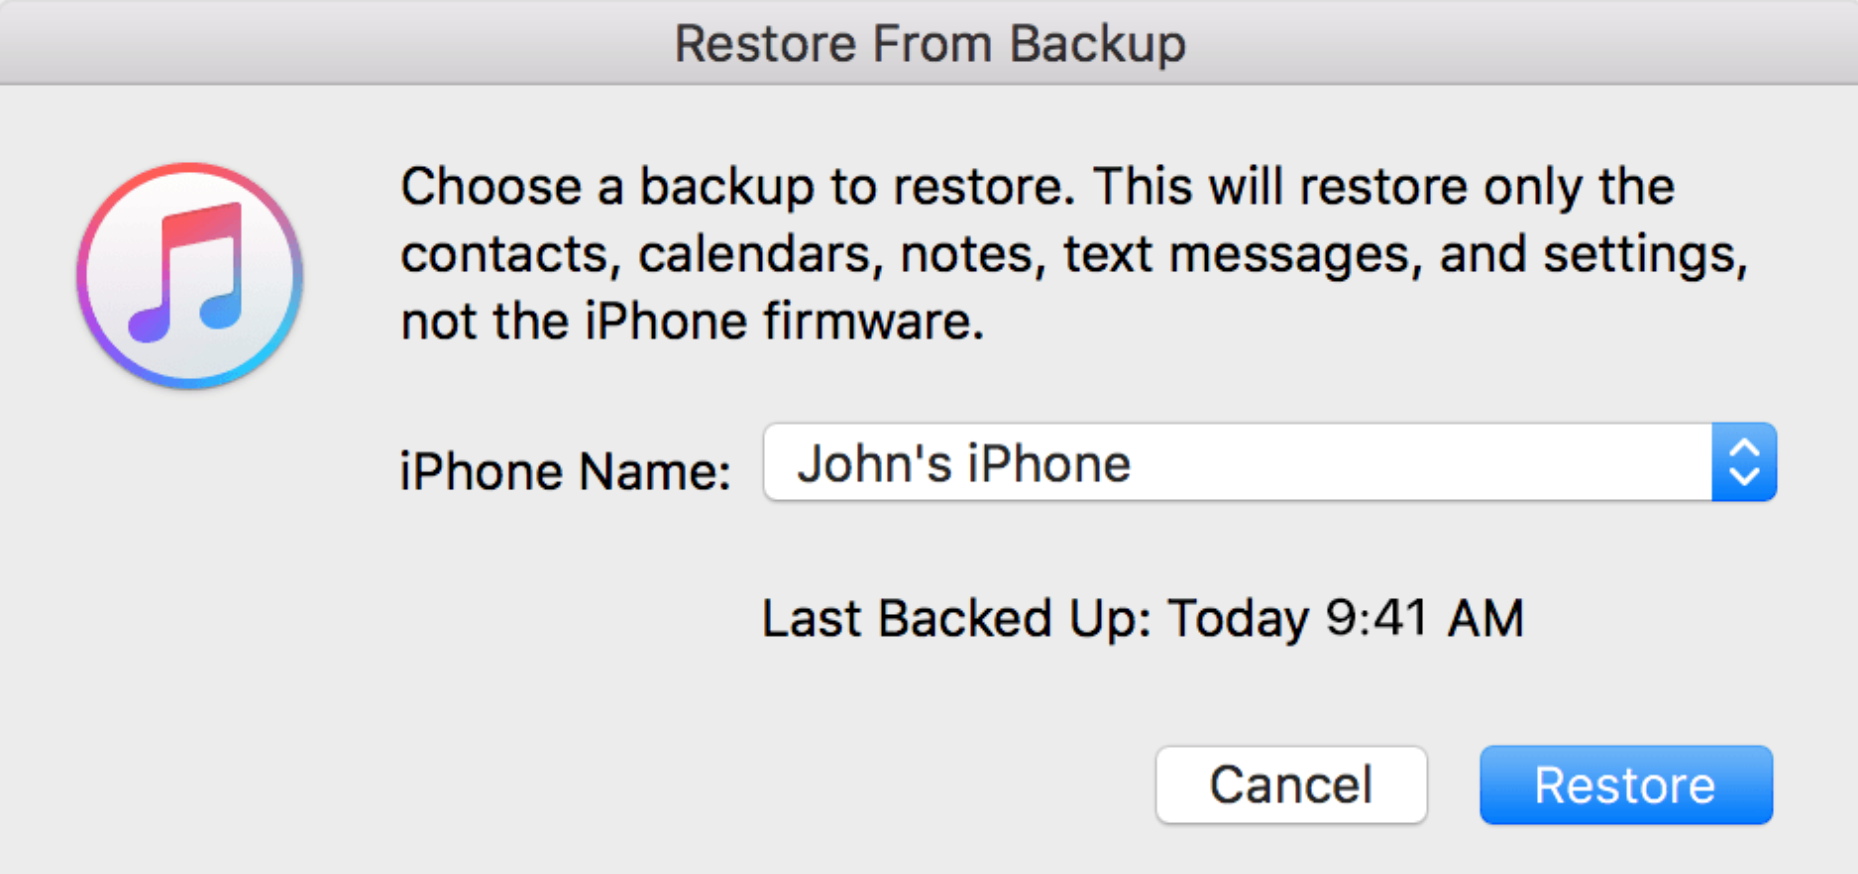
First of all, you can restore your iPhone to make it usable again. You need the backup data to restore your iPhone. This can be fulfilled on iTunes and you can connect your device to the PC and launch the iTunes to do the restoration. This takes time but you can give it a shot as it will let you restore your iPhone with previous backup files.
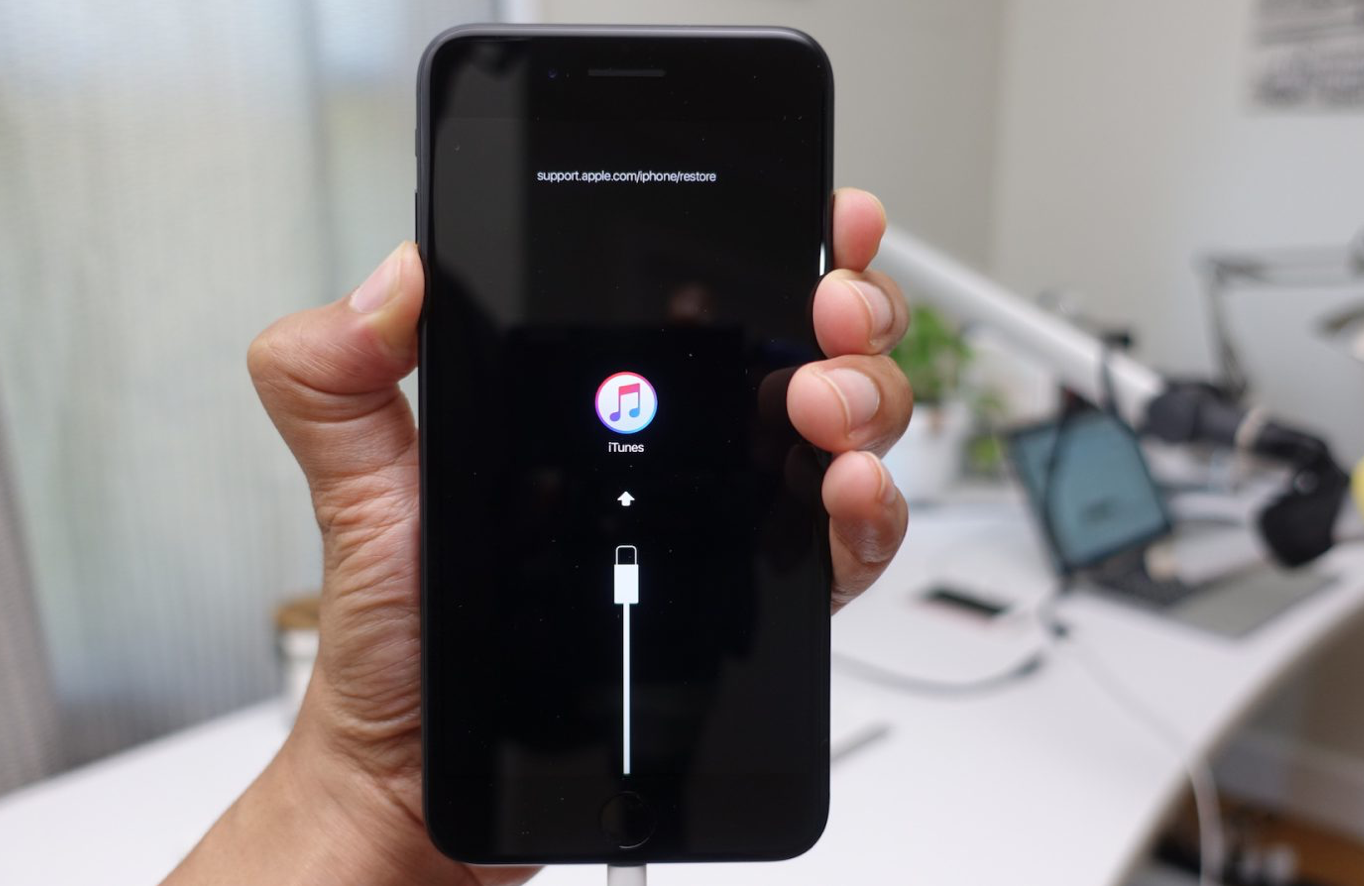
Second, use Recovery Mode. If restoring doesn't work, or if you've never synced your device with iTunes, you need to try Recovery Mode. In this case, you might lose some data after recovery.
Third, use iCloud and Find My iPhone to erase all data. Either log in to iCloud on the web or download the Find My iPhone app (opens the App Store) to a second iOS device. Then log in with your iCloud username and password. This will erase all data so don’t try this method until you make up your mind to do it.
Part 3: How to restore your iPhone
Talking about how to restore your iPhone, the first thing comes into your mind should be iTunes. Yes, you are right. You can connect your device to your PC or Mac, open up iTunes, and open up your device from the button found on the top left. Then go forward to restore your data to your iPhone. When prompted, restore to the most recent backup made, which allows you to have the most out of your iPhone before being locked.
Besides restoring from iTunes backup, you can try some third party recovery tool as well. Leawo iOS Data Recovery will be a good choice for you. This recovery tool is developed to recover all kinds of data with ease.
Being an all-in-one data recovery tool for iOS devices like iPhone/iPad/iPod, it supports recovery of 14 types of data including Contacts, Messages, Call History, WhatsApp, Calendar, Notes, Reminders, Safari Bookmarks, Camera Roll, Photo Stream, Photo Library, Message Attachments, Voice Memos and WhatsApp Attachments. Well if you are worried about losing some data during iTunes backup, you can use Leawo iOS Data Recovery to recover the backup files in advance before restoring them to your iPhone. Here we go.
Step 1: Download and install the app to your PC
Click the button below to download and install the app. If you are running on Mac, choose the Mac-version app to install.
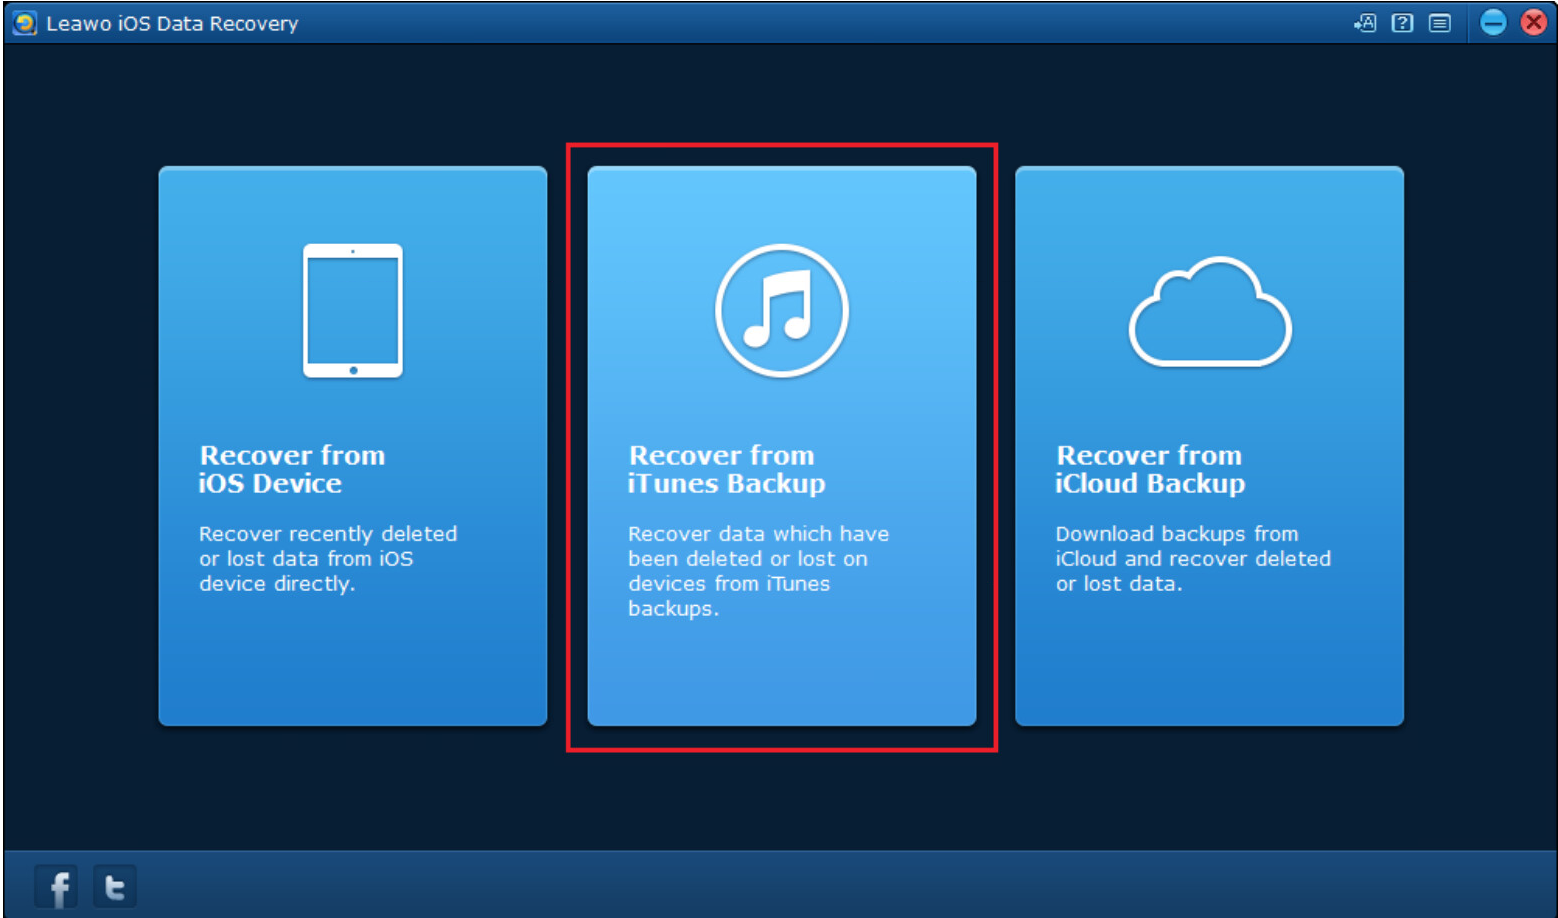
Step 2: Choose the Recover from iTunes Backup mode
When launching the app, you can choose to recover from iTunes backup on the home interface.
Step 3: Click the device backup file to recover
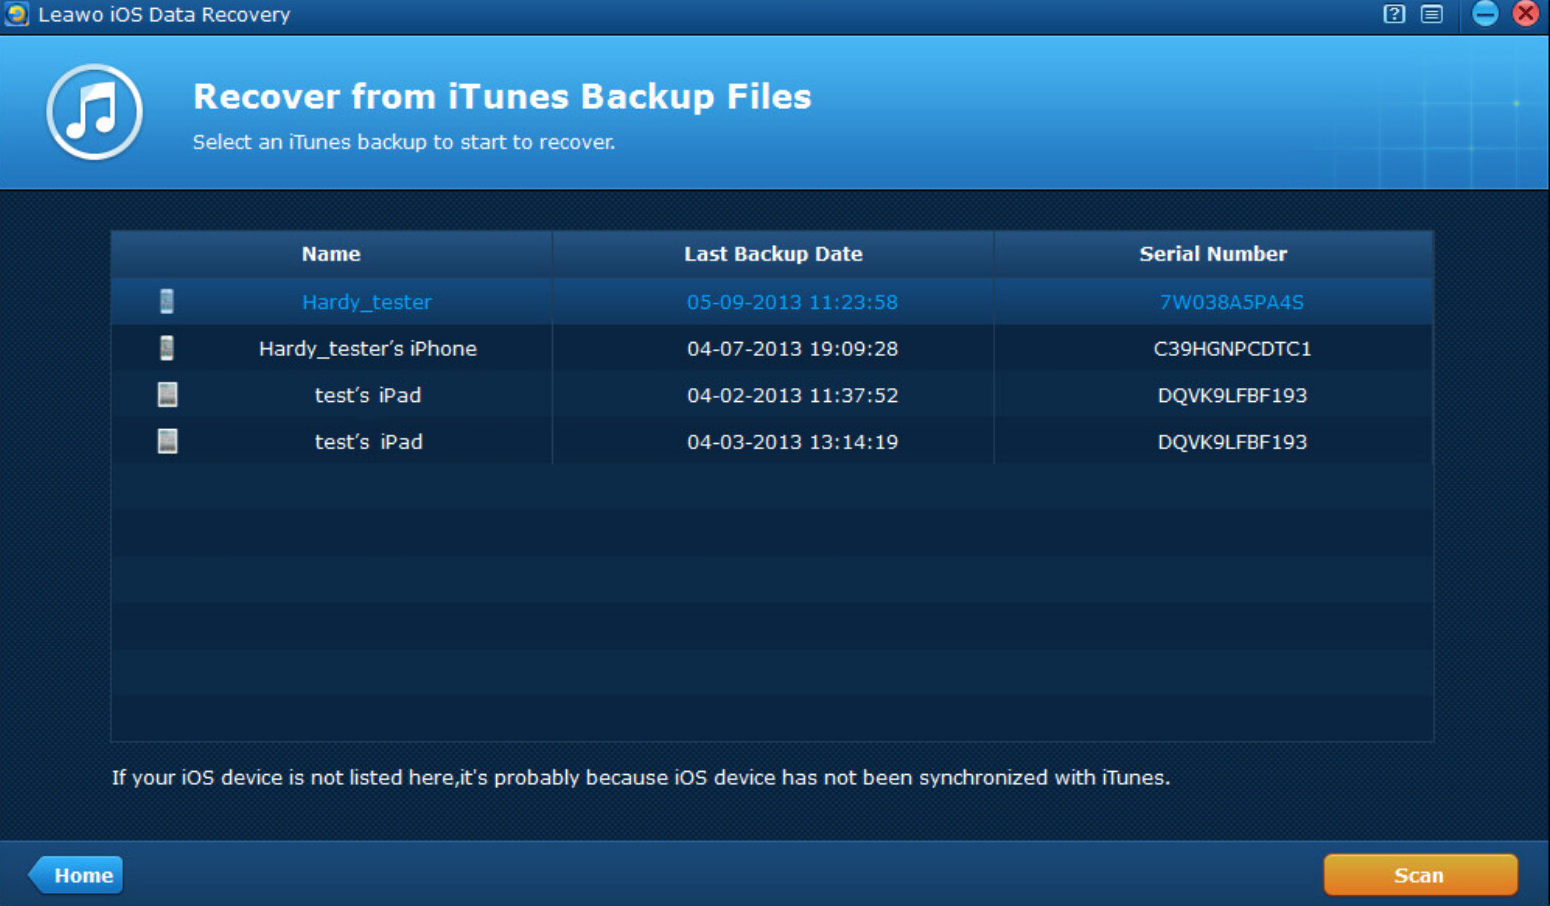
After you launch the app and click to recover from iTunes backup, there will be a train of devices that you have backed up using iTunes. Click the correct device to enter the main interface of device data. Then hit the Scan button on the lower right to continue.
Step 4: Display the files to recover and start recovery process
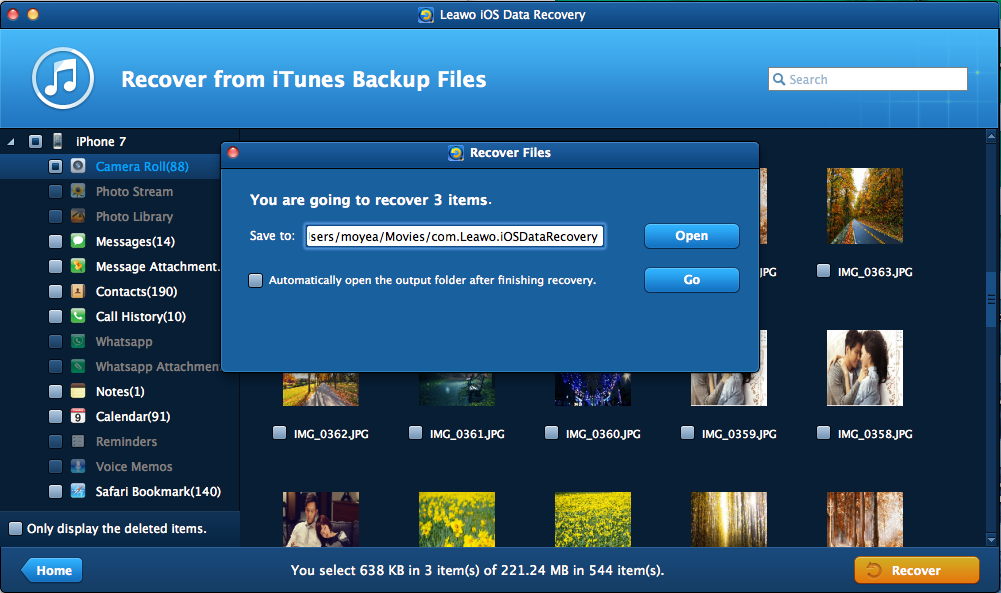
After scanning the device, you can see all the data displayed on the left pane and tap to display only deleted items, then check the box in front of the files to recover. Hit the Recover button on the lower right and you will see a window appearing to let you select the directory to save the output files. Set it accordingly and click Go to start the recovery process.
After the process is done, your files will be recovered and you will transfer the files and restore to your iPhone. Note that besides recovery from iTunes backup, you can also choose to recover from iCloud or iOS devices. A similar procedure will be taken to recover your data within clicks. You can try when in need.
Well when your iPhone has been restored correctly, you will be able to use it again and unlock your iPhone just like a new iPhone. Don’t forget your iPhone passcode again.
Part 4: Conclusion
Forgetting iPhone passcode is quite common especially when we have lots of passcodes and use different ones to unlock iPhone. For a specific period, we might accidentally enter the wrong ones up to 11 times and Apple will eventually forbid us from enabling the iPhone again. This is a measure to protect our iPhone from being stolen or wrongly used when it signals some abnormal practice on the iPhone. When your iPhone gets locked and you are unable to unlock iPhone, you must be very frustrated but this can be resolved if you restore your iPhone from iTunes. In most cases, users will consider restoring from iTunes but sometimes their backup files may get deleted or damaged to some degree during iTunes backup, which may result in unsatisfactory restoration. Hence we introduce Leawo iOS Data Recovery to you, a tool to help recover up to 14 kinds of data from iOS devices, iTunes backup, or iCloud. Moreover, with this intuitive and lightweight app, you can easily locate the deleted or damaged files, which can be recovered effectively.
Within the article, you can learn that if restoring from iTunes does not help, you can use iCloud and Find My iPhone to erase all data. Note that this method should be taken when you really have no other ways to restore your iPhone because it will erase all your data after you use this function to wipe your iPhone remotely. Think it twice before you choose this solution to resolve the error of “your iPhone is disabled.”

