While the majority of people enjoy watching videos and movies without subtitles, they are important for some people and the reasons why that is so might surprise you. It is also important for subtitles to be accurate, and depict what exactly is being said in the video or movie. After all, no-one wants to watch a video or movie that has subtitle errors, as it can potentially spoil the experience.
Menu
Part 1: Why subtitles are necessary
Before we show you how to subtitle edit, we will first take a look at five reasons why subtitles are necessary.
There are people with hearing difficulties, as well as people with complete hearing disabilities. This affects millions of people from all over the world, and it would be unfair to exclude them from videos and movie experiences. With subtitles, they can enjoy videos and movies as much as anyone without hearing difficulties and disabilities.
Not everyone is the same, and that means we all learn differently. While some people learn through doing, some learn through watching, others through listening, and others through reading. People who learn best via reading get more out of videos and movies if they have subtitles. According to some statistics, many people turn on subtitles of videos or movies even if they are native speakers of the original language just so they can understand it better.
Great videos and movies do not only come from one country or region, but they come from all over the world. Unfortunately, not everyone in the world speaks the same language, even popular languages like English, Spanish etc. In order to make everyone understand videos and movies, subtitles exist and they are always available in multiple languages.
A study conducted by PLYMedia in 2009 concluded that up to 80% of people who watched a video had subtitles included. In comparison, only 66% of viewers watched a video or movie to completion when it had no subtitles. This could be explained by the fact that videos and movies are understood better if they have subtitles.
When you are watching a video or movie from another country or culture, you can get to experience and learn more about that culture through understanding it better by subtitles.
Part 2: Edit subtile with online tool
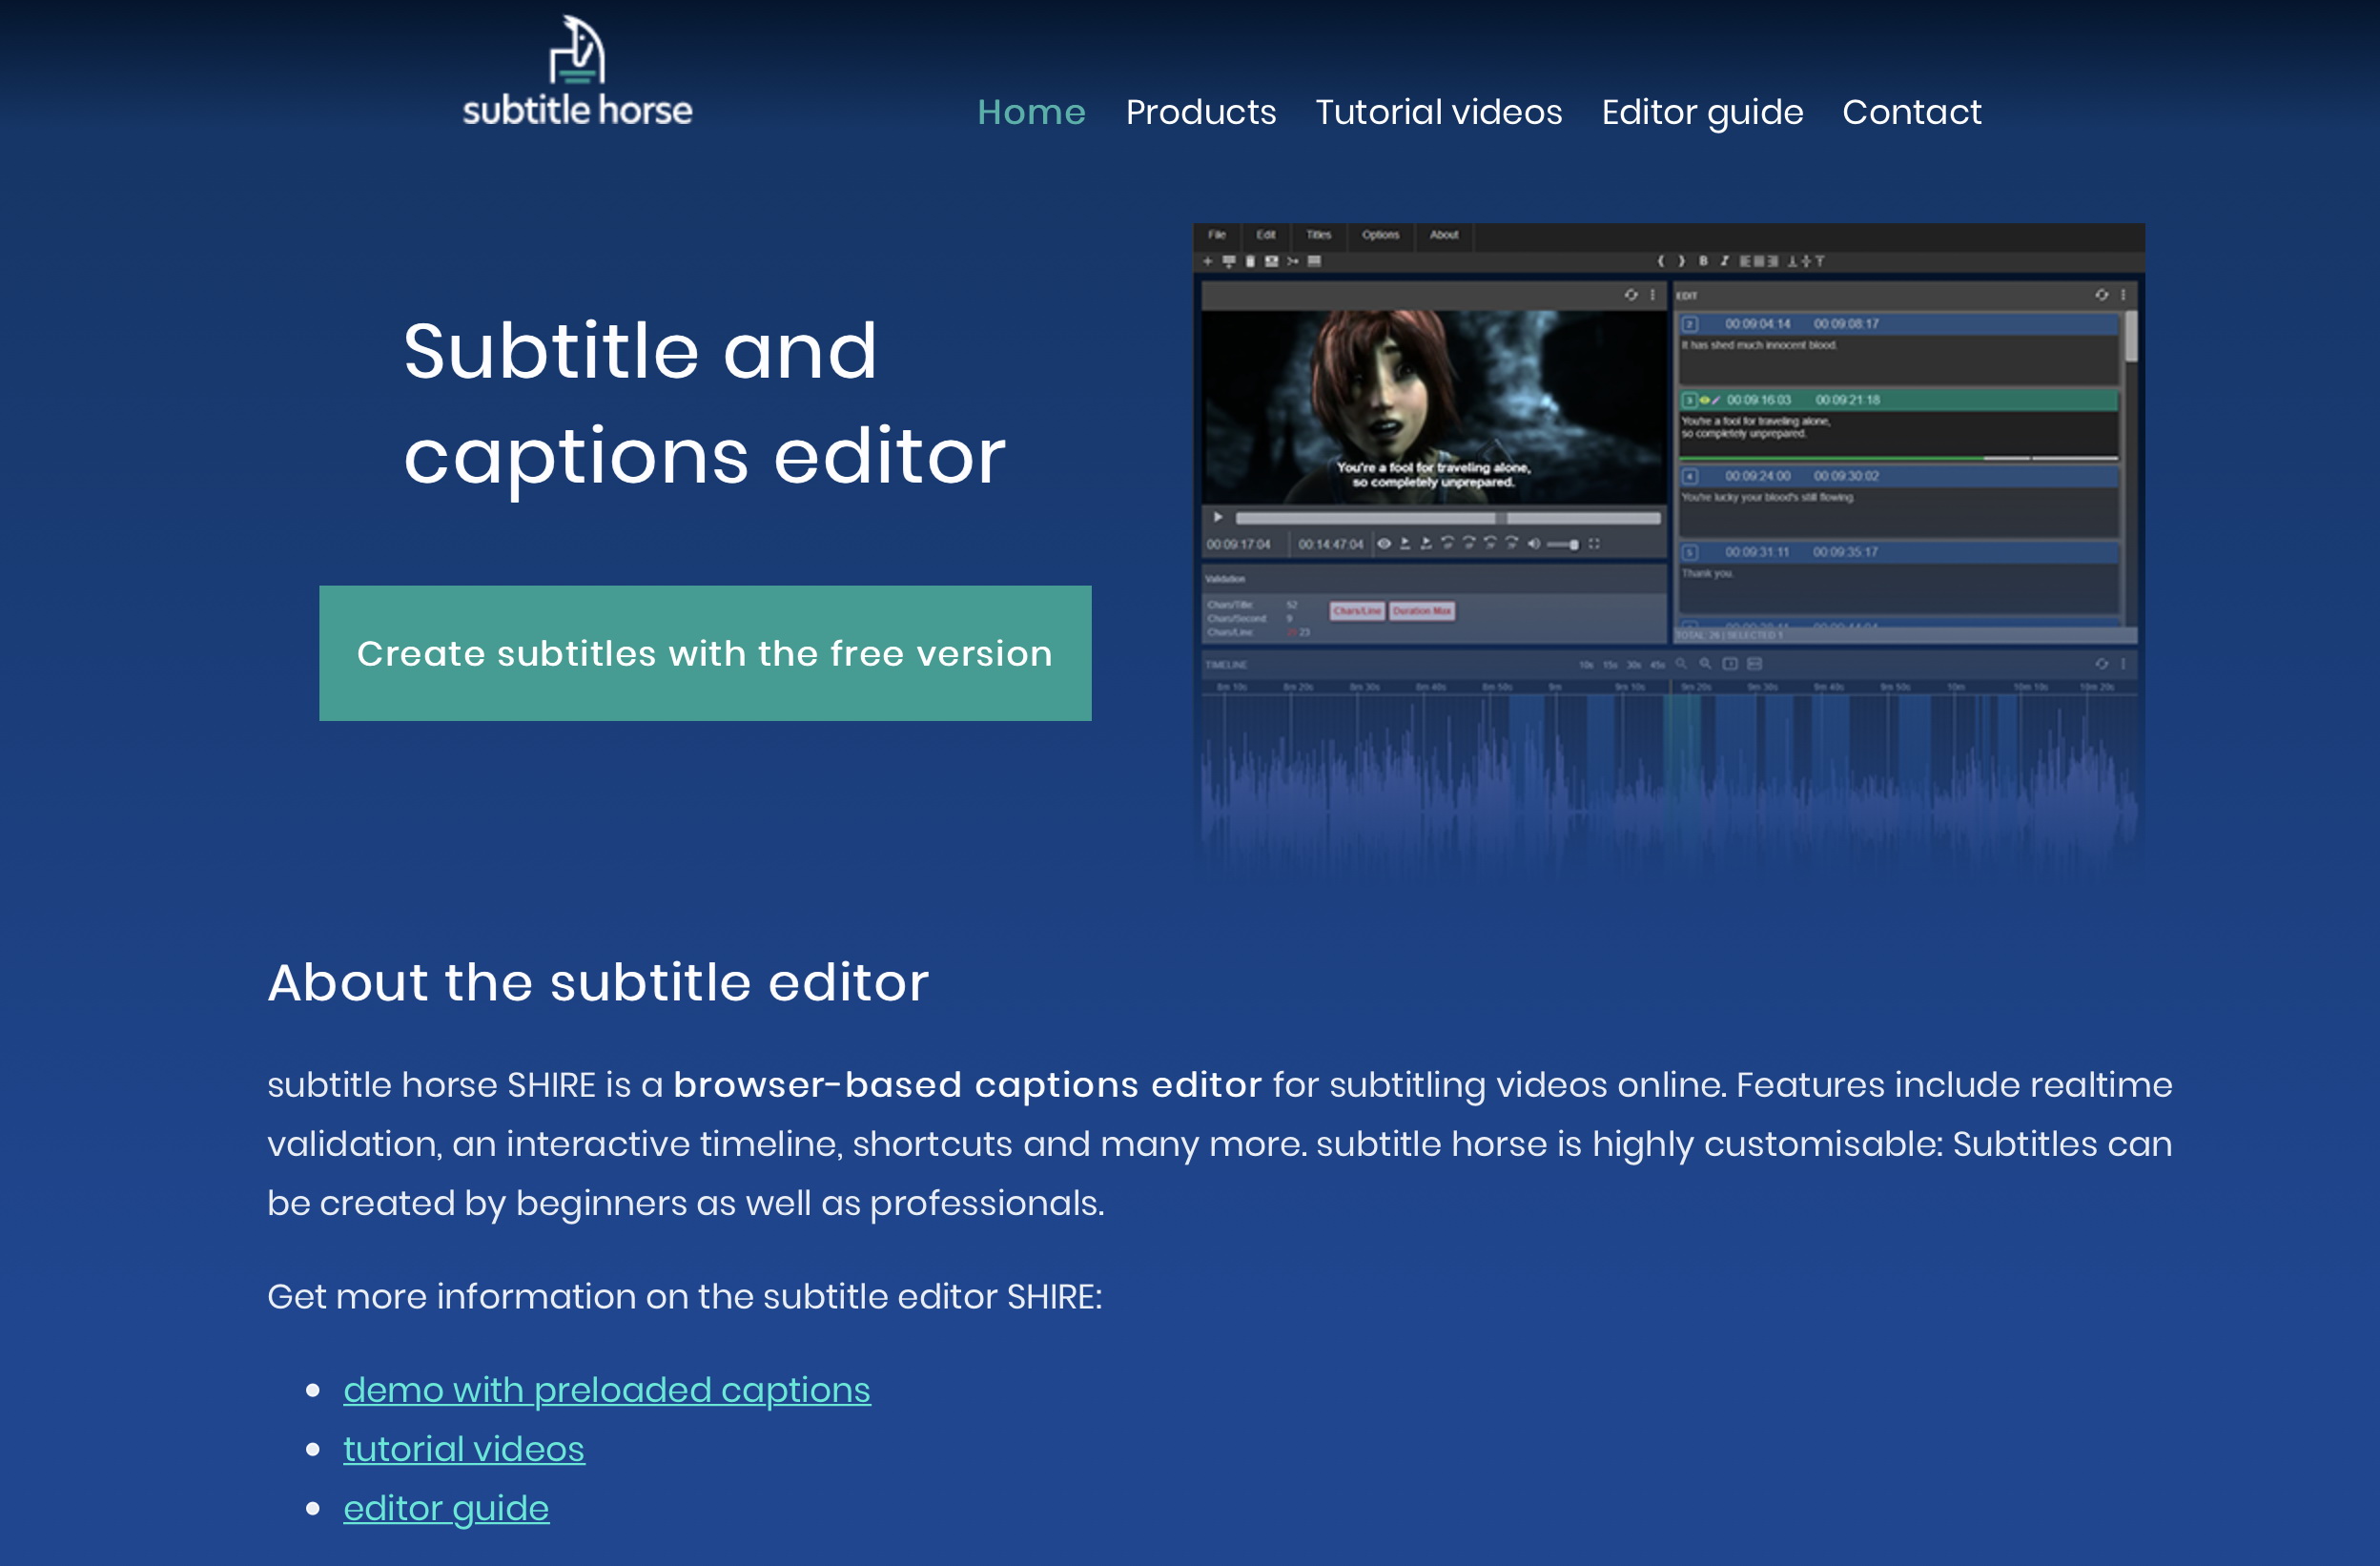
There are plenty of subtitle editors available on the internet, but we have handpicked what we believe is the best solution for subtitle edit online. The service is called Subtitle Horse, and it has been around for a very long time. In fact, it is one of the most respected caption editing tools. It is an open-source platform that you can easily use free of charge. It supports the widest array of formats for web-based tools. When you create or edit a subtitle, you can easily convert it to a variety of caption formats, and download it straight to your computer. If you fail to finish editing your subtitles in a single day, this service will hold your projects for four days. If you want to edit subtitles for any video or movie by using this service, first of all, you need the original subtitle file. Here is how you can edit your subtitles:
Step 1: Visit the Subtitle Horse website. Once you open the website, scroll down until you see the section where it says “Free version - create captions without registration”.
Step 2: Click the provided link under this section, which should redirect you to the editing page.
Step 3: Upload the original subtitle file by clicking the “Choose file” button. Once that is done, you should see the editor which will allow you to select the sections and edit the text.
Step 4: Once you are done, save your work. The website should provide a download link to you, and you can click it to download and save your edited subtitle file.
Part 3: Edit subtitle with Subtitle Workshop
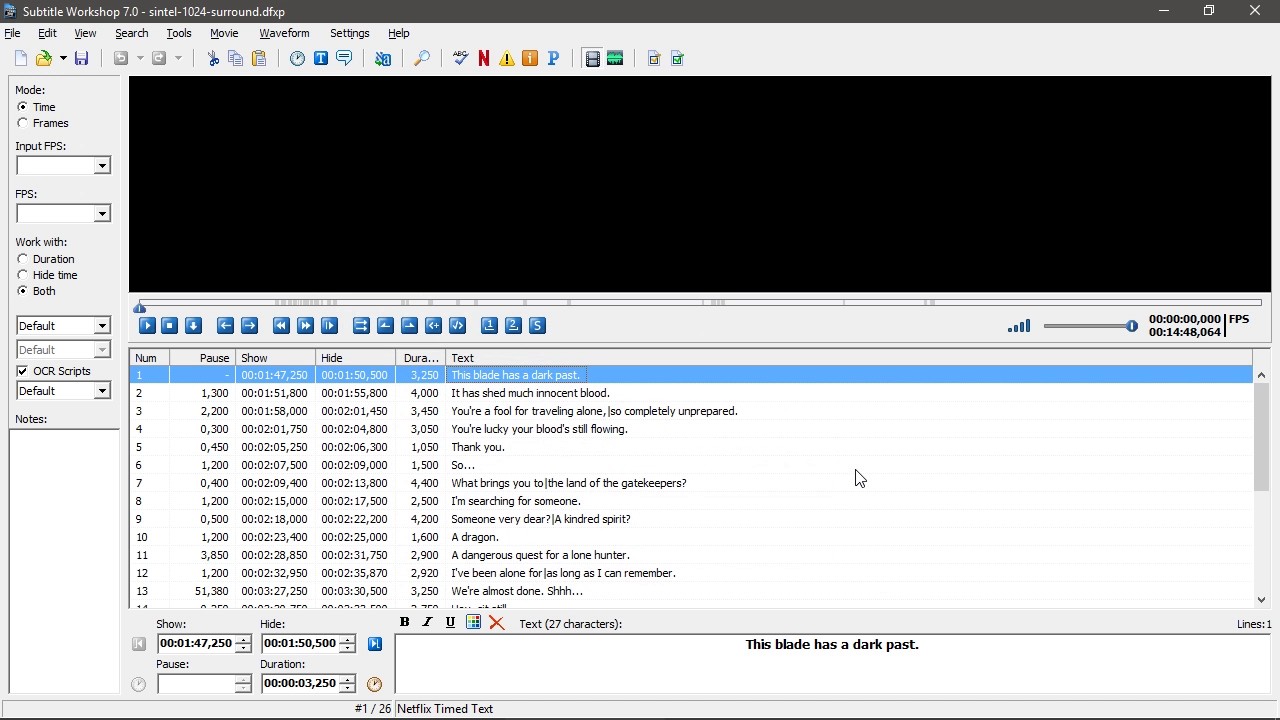
If you prefer subtitle edit download, then you can try Subtitle Workshop, a free Windows tool for creating, editing, and converting text-based subtitle files. It supports converting between, creating, opening, editing, and saving over 60 subtitle formats. It has a vast array of customizable tools and functions for automatic timing and text manipulations, including automatic durations, smart line adjusting, spell checking, FPS conversion, search and replace, and many more. It offers various information about the subtitle file, including custom information based on user-defined rules about the timing or the text. It has a lot more features, and here is how you can use it to edit your subtitles:
Step 1: Download an install this software on your computer. Click “File” on the menu bar, followed by “Load subtitle…” to import the subtitles.
Step 2: Once you load the subtitle, click the “Time” bullet on the left sidebar. You should see the time (“Show” and “Hide”) which indicates when the subtitles will appear and disappear. You should also see the “Text” field.
Step 3: Double click the specific text you wish to edit under the “Text” field. An editing box will be at the bottom, where you can freely edit the text.
Step 4: Once you are done, click the “File” button, and select the saving option.
Part 4: Edit subtitle with Adobe Premiere Pro
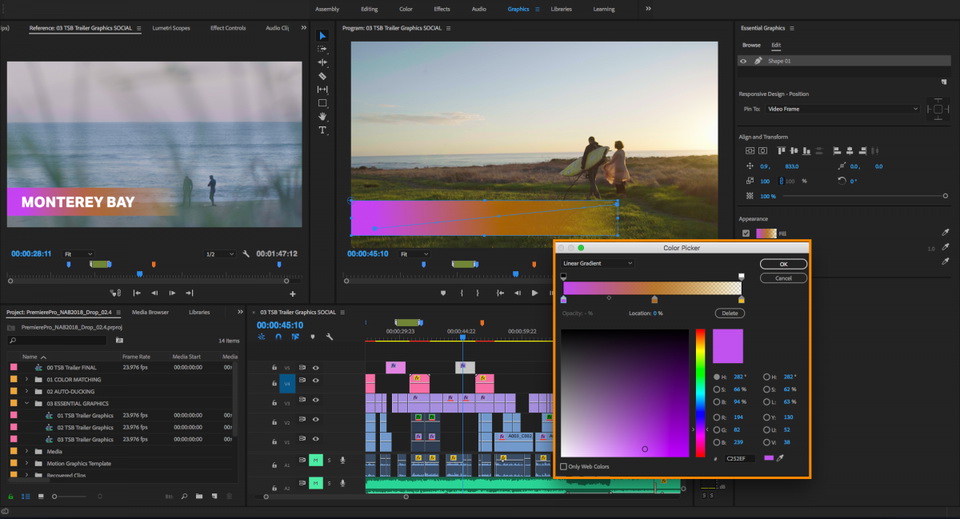
Adobe Premiere Pro is an advanced video editing application, and according to Adobe, this application is the industry-leading video editing software for film, TV, and the web. It was first released in 2003, and it is in direct competition with softwares like Final Cut Pro. Adobe Premiere Pro provides users with a set of captioning features that lets them edit, create, and export captions or subtitles in all supported formats. You can basically edit the text, color, background, and the timing of the captions. While Adobe Premiere Pro is an advanced software that often requires professional knowledge and skills, we will make a subtitle edit tutorial that anyone can use with ease. Here is how to edit subtitles by using Adobe Premiere Pro.
Step 1: First import the subtitles by selecting “File> Import” to import the embedded subtitles into the sidecar files.
Step 2: You should see the subtitle file in the Timeline panel. Select it, and the Captions panel should open by default.
Step 3: In the Captions panel, you can make word-level edits of existing caption clips. You can also change the timing, duration and formatting, like, text alignment and color, from an intuitive user interface.
Step 4: Once everything is done, save your work and export the edit subtitle file.
Bonus: How to add subtitles during the playback of movie
It is a fact that not everyone can speak the same language, and not everyone can hear audio clearly. For these reasons and many more, subtitles are necessary for the playback of movies and audio. If you notice that there are some errors in the subtitles, then you can simply edit the subtitles online, using Subtitle Workshop, or using Adobe Premiere Pro. If you need a good media playback software that can enable you to add subtitles, as well as packing other cool features, then try Leawo Free Blu-ray Player. 4K content is fast becoming the standard of movies, TV shows, and pretty much any video content. In order to achieve quality and smooth media playback, Leawo Blu-ray Player is built with hardware and software acceleration technologies which will enable you to run your content properly (in the resolutions of 720P, 1080P, 1080i and 4K (2160P). With support for over 180 video and audio formats which include AVI, ASF, MPEG, WMV, FLV, MKV/MKA, MP4, WPL, M4A, QuickTime, AAC, NUT, OGG, OGM etc., you can pretty much play anything you want.
As a dedicated Blu-ray and DVD player, you can play Blu-ray Discs, folders and associated file formats, from the regions A, B or C, such as playing region A Blu-ray disc in Europe. Also, you can play DVD Discs from regions 0 to 6 freely with this program.

-
Leawo Blu-ray Player
Region-free Blu-ray player software to play Blu-ray disc and DVD disc for free, regardless of disc protection and region restriction.
Play 4K FLV videos, 4K MKV videos, 4K MP4 videos, etc. without quality loss.
Play 1080P videos, 720P videos with lossless quality.
Here are some tips on how you can add subtitles during playback, as well as other tips on how to maximize using this software.
Step 1: Import your movies
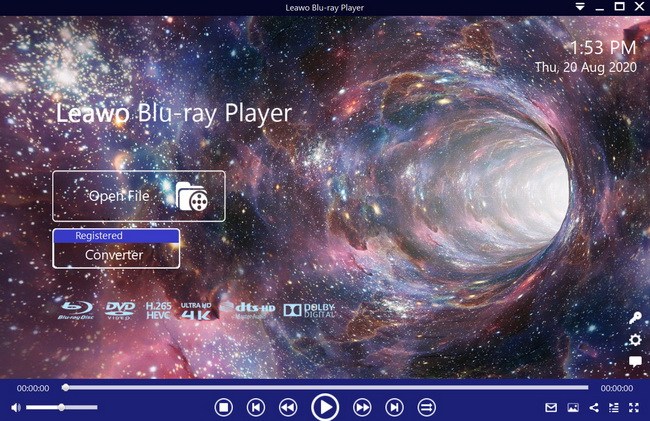
Open the Leawo Blu-ray Player media playback software, and click the "Open File" button to browse and load the movies for playback. For Blu-ray and DVD movies, insert the corresponding disc into the disc drive. You should see your movies on the playlist.
Step 2: Add the movie subtitles
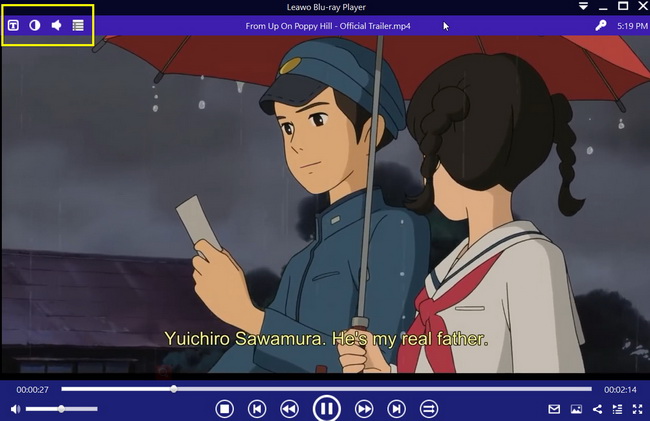
When you load your videos or movies, the software should automatically begin the playback. During playback, move your mouse over to the Title Area. From the 4 available options, click the "Subtitles" icon. You can enable, disable, select or import subtitles. To import subtitles, make sure you have the .SRT subtitle file ready.
Step 3: Video settings
Move your mouse over to the top left corner, or right click on the main interface and choose the "Videos" option to enter the ‘Video-Settings’ panel. Options that are available include video cropping, post-processing, view mode, zooming etc.
Step 4: Audio settings
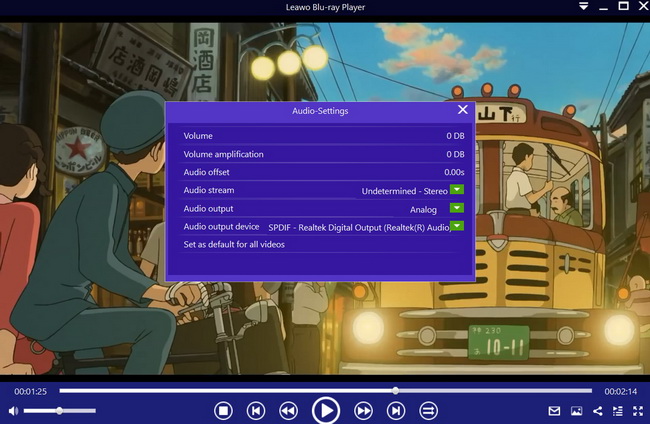
Move your mouse over to the top left corner, or right click on the main interface and select the “Audios" option to enter the ‘Audio-Settings’ panel. The options available include audio volume, amplification, offset, stream, output device, etc.

