While the majority of people enjoy watching videos and movies without subtitles, they are important for some people and the reasons why that is so might surprise you. It is also important for subtitles to be accurate, and depict what exactly is being said in the video or movie. After all, no-one wants to watch a video or movie that has subtitle errors, as it can potentially spoil the experience. In this article, we will show you how to create subtitles. But before we do that, we will discuss some reasons why subtitles are worth it.
Outline
Part 1: Why is SRT file important?
1. Not everyone has the ability to hear audio at the same rate
There are people with hearing difficulties, as well as people with complete hearing disabilities. This affects millions of people from all over the world, and it would be unfair to exclude them from videos and movie experiences. With subtitles, they can enjoy videos and movies as much as anyone without hearing difficulties and disabilities.
2. Different languages
Great videos and movies do not only come from one country or region, but they come from all over the world. Unfortunately, not everyone in the world speaks the same language, even popular languages like English, Spanish etc. In order to make everyone understand videos and movies, subtitles exist and they are always available in multiple languages.
3. Easier access to other cultures across the globe
When you are watching a video or movie from another country or culture, you can get to experience and learn more about that culture through understanding it better by subtitles.
4. Subtitles have the potential of improving comprehension
Not everyone is the same, and that means we all learn differently. While some people learn through doing, some learn through watching, others through listening, and others through reading. People who learn best via reading get more out of videos and movies if they have subtitles. According to some statistics, many people turn on subtitles of videos or movies even if they are native speakers of the original language just so they can understand it better.
5. Viewers are more engaged
A study conducted by PLYMedia in 2009 concluded that up to 80% of people who watched a video had subtitles included. In comparison, only 66% of viewers watched a video or movie to completion when it had no subtitles. This could be explained by the fact that videos and movies are understood better if they have subtitles.
Part 2: How to create .SRT file on Windows
Creating SRT files on Windows is easy, and it can be done by simply using the Notepad app or Adobe Premiere Pro which is an advanced video editing software. Using either method can guarantee you with making the SRT file. We will first describe how you can do it with the Notepad app.
1. Using the Notepad app
Creating .SRT caption files with the Notepad app is probably the easiest way to do it on Windows. Here is how to create subtitles using the Notepad app.
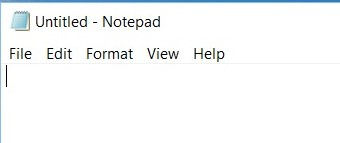
Step 1: Open the Notepad app, and open a new file. To begin, type a “1” which should indicate the first caption sequence. After that, press enter on your keyboard.
Step 2: Enter the beginning and end timecode using the following format: [hours:minutes:seconds,milliseconds ––> hours:minutes:seconds,milliseconds] then press enter.
Step 3: On the next line, type your captions. Try to make two lines per caption, so that it does not take too much space on the screen.
Step 4: When you finish the caption, press the “enter” button twice, so that it leaves a blank line which will indicate a new caption sequence. Type 2, 3, 4 and so forth to begin typing new caption sequences. Repeat this process until you finish the captions for the entire video.
Step 5: Save the file. Under File Name, type the name of your transcript then make sure to use the .srt extension to save it.
2. Using Adobe Premiere Pro
Adobe Premiere Pro is an advanced video editing application, and according to Adobe, this application is the industry-leading video editing software for film, TV, and the web. It was first released in 2003, and it provides users with a set of captioning features that lets them edit, create, and export captions or subtitles in all supported formats. You can basically edit the text, color, background, and the timing of the captions. Adobe Premiere Pro is advanced software that often requires professional knowledge and skills, but we will show you how to create subtitles by using this software. Here is how to edit subtitles by using Adobe Premiere Pro.
Step 1: Create the captions. Select File > New > Captions on the menu bar to begin.
Step 2: The New Captions dialog box appears displaying the video settings. The software matches the caption video settings to the open sequence.
Step 3: In the New Captions dialogue box, choose the appropriate caption Standard, Stream, and Timebase. After that, open the Captions Panel by selecting Window, followed by Captions.
Step 4: In the Captions panel, type the caption text. Use the formatting tools to specify the position, change the text color and background color. You can also apply formatting effects such as underlining and italicizing.
Part 3: How to create .SRT file on Mac?
On the macOS platform, you can make use of the TextEdit app to create SRT files. TextEdit and Notepad are quite similar, but the process of creating the caption files are different. Here is how you can do it on the macOS TextEdit application.
Step 1: Open the TextEdit application and make a new file. Type a “1” to indicate the first caption sequence. After that, press enter on your keyboard.
Step 2: Enter the beginning and end timecode using the following format: [hours:minutes:seconds,milliseconds ––> hours:minutes:seconds,milliseconds] then press enter.
Step 3: When you finish the caption, press the “enter” button twice, so that it leaves a blank line which will indicate a new caption sequence. Type 2, 3, 4 and so forth to begin typing new caption sequences. Repeat this process until you finish the captions for the entire video.
Step 4: To save your file as an .SRT file, first go to Format → Make Plain Text, or use the keyboard shortcut: Shift + Command + T. Next, go to File → Save, and under “Save As”, type the name of your file and add .srt at the end instead of .txt.
Part 4: How to add .SRT file to video on Windows & Mac
Subtitles enrich your viewing experience, they improve comprehension, they introduce you to other cultures, and they also have the potential to improve your comprehension. If you are a person who creates your own content, then you could also create SRT file subtitles on both macOS and Windows computers, by using the recommended software tools we mentioned above. In case you are looking for a way to play your videos or movies, and add subtitles to them, you can make use of Leawo Blu-ray Player. It is a 6 in 1 media playback software with support for over 180 video and audio formats which include AVI, ASF, MPEG, WMV, FLV, MKV/MKA, MP4, M4A, VC-1, etc.
As a dedicated Blu-ray and DVD player, you can play Blu-ray Discs, folders, and associated file formats, from regions A, B or C, and you can play DVD Discs from regions 0 to 6. If you want to enjoy your videos, you would want to have the best audio playback, and this software supports advanced audio decoding technologies like AAC, Dolby DTS, DTS-HD, and TrueHD (including 5.1, 7.1 channels) etc. All these decoding technologies should give you an immense audio experience when you are viewing your movies and videos. Follow the steps below on how to add subtitles to a video during playback, as well as other tips on how to maximize using this software.
-
Leawo Blu-ray Player
Region-free Blu-ray player software to play Blu-ray disc and DVD disc for free, regardless of disc protection and region restriction.
Play 4K FLV videos, 4K MKV videos, 4K MP4 videos, etc. without quality loss.
Play 1080P videos, 720P videos with lossless quality.
Step 1: Load your videos or movies
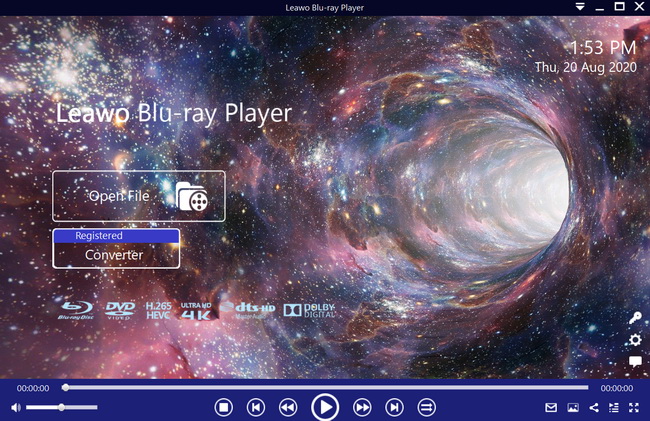
Open the Leawo Blu-ray Player media playback software, and click the Open File button to browse and load the movies for playback. For Blu-ray and DVD movies, insert the corresponding disc into the disc drive. You should see your movies on the playlist.
Step 2: Enable or import the video subtitles
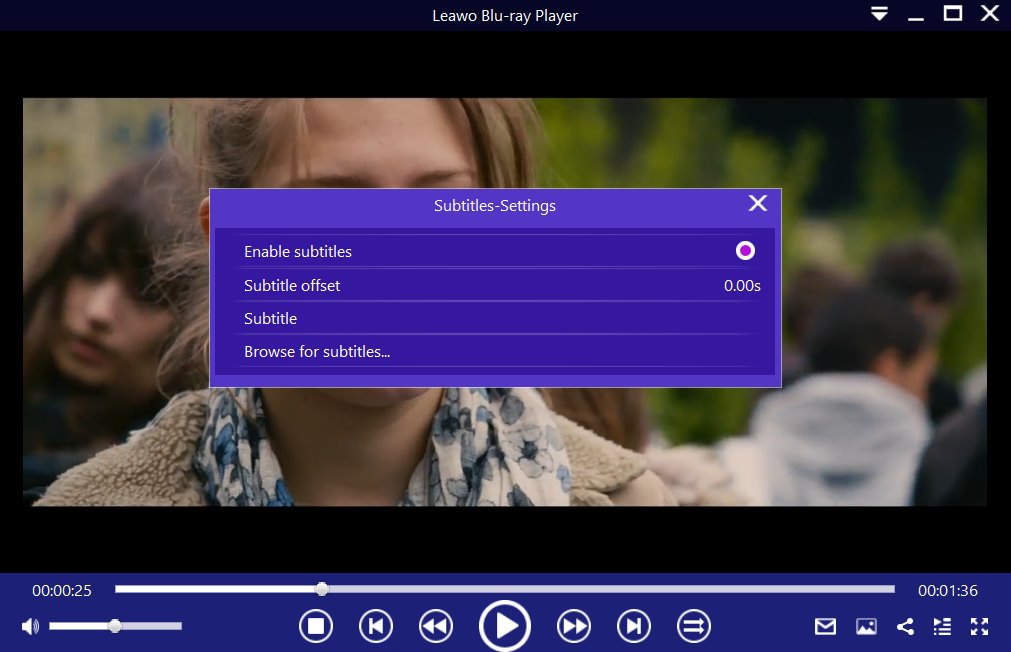
When you load your videos or movies, the software should automatically begin the playback. During playback, move your mouse over to the Title Area. From the 4 available options, click the "Subtitles" icon. You can enable, disable, select or import subtitles. To import subtitles, make sure you have the .SRT subtitle file ready.
Step 3: Video settings
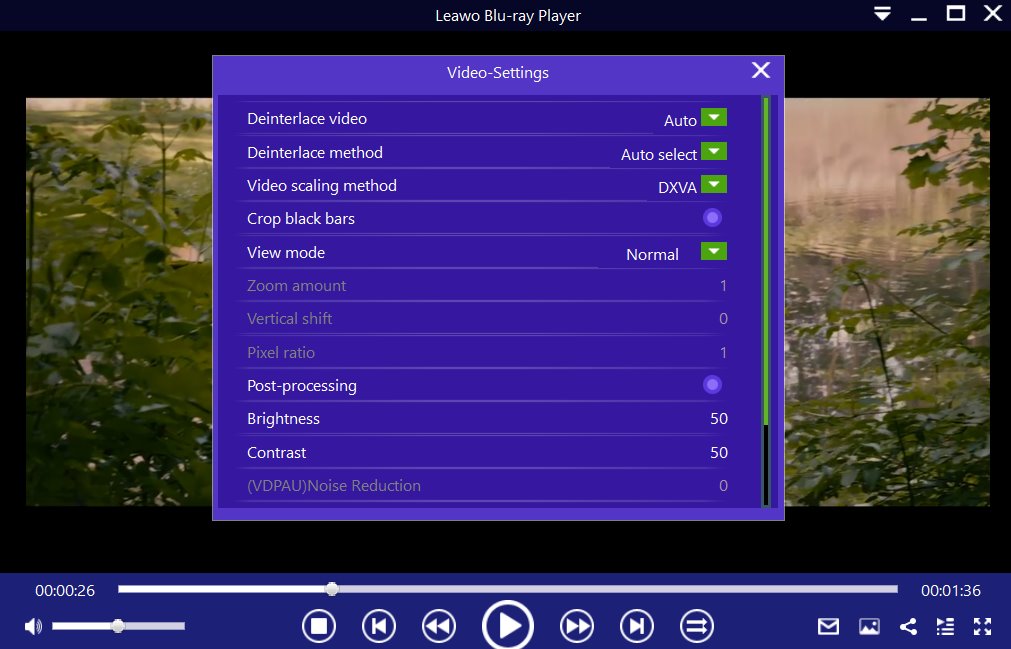
Move your mouse over to the top left corner, or right click on the main interface and choose the "Videos" option to enter the Video-Settings panel. Options that are available include video cropping, post-processing, view mode, zooming etc.
Step 4: Audio settings
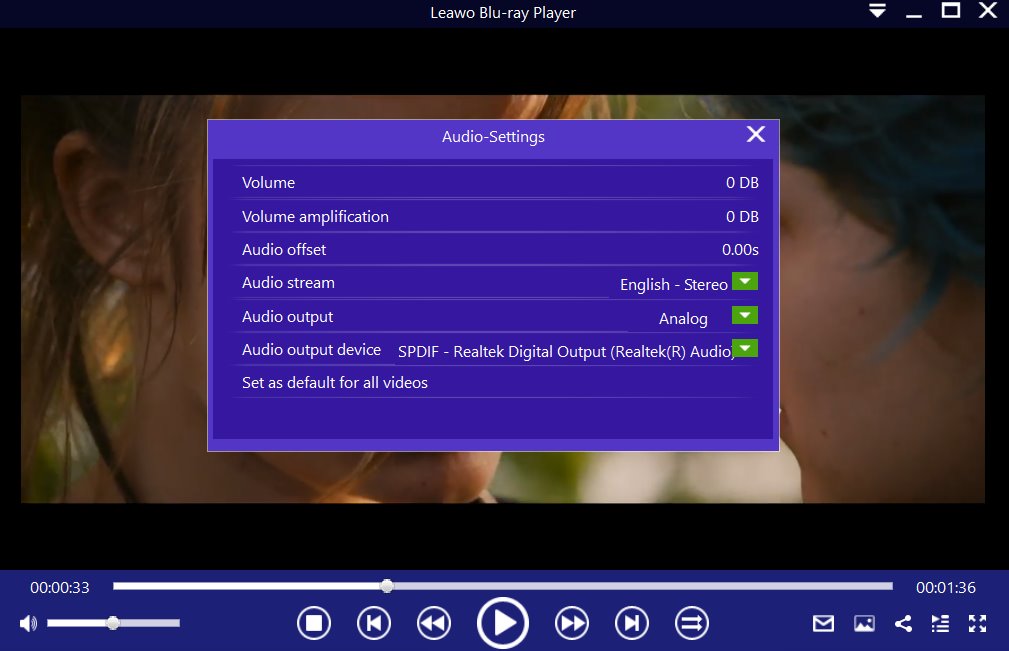
Move your mouse over to the top left corner, or right click on the main interface and select the “Audios" option to enter the Audio-Settings panel. The options available include audio volume, amplification, offset, stream, output device, etc.


