Obviously, messaging friends, family and business acquaintances have been part of daily life for all of us. Therefore, to archive messages on iPhone has become all the more important, especially in cases when you accidentally delete some essential message or you get locked out of your iPhone and can no longer access the messages anymore. Then it is not a bad idea to store these messages for future reference. To archive text messages on iPhone effectively, you can try our methods below, showing you how to archive messages on iPhone.
Part 1: How to Archive Text Messages on iPhone via Leawo iTransfer
To archive text messages on iPhone, Leawo iTransfer is our ideal choice, which provides perfect solutions for iPhone transfer, iPad transfer and iPod transfer issues. It supports up to 12 kinds of files, like apps, photos, music, videos, SMS, contacts, and so on between iOS devices, iTunes and PCs. Additionally, as an outstanding tool, Leawo iTransfer can help users transfer/backup all popular files without data loss. Existing files will not be overwritten, unless users choose to delete them.
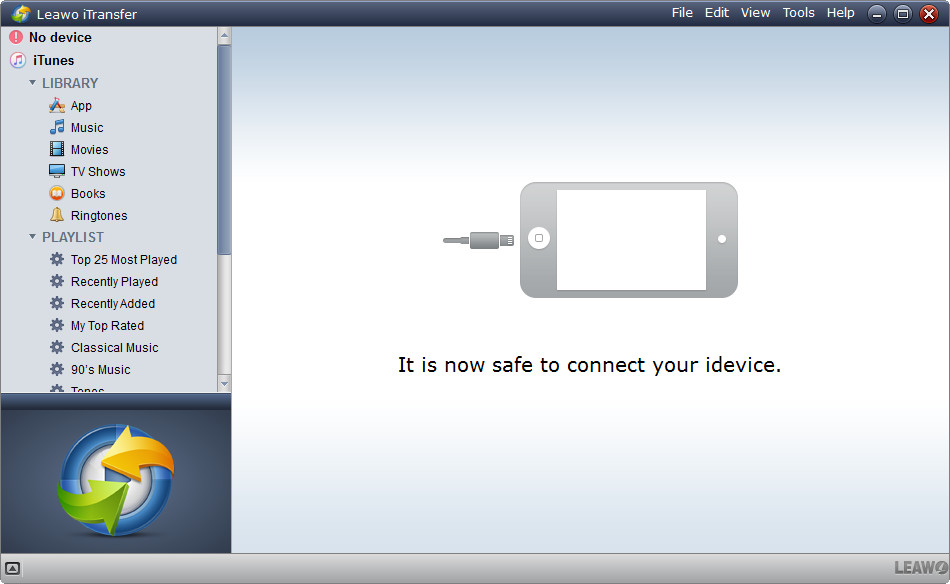
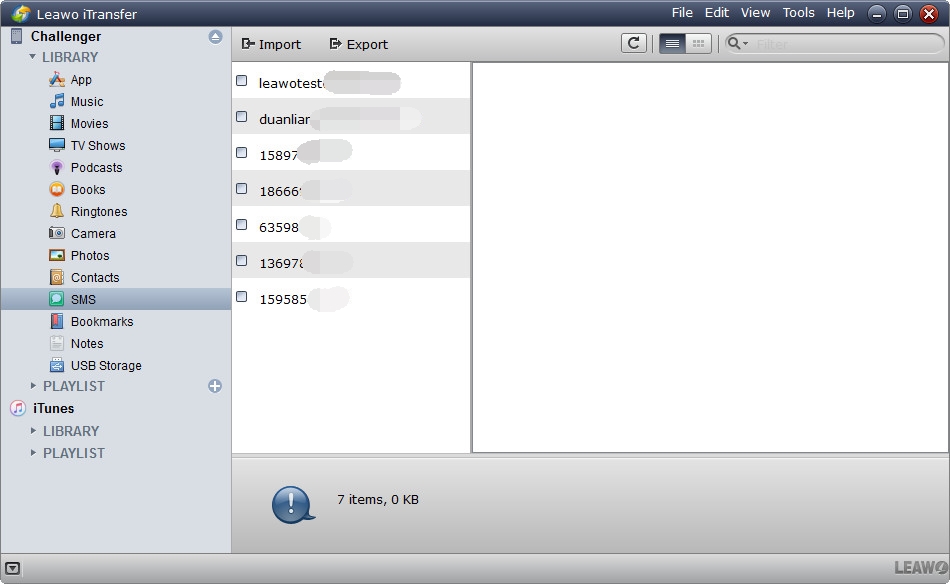
Step 1. Just download and install Leawo iTransfer on your computer, and run Leawo iTransfer and connect iPhone to computer with USB cable. The software recognizes and detects iPhone automatically. Click the name of iPhone and choose a library of iPhone in the left sidebar.
Step 2. Not long later, the text messages will show up in the right part of the interface. All you need to do is to choose the message you want and right-click the selected files and choose Transfer to > My Computer.
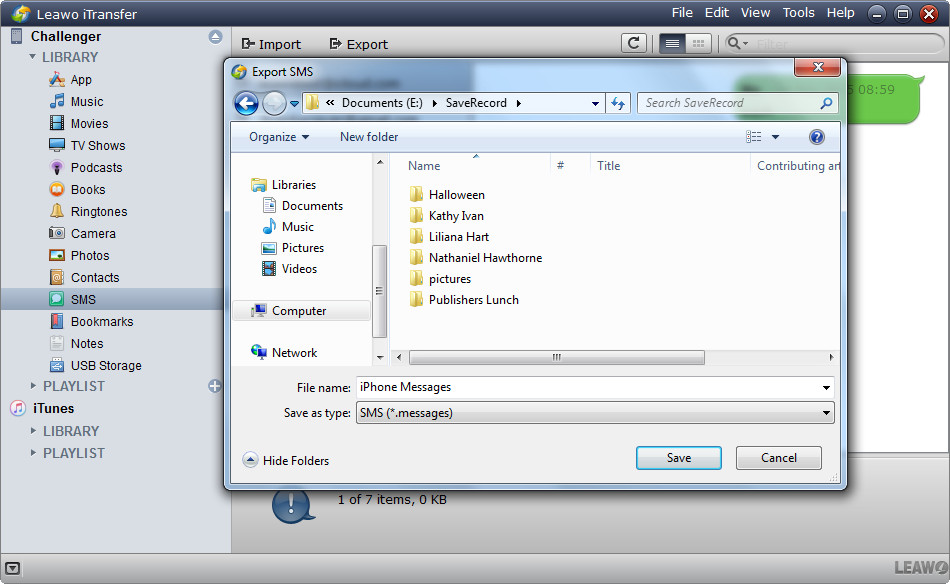
Step 3. Next, a dialog of transfer settings will appear after the files are selected. You then need to check Save to Folder and click Change to choose directory on your computer to save the message you choose. Last but not least, you can hit Transfer Now to start backing up iPhone files to computer.
When the transfer finishes, you will get a file named with .messages extension in your target folder, which means you archive messages on iPhone successfully.
Part 2: How to Archive Text Messages on iPhone via iTunes
The iTunes backup offers many benefits. For one thing, it is a perfect device backup, a storage point for all your data. Besides, the amount of space allotted to your backups is fully in your control. It's a slice of the free space on your PC or Mac. Therefore, with the help of iTunes, you find it not hard to archive text messages on iPhone.
Before you begin, you would need the latest version of iTunes installed on your device. And also there is no selective backup available as well. Explore the method of how to archive messages on iPhone by following the steps mentioned below.
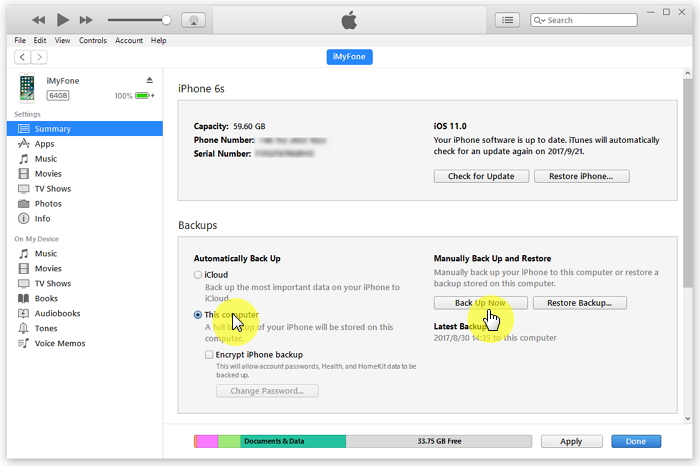
Step 1: Open your computer and launch iTunes on it. Connect your iPhone to computer by using USB lightning cable and wait till iTunes detects your iPhone.
Step 2: Later, click on your device and then from the options on the left side of the window, choose “Summary”.
Step 3: In the end, click on “This Computer” and then go on to click “Back Up Now”.
Then the archiving process will begin as soon as you click on “Back Up Now”. However, this method is not as fast as the first method.
Part 3: How to Archive Text Messages on iPhone via iCloud
It is also convenient to archive messages on iPhone. As we all know, iCloud can back up your text messages and iMessages. Here's what an iCloud backup includes:
>iMessage, text (SMS), and MMS messages;
>Photos, videos, and ringtones;
>Purchase history from Apple services, like your music, movies, TV shows, apps, and books;
>Call history, device settings, home screen, visual voicemail password and other app data.
Check out how to archive text messages on iPhone with the help of iCloud by following these steps.
Step 1. Connect your device to a Wi-Fi network, and then go to Settings > [your name], and tap iCloud. (If you are using iOS 10.2 or earlier, go to Settings, then scroll down and tap iCloud).
Step 2. Tap iCloud Backup. (If you're using iOS 10.2 or earlier, tap Backup.)
Step 3. Tap Back Up Now. Later, your text messages will be automatically included in the backup.
Note:
1. Ensure iCloud Backup is turned on.
2. Stay connected to your Wi-Fi network until the process completes.
3. Make sure you have enough available space in iCloud for the backup. When you sign in to iCloud, you get 5GB of iCloud storage for free. If you need more iCloud storage, you have to pay for it.
4. iCloud will attempt to start a backup your data every 24 hours or so, as long as your iPhone or iPad is connected to Wi-Fi and plugged in to charge. Most of the time this will happen while you sleep. If you do not want it, just turn it off.
Part 4: How to View and Export Messages from Archived File
After you have successfully archived your text messages/iMessages through either Leawo iTransfer, iTunes, or iCloud, you can view and export them with iOS Data Recovery in the following simple steps.
Leawo iOS Data Recovery is an all-inclusive data recovery software app for iPhone, which could act as iPhone data recovery software to recover deleted or lost data like contacts, for all models of iPhone to help you avoid data loss due to mistaken deleting or other occasions. What is more, Leawo iOS Data Recovery delivers high speed, safety, accuracy and completeness of data recovering for iOS devices, even allows you to preview and select data for recovering.
View and export messages from archived file of iOS Data Recovery with iTunes backup mode
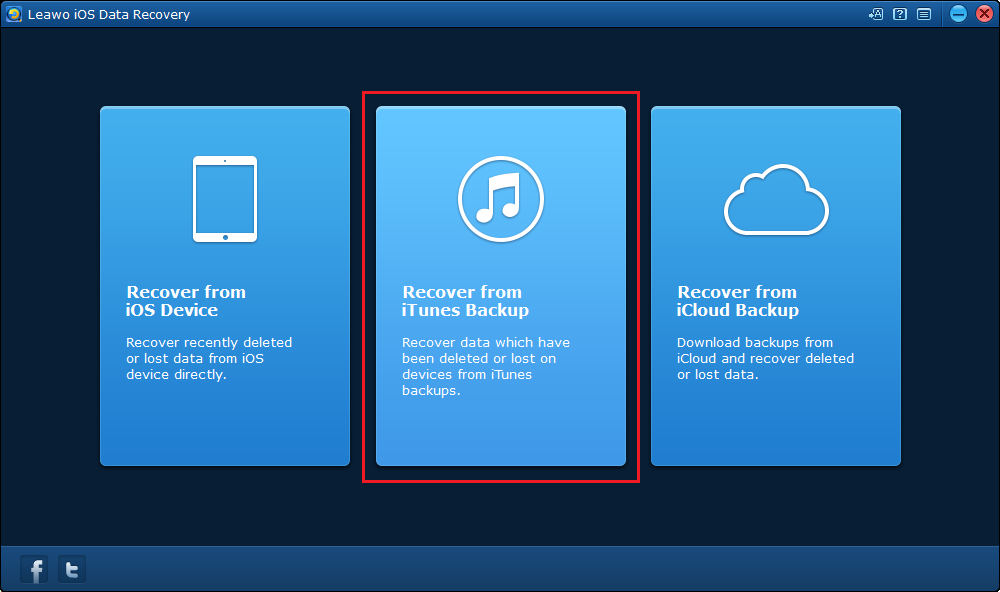
Step 1. Download iOS Data Recovery, to recover data from iTunes backup, first click the second tab on the main interface. Later, you would see a list of all backups from different iOS devices that you’ve backed up using iTunes. Then you can choose the backup you want and click Scan button to scan it.
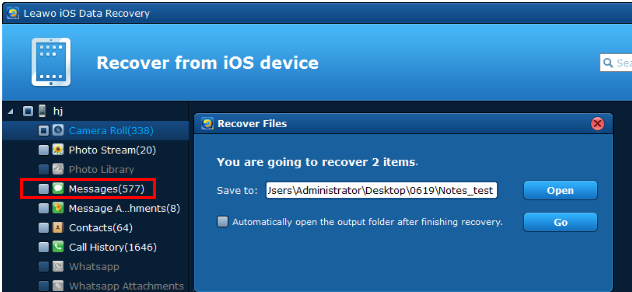
Step 2. Next, you will see all 14 types of recoverable data listed on the left column. Click into each type of data to check out every single file and check those you want. After you have finished choosing the files you want, click the Recover button at the bottom right.
Step 3. Click Open button to choose a folder and the files you've chosen would be recovered to this folder. And to finally start recovering data, click Go button.
View and export messages from archived file of iOS Data Recovery with iCloud backup mode
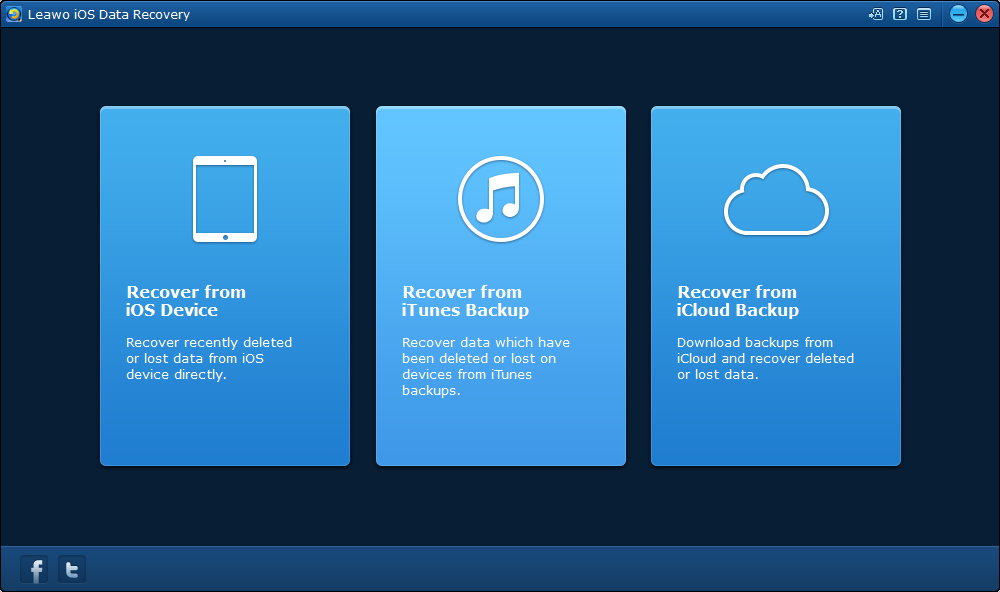
Step 1. After getting into the main interface, you can first click the third tab on the main interface: recover data from iCloud backup. Later, on the next page, you need to log on iCloud with your Apple ID.
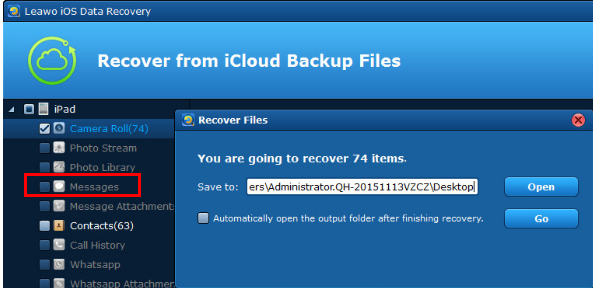
Step 2. After logging on iCloud successfully, the program will scan the backup on iCloud automatically. Later, your backup would be shown on the list. Double click the backup at the bottom left to download the backup. Once the program finishes the process, it will start scanning it automatically. Not long later, you will find the data shown on the left column. Select one category and check the files in it that you want to recover.
Step 3. After you have finished choosing all the files you want to recover, click Recover button to show another window. On the window, you need to set the directory for the files you've chosen to recover. Last but not least, click Go button.
Can you archive text messages on iPhone? Of course, by using the several useful ways mentioned above, you can find it convenient to archive messages on iPhone. After you have archived text messages on iPhone, you can access them at any time, especially useful if you want to delete messages from your iPhone to save space - but still be able to read these messages later.


