If you are considering getting your DVDs ripped and digitized on your Mac, consider using Handbrake. And I'm not mistaken, it's Handbrake: the video converter I'm talking about. It can naturally rip unprotected DVD and if you are willing to go a few extra miles, you can also make it rip protected DVDs as well on your Mac. So if you are intrigued, check out how to use Handbrake to rip DVD on Mac in the instructions below.
How to Use Handbrake to Rip DVD on Mac
It's easy to get Handbrake to rip protected DVDs. All you need to do is downloading a single file from the Internet and put it in the right folder. Remember to close Handbrake before you start if it's open. Here's what you need to do.
- 1. Google libdvdcss.pkg and download it to your Mac when you find it. And then install it on your Mac. If your Mac's running a macOS version earlier than OS X El Capitan, you can skip the following 5 steps and jump to the Handbrake instructions. If you are using OS X El Capitan or later, follow the instructions below.
- 2. Press cmd+shift+G on your keyboard, and then paste in: /Library/SystemMigration/History/.
- 3. Find a folder that has the name "Migration-{random letters and numbers}" Open it and find the folder "QuarantineRoot" and open it. And then find the following file in it: libdvdcss.2.dylib.
- 4. Open a second Finder window with the previous window remained open.
- 5. Press cmd+shift+G on the keyboard again, and paste in the following path: /usr/local/lib (If you get a message showing that this folder doesn't exist, paste in /usr/local instead and create a folder in this folder and name it "lib" and open it.)
- 6. Go back to the first window and drag the libdvdcss.2.dylib file to /usr/local/lib folder. If you are asked to enter the admin password, just enter it to proceed and the file will be copied to the folder.
After the file's copied to the target folder, you can now start to use Handbrake to rip DVD.
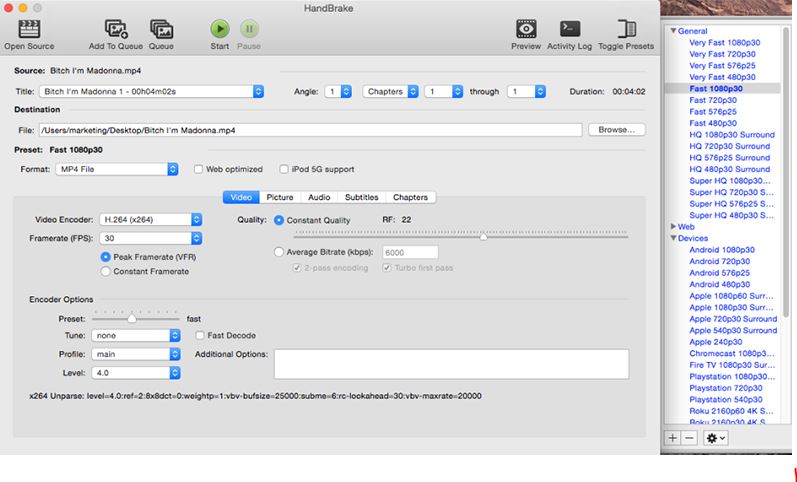
Step 1. Fire up Handbrake on your Mac and then click the Source button in the top left corner. And then click on your DVD to load it in Handbrake.
Step 2. Click on the Title drop-down menu, select one title and then click the Add to Queue button to add the selected title to the ripping list. You can add multiple titles to the ripping list but you can't add all of them at the same time. You will have to repeat this adding process for every title you want to rip.
Step 3. Handbrake doesn't create a default output path for the output video automatically, so you'll have to set it up manually. Click the Browse button to set the output path and enter a name for the output video.
Step 4. Select a preset for the output video from the preset list on the right side of Handbrake's interface.
Step 5. Click Start to let Handbrake start ripping the DVD.
A Simple and Easy-to-use Handbrake Alternative to Rip DVD on Mac
The preparation might seem a bit complicated for some beginners, if you want to keep things as simple as possible, here's a better option: Leawo DVD Ripper for Mac. This DVD ripper software can also rip protected DVDs and it doesn't require any plugins. Besides, it also provides a lot more output formats for you to choose as Handbrake can only create MKV and MP4 videos.
The instructions for the program are shown below:
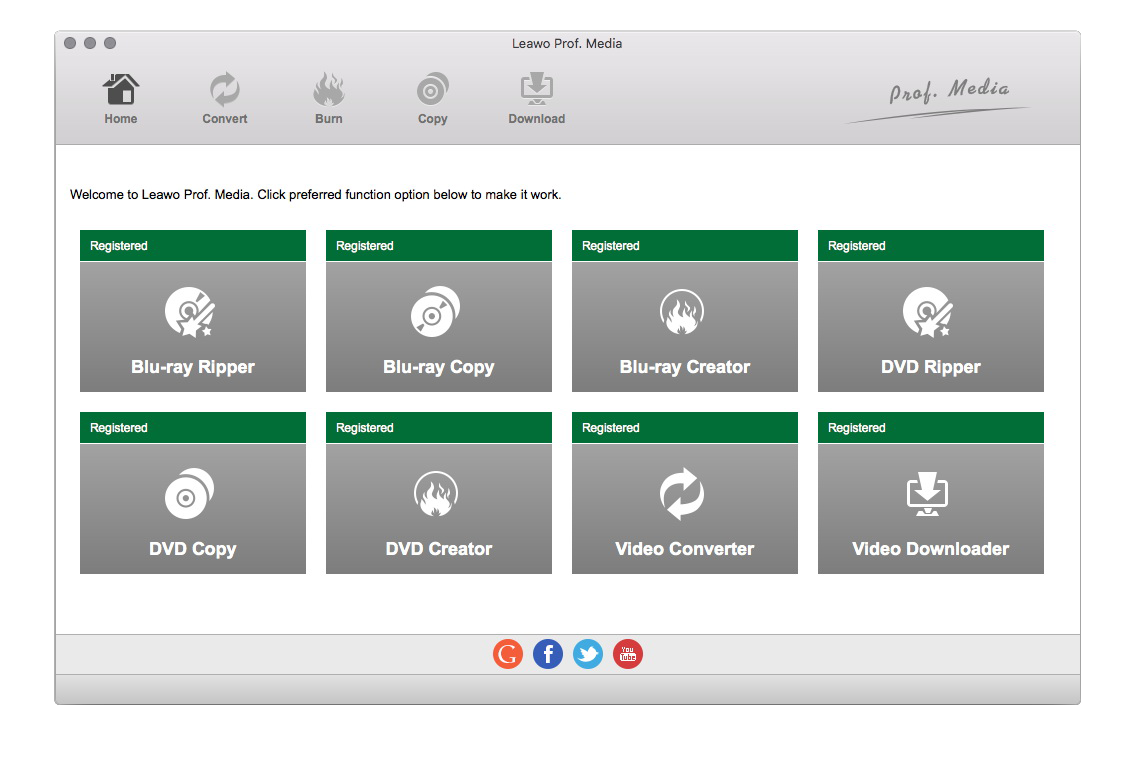
Step 1. Leawo DVD Ripper is a part of a software suite Prof.Media. So open Prof.Media and click on DVD Ripper when you see it on the interface.
Step 2. Load the DVD by clicking the Add Blu-ray/DVD button on the top area and then click Add from CD-ROM and select the disc in your DVD drive.
Step 3. When the disc is fully loaded, you can see all the titles on the left side and a preview window on the right. On top of them are 3 options for selecting titles to rip. Choose Full Movie to rip all content in the disc, Main Movie to rip the movie and Custom Mode to manually choose needed titles.
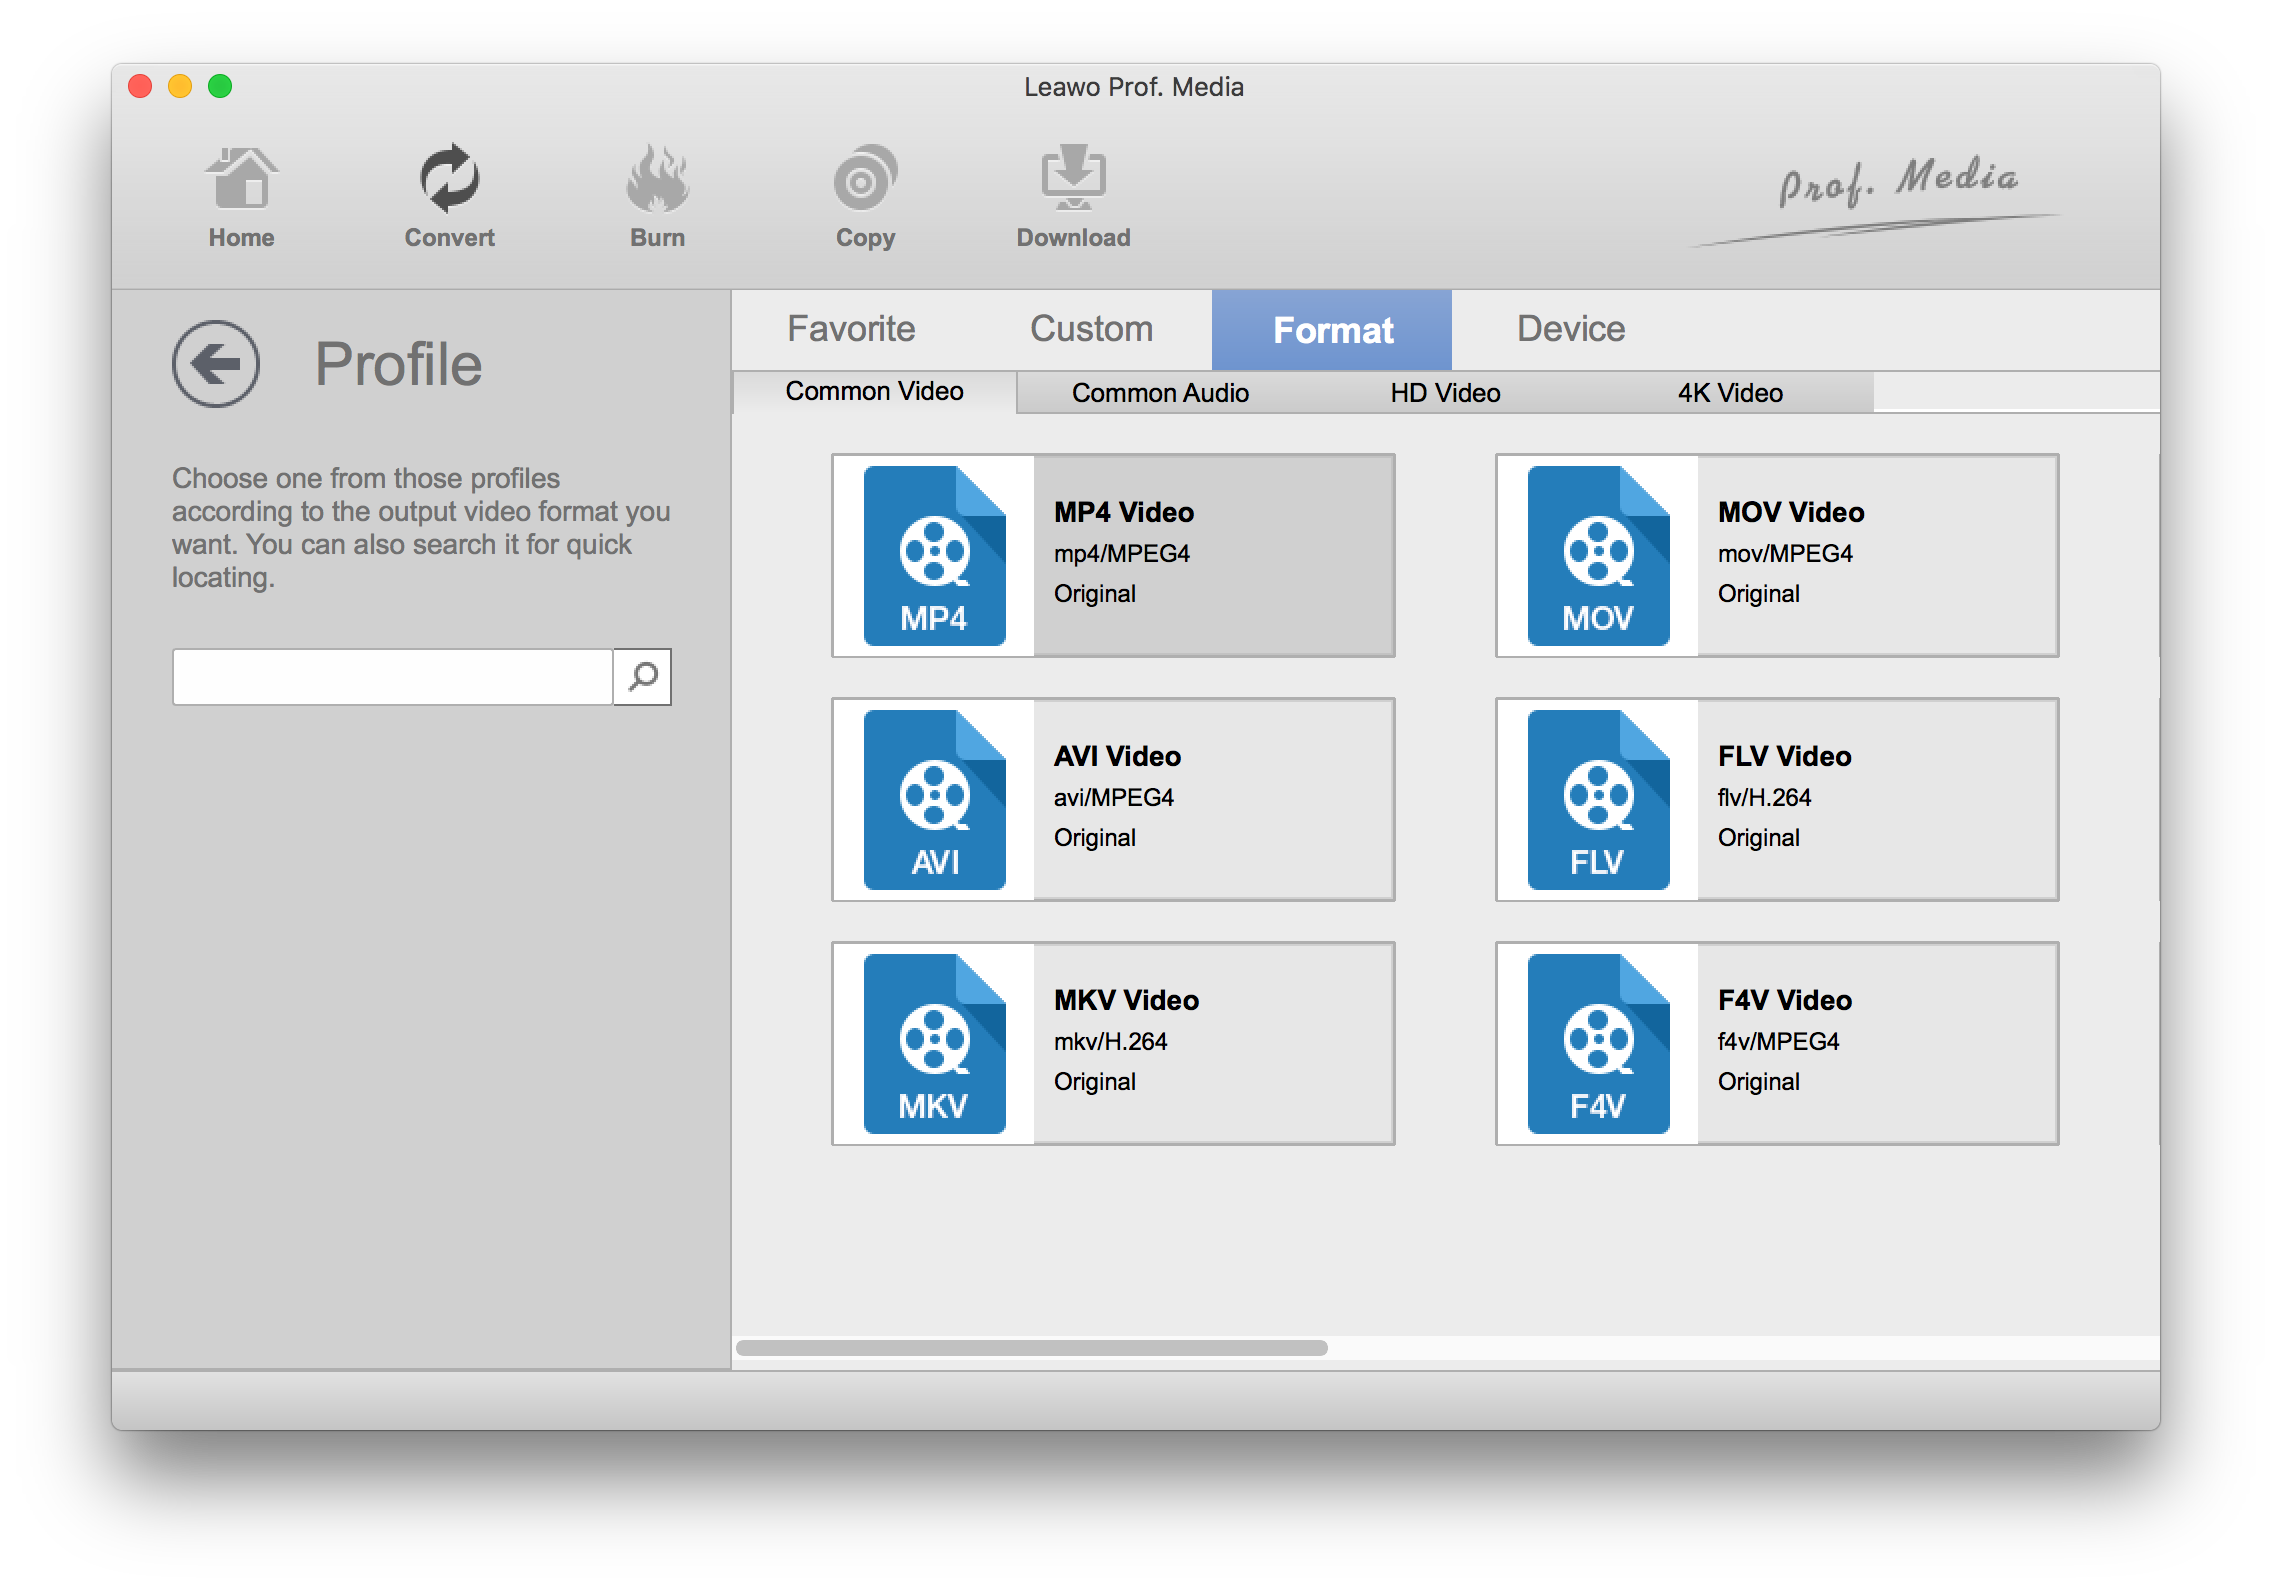
Step 4. After you choose one mode from the above step, the chosen titles will be added to the file list. Choose an output format for the output video. The default output format is shown in the button on the left of the Convert button with a green background. Click on it and the following menu will provide you with 3 buttons. Move your mouse on Change and click on it and select a suitable format from the following format list.
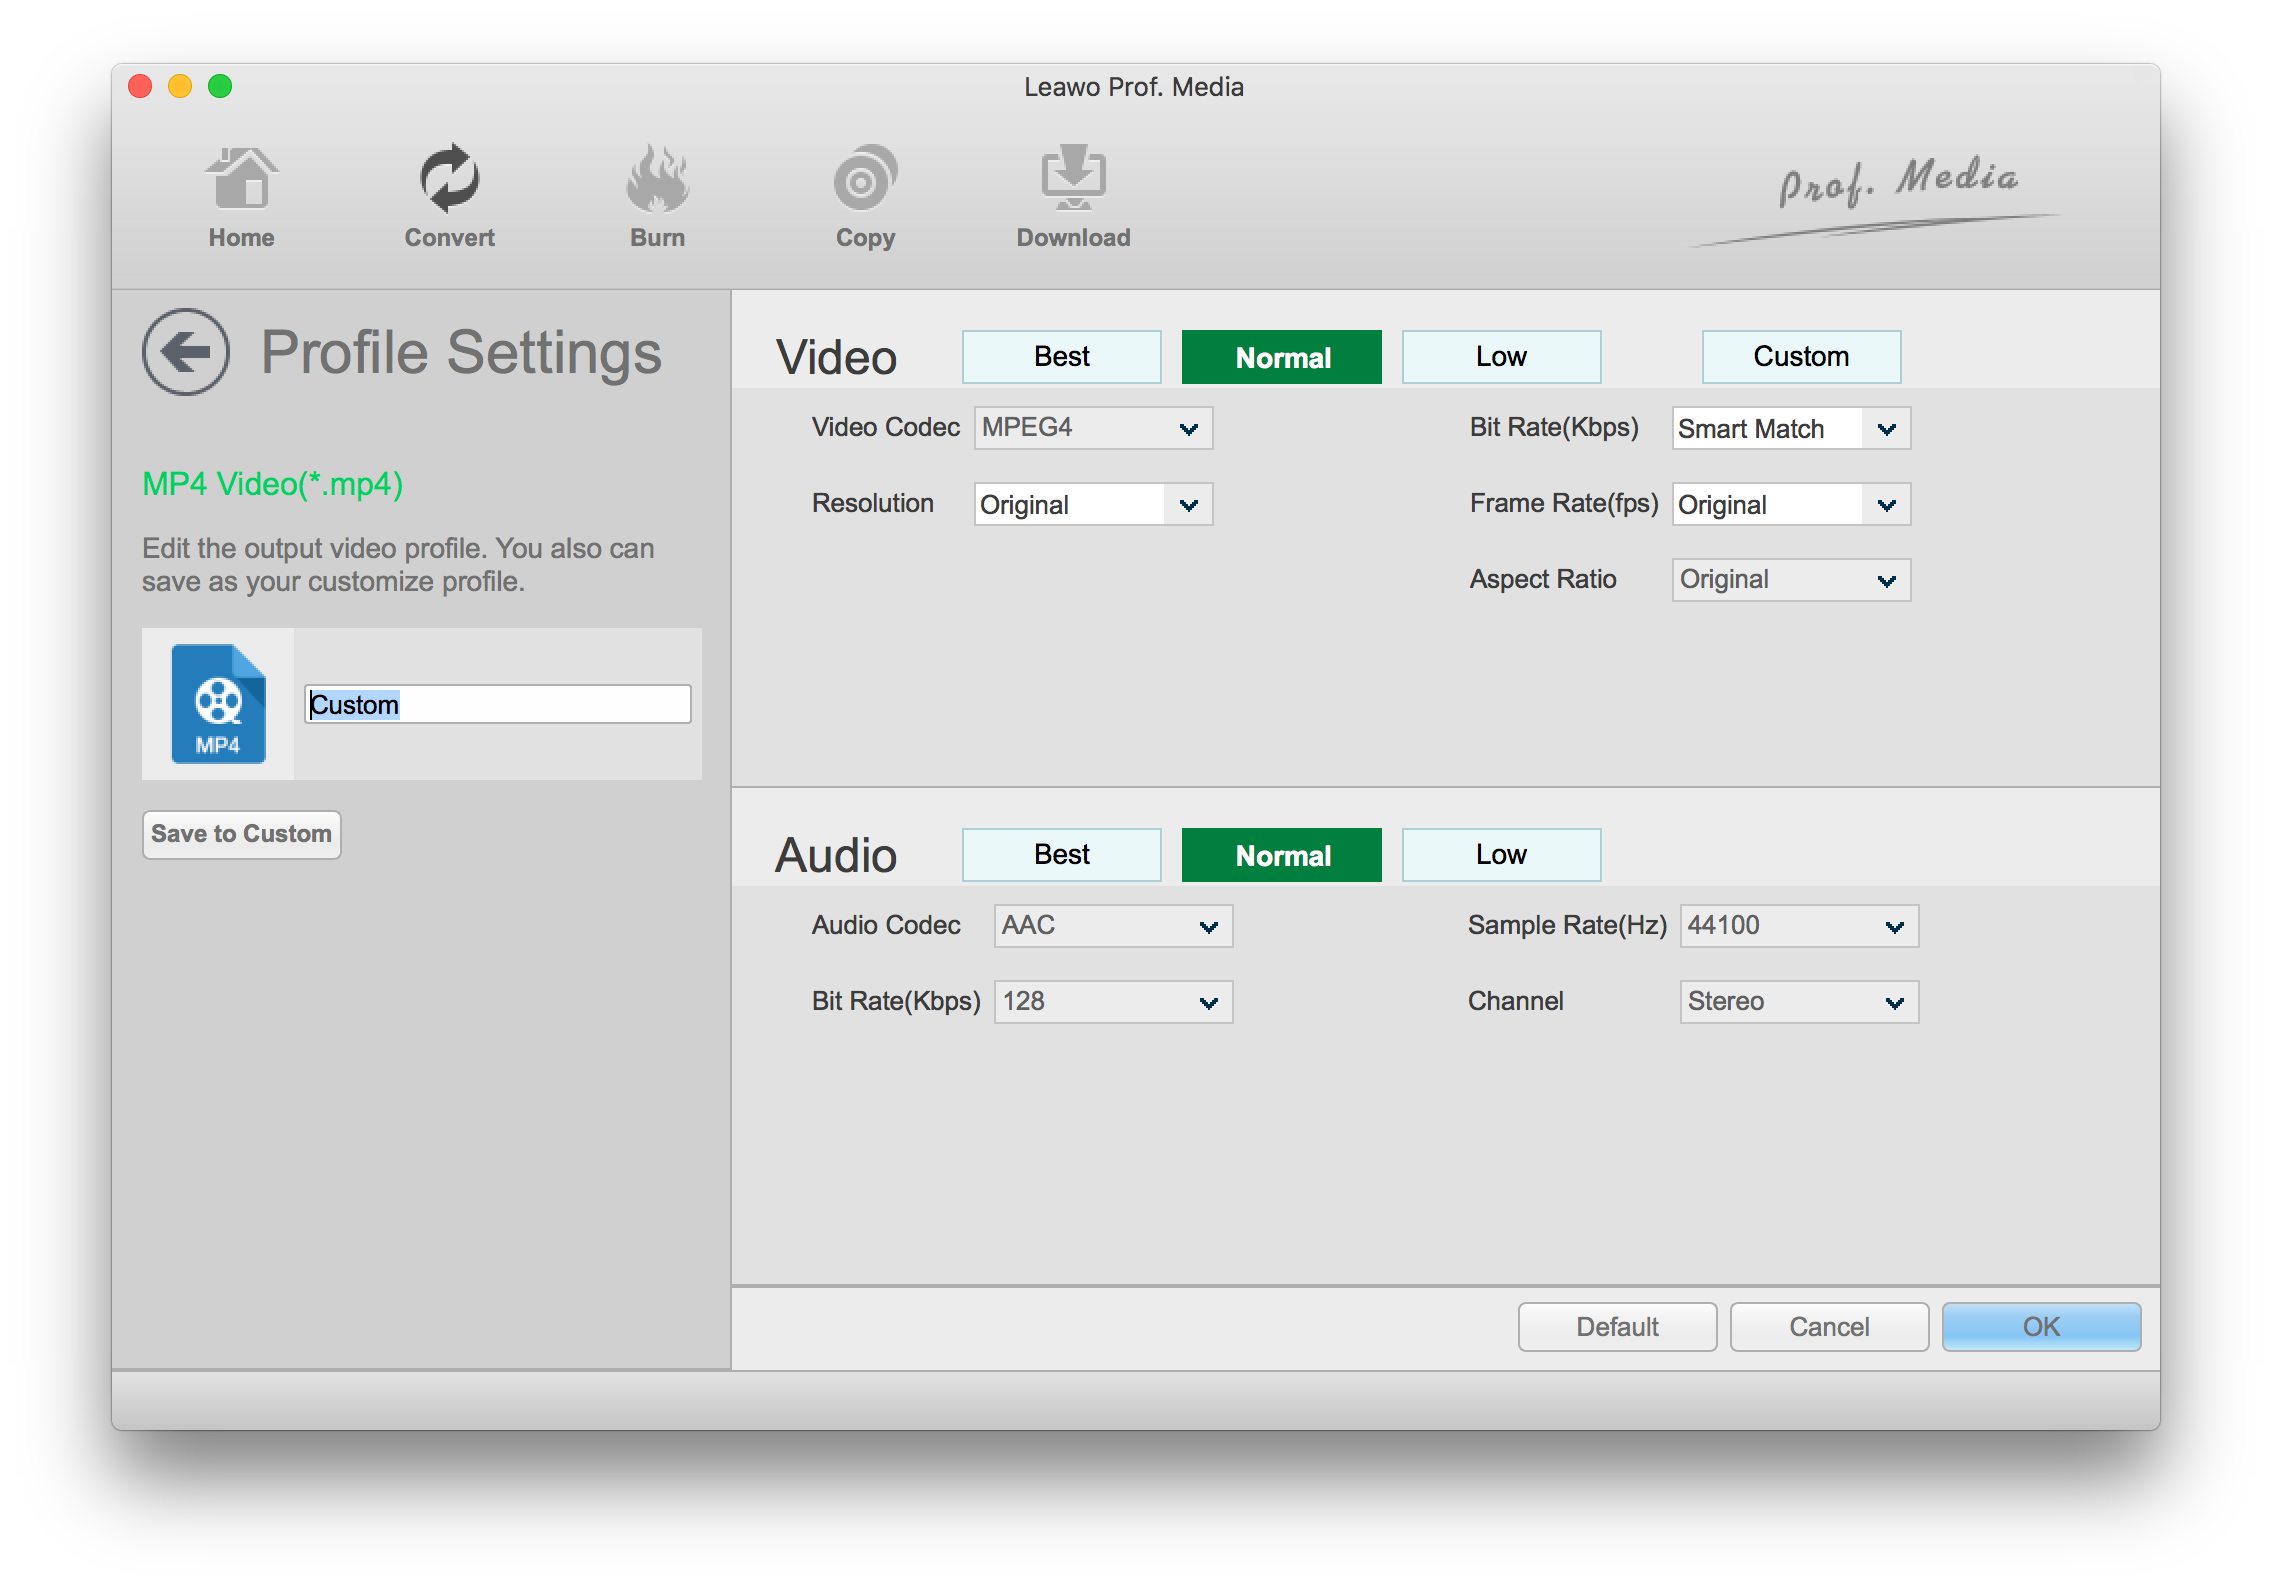
Step 5. Click the button on the left of the Convert button again. And click Edit to open Profile Settings page and set the video and audio parameters of the format you just chose.
Step 6. To move on to the final step, click the green Convert button. The last thing to set up is the output path. And then you can click the Convert button at the bottom to start ripping and converting the DVD to the video you need.
If you have some valued DVDs, ripping them is actually not a bad idea. With Leawo DVD Ripper, you can not only rip them to play on your computer, you can also rip DVD to play on Apple TV or your tablets.

