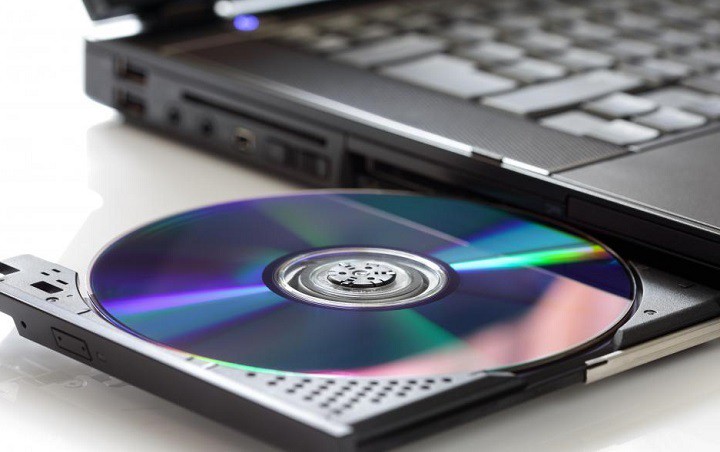
As strange as it might sound, your CD drive can AUTOMATICALLY eject itself, regardless of whether there is a disc inside or not, which is frustrating to say the least. After going through Reddit forums, some users reportedly attribute this problem to an operating system upgrade, after they installed Windows 10. However, there are many reasons why this may happen, and we will show you why. We will also attempt to show you solutions that should hopefully fix this issue for you. Therefore, read through this guide if your CD drive keeps ejecting itself.
Outline
Part 1: Why DVD Drive Keeps Ejecting Itself?
Regardless of whether there is a disc inside the computer or not, the DVD Drive can automatically eject by itself. It also seems that this does not only affect a specific computer manufacturer, as users of Dell, HP, Lenovo, Asus, and even some Apple computers have reported this problem. There is more than one factor contributing to this issue, and we will explore them below.
1. A bug in the operating system
According to Reddit, multiple users who had recently updated their computers to Windows 10 suddenly started experiencing this issue, and the disc drive would randomly eject itself. In order to ensure that the Windows system upgrade was the cause, all users disabled the disc drive in Device Manager, and the problem seemly disappeared. After re-enabling the disc drive, the problem seemingly came back. Some users even went as far as downgrading the operating system, and this problem disappeared. Therefore, this is easily attributed to an operating system bug. Although it is not transparent which bug causes this problem, it can be fixed with updates.
2. A mis-positioned disc drive
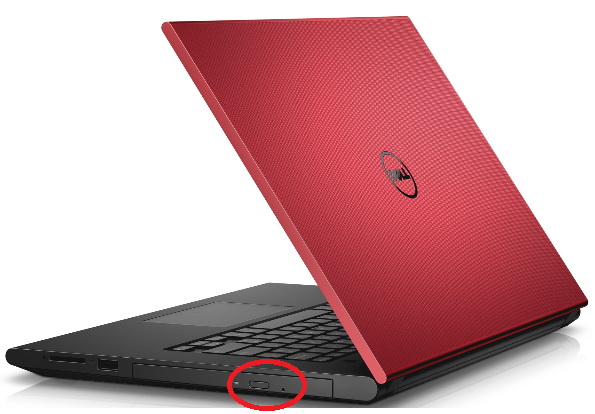
The mechanism and the sensor of the disc drive which determines whether it is closed or not is a delicate piece of hardware. Many people close the drawer by pushing on it, which can move it one or two cogs out of the proper position, thus throwing the open/close sensor off. This can also lead to a loose connection to the drive, which will only exacerbate the problem. Unfortunately this requires a hardware fix, and it is always advisable to use the open/close button.
3. Accumulated dust and dirt on the tray
Over time, dust and dirt will accumulate and get on the tray which will cause read errors on your CDs and DVDs. When those read errors are detected, the disc drive will automatically eject to prevent damage to itself, and the laser lens. The disc drive could also randomly eject by itself in this case. Both Windows and Mac users have reported this problem.
4. A computer virus
Although it is rare these days, there are still a few viruses that make peripherals do weird things, which include interfering with CD and DVD drives. In this case, you will see the disc drive continuously ejecting. An antivirus program, and even Windows Defender should fix this problem.
Now that we have shown you a few reasons why the DVD drive ejects itself, we will now show you how you can fix this issue. Refer to the next segment of this article.
Part 2: Several Approaches to Fix this Issue
Depending with the root cause of the problem, there are several ways to fix the issue of the CD drive eject itself automatically. Here is how you can fix the issues:
If the problem is a bug in the operating system:
First run the Hardware Troubleshooter. If the Hardware Troubleshooter detects the problem, it will automatically suggest a fix. Just follow the on-screen prompts until the issue is fixed. If the Hardware Troubleshooter does not fix this issue for you, then you can try to uninstall and re-install the hardware driver. This is how you can do it:
Uninstall the hardware driver:
1. Press Windows + R, type control.exe and then click on ok.
2. Change the view by (from windows explorer) to large icons or small icons.
3. Double Click on Device Manager.
4. Expand CD/DVD driver, double click on the available entry.
5. Click the tab Driver, click Uninstall Driver.
6. Check on “Delete the driver software from this device”.
When you finish with the above steps, follow the steps below to re-install the latest update for the hardware:
Re-install the hardware driver:
1. Press Windows + R, type control.exe and then click on ok.
2. Change the view by (from windows explorer) to large icons or small icons.
3. Double Click on Windows Update.
4. Click Check for Updates. After the scan is complete, click Review optional updates.
5. Click the check box next to the updates, then click Install updates.
6. If prompted, review the license agreement, then click I Accept.
7. Follow the onscreen instructions to download and install the updates. If prompted, reboot your computer.
2. If the problem is a mis-positioned disc drive:
Gently pull the drawer open, while pushing on the close button. This can pull the drawer back to the proper adjustment for the sensor, and hopefully fix the problem. You can also open your case and remove both the power and data cables to the drive then simply plug them back in. If you are sure that your drive has been damaged, then replace it with a new one.
Note: Please take extra caution while doing this, to prevent serious damage to your hardware. If you cannot do it yourself, we would advise you to consult a professional to fix the issue for you.
3. If dust and dirt has accumulated on the tray:
If there is any dust on the laser lens, you can simply clean it by yourself. Very gently wipe the lens with a soft cloth, moistened with electronics contact cleaner (for example; Caig De-Oxit or equivalent) that leaves no residue. You are advised not to use any alcohol as that might cause more problems.
4. If the problem is a computer virus:
First, restart your computer and after it restarts, ensure that you have a proper antivirus tool installed on your computer. Also ensure that the antivirus signatures are up-to-date, then run a full system scan. The antivirus program should detect and remove the virus, which should fix the problem for you.
How to Play DVD on Laptop without DVD Drive
Or you can convert the DVD content to regular video format and play it on laptop even without DVD drive, which is a worry free solution to fix "DVD drive keeps ejecting automatically" problem. What's more, digitizing DVD to video format offers an appropriate way to save these DVD collections as well as allowing people to watch the content on various devices.
Here is a dedicated program to help everyone play DVD on laptop without DVD drive. Leawo DVD Ripper is designed to rip DVD to video and save in up to 180 formats, or extract audio from source dvd. Not only common video formats like MP4, MKV, H.265 MP4, H.264 MKV, etc., but also HD/4K Video profiles like HD MP4, HD MKV, HD MOV, 4K MP4, 4K MKV, etc. can be set as output format. Let's check how to convert DVD to video format with this tool:
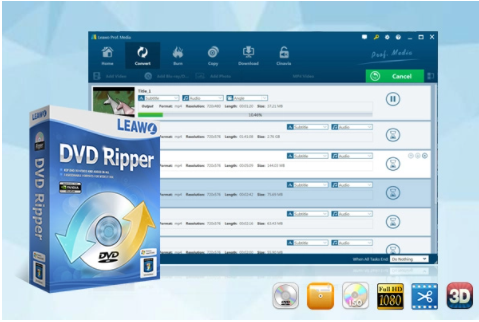
-
Leawo DVD Ripper
☉ Decrypt and rip DVD discs with disc protection and region code
☉ Convert DVD to MP4, MKV, AVI, MOV, FLV, and other 180+ HD/SD formats
☉ Convert DVD main movie to videos for space saving
☉ Convert 2D DVD movies to 3D movies with 6 different 3D effects
☉ Fast conversion with NVIDIA CUDA, AMD APP and Intel Quick Sync acceleration technologies
Step 1: Load your DVD movie
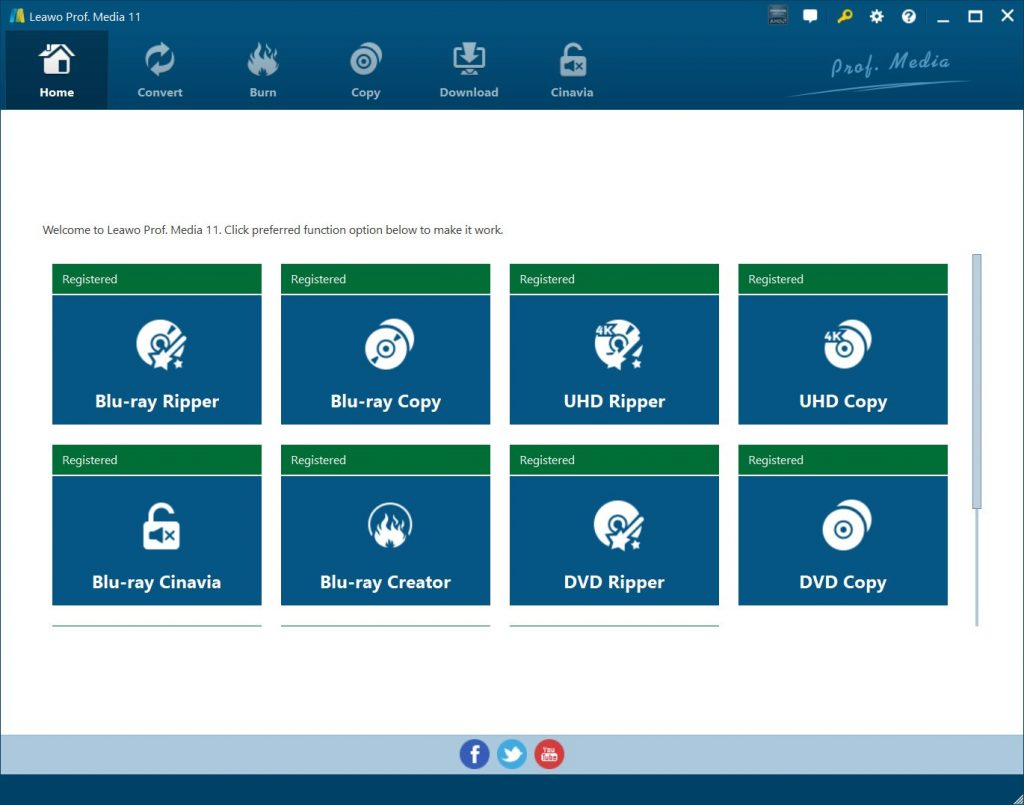
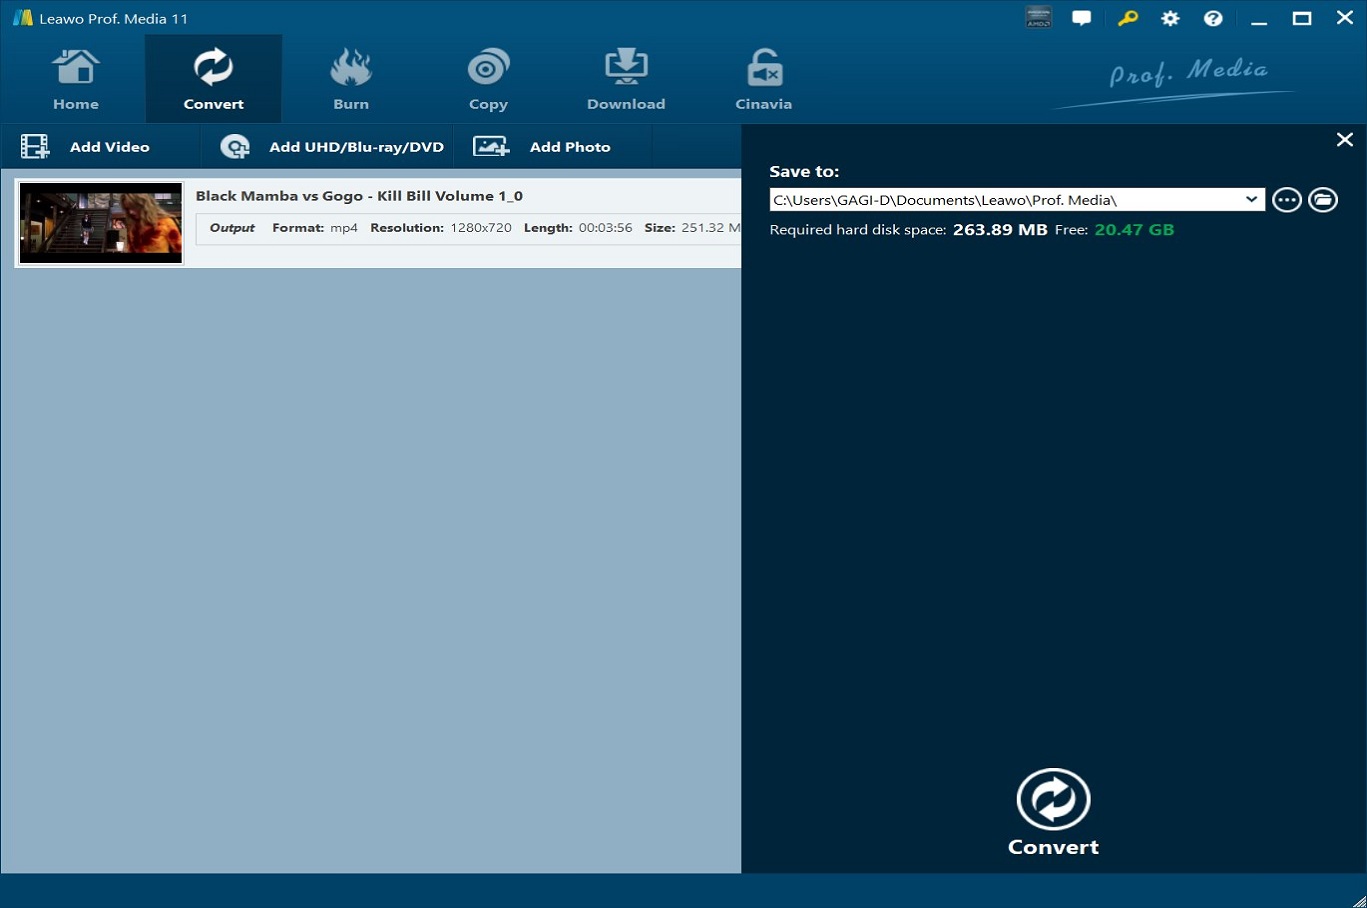
Launch Leawo Prof. Media. (which integrates the Leawo DVD Ripper module). Open the module, and then click the DVD Ripper module on the main interface. You can browse for the DVD from the window which opens.
Step 2: Select the output format
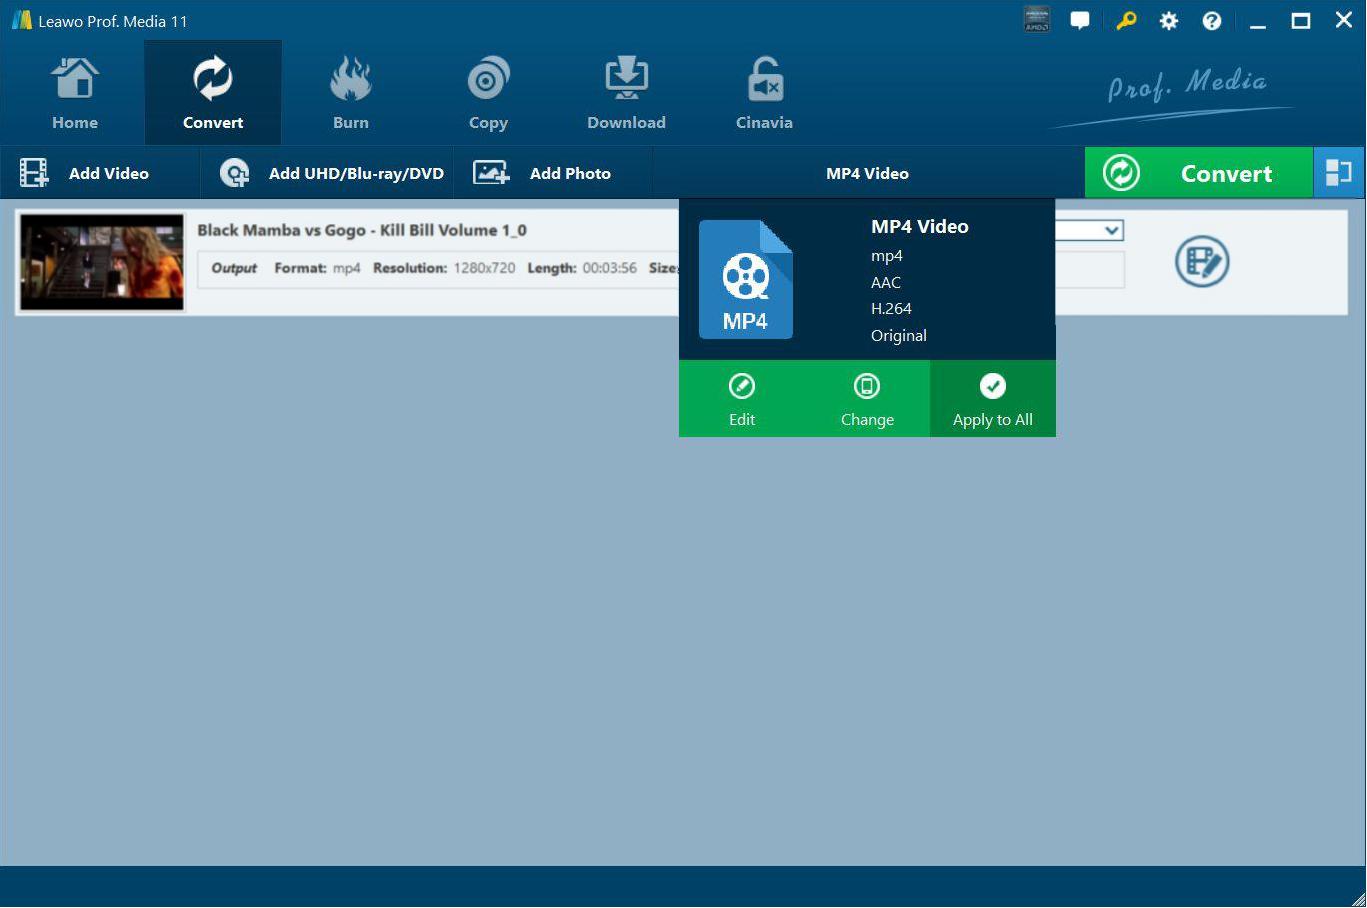
Click the drop-down list next to the “Add Photo” button. Select “Change” to enter the Profile settings panel where you can choose the output format from the “Format” group, for example MP4 or AVI.
Note:
- You can click the same drop-down list and click the "Edit" button to adjust the video and audio parameters of the output files. They include video and audio codec, bit rate, aspect ratio, frame rate, channel, etc.
Step 3: Start ripping your DVD movies
Click the green “Convert” button and then set the output directory to save the output files in the “Save to” box. Click the button again and the ripping should start. The ripped videos will be saved onto your hard drive in the format you chose.
When the ripping is done, just locate the video file and play it on the laptop.
Related: Best Media Player for PC to Play Back the Disc
Although streaming via the internet is fast becoming the standard of media consumption, discs (Blu-rays and DVDs) are still a thing. In fact, companies like Netflix can send copies of their movies and TV shows on DVD discs, if the customer requests it. If you have discs that you want to play on your computer, we would highly recommend you to try Leawo Free Blu-ray Player, because it is one of the best media playback software suites. This software is a dedicated Blu-ray Disc player, which is also downward compatible with DVDs and CDs. It supports Blu-ray Discs of all types, its associated folders and associated file formats from the regions A, B or C, and DVD discs of all types from regions 0 to 6. For instance, playing region A Blu-ray disc in Europe directly is possible via Leawo Blu-ray Player.
This software encompasses hardware and software acceleration technologies, which means this software will deliver very smooth playback for your media files, at resolutions of 720P, 1080P, 1080i and 4K (2160P) on any computer. If you want to enjoy your videos, you would want to have the best audio playback, and this software supports advanced audio decoding technologies like AAC, Dolby DTS, DTS-HD, and TrueHD (including 5.1, 7.1 channels) etc. All these decoding technologies should give you an immense audio experience when you are viewing your movies and videos. Just follow the steps below for additional help on how to use the software.
-
Leawo Blu-ray Player
Region-free Blu-ray player software to play Blu-ray disc and DVD disc for free, regardless of disc protection and region restriction.
Play 4K FLV videos, 4K MKV videos, 4K MP4 videos, etc. without quality loss.
Play 1080P videos, 720P videos with lossless quality.
Step 1: Load your disc
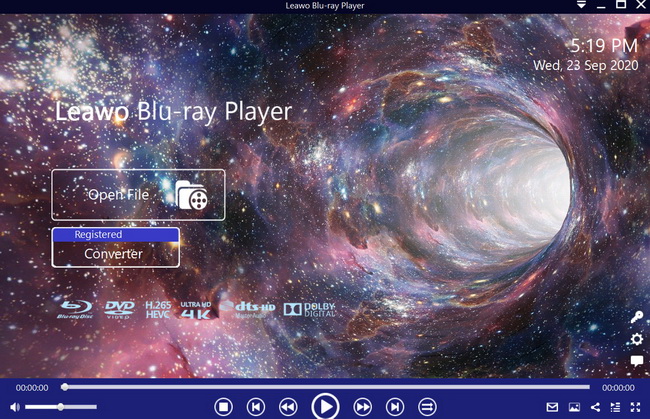
Insert the corresponding disc into the disc drive, then click the disc name on the home interface of Leawo Blu-ray Player. If the media files are stored on your computer, click the Open File button to browse for the files you wish to play, or directly drag them into the software.
Step 2: Import or activate the subtitles
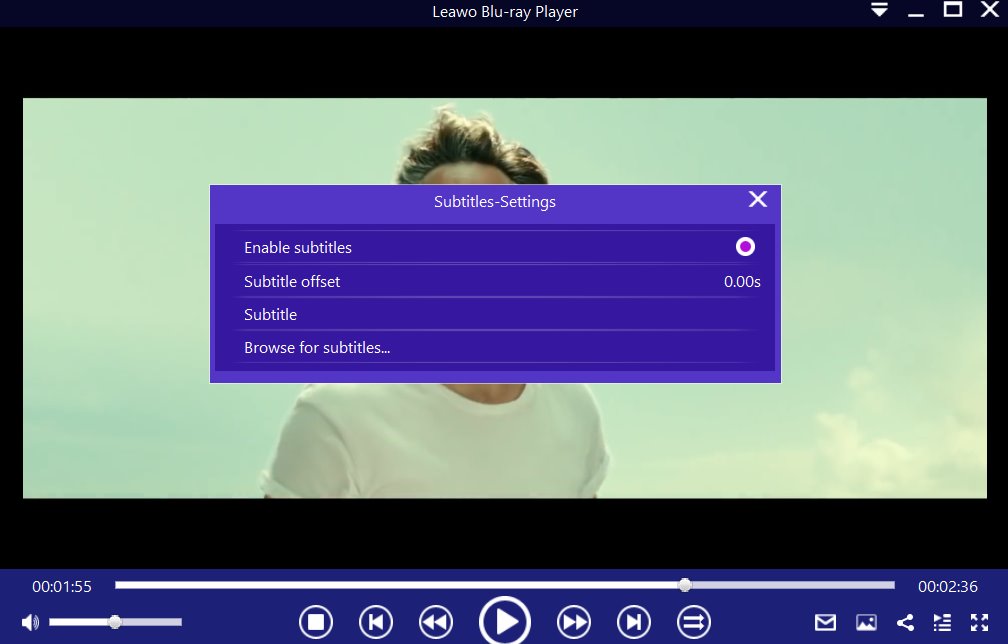
The software should automatically begin the playback when you load your media. During playback, move your mouse to the ‘Title Area’. From the 4 available options, click the Subtitles icon (the first one among 4 icons). You can enable, disable, select or import subtitles.
Step 3: Adjust the video settings
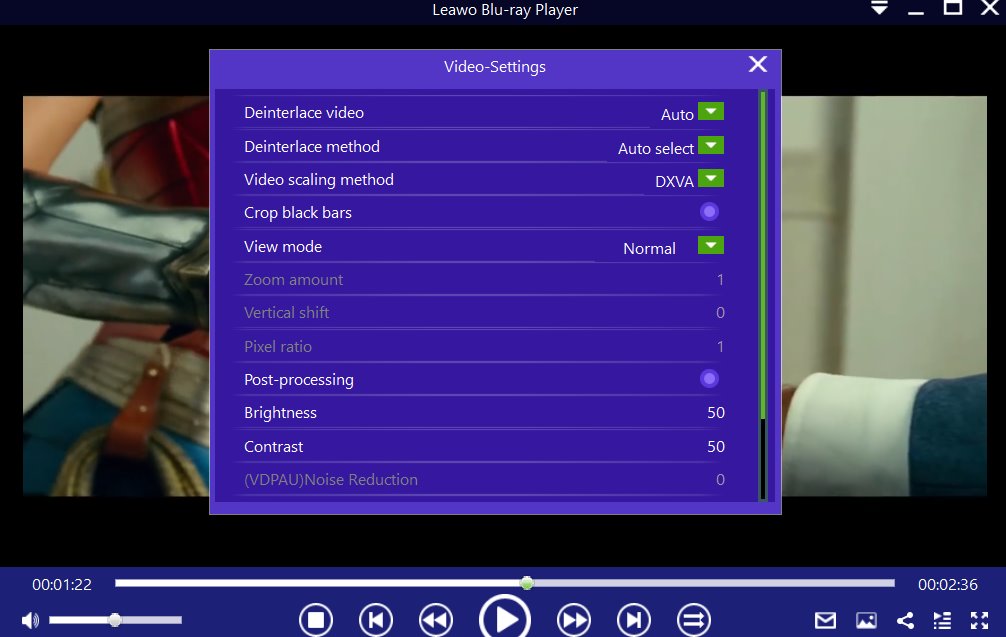
Move your mouse over to the top left corner, or right click on the main interface and choose the "Videos" option to enter the Video-Settings panel. The video adjustment options include video cropping, post-processing, view mode, zooming etc.
Step 4: Adjust the audio settings
Right click on the main interface or move your mouse over to the top left corner, then select the “Audios" option to enter the Audio-Settings panel. The audio adjustment options include audio volume, amplification, offset, stream, output, output device, etc.
We have suggested ways for you to fix your disc drive, if your CD drive keeps ejecting itself. If the above solutions did not work for you, it is most likely that your computer’s hardware has failed, and we would recommend you to take it to professionals for repairs. For all your media playback needs, we would also recommend you to try Leawo Blu-ray Player.

