“I am trying to make a movie using Windows Movie Maker. I have an AVI video file, and I wish to import it to Windows Movie Maker. However, when I import the file to Movie Maker, only the audio portion of the file comes through. In other words, when I put the imported file into the moviemaking timeline, I hear the clip but there is no picture. There are no error messages. What should I do?”
Most users have encountered this type of problem. When you edit files with Windows Movie Maker, there will be a variety of choices to make. Sometimes, it becomes hard playing files on Windows Movie Maker if the codec used was incompatible. The only workable solution in such circumstances is converting it to a more compatible format. Make sure that the output format you choose is compatible with your program to avoid inconveniences. Today we will offer the guide on how to deal with it. You can play AVI files on Apple TV freely.
- Part 1: Why Sometimes Can't Play AVI File on Windows Movie Maker Directly?
- Part 2: Convert AVI to Windows Movie Maker with Leawo Video Converter
- Part 3: Convert AVI to Windows Movie Maker with Totally Free Converter
- Part 4: Convert AVI to Windows Movie Maker with iWisoft Free Video Converter
- Part 5: Convert AVI to Windows Movie Maker with FFCoder
Part 1: Why Sometimes Can't Play AVI File on Windows Movie Maker Directly?
Windows Movie Maker is a free video editing program developed by Microsoft. It was initially released on September 14, 2000. It was regarded as the most straightforward video editing software that almost all film editors and independent film producers can take full advantage of and turn any clip, image, or picture into a full-pledge movie. Windows Movie Maker is a part of Windows Essentials software suite and offers the ability to create and edit videos as well as to publish them on OneDrive, Facebook, Vimeo, YouTube, and Flickr.
AVI is one of the popular file formats supported by Windows Movie Maker. It is a highly compatible format that you cannot afford to overlook when using this program.
Windows Movie Maker can import most file types, but not all file types will work when you try to use them to make a movie. Although AVI is on the list of Windows Movie Maker supported video files, there are many types of AVI files in fact. When your Windows Movie Maker has problems and keeps on displaying error messages on the screen, which can be solved with the right codec. If you are in this trouble, downloading the right codec or converting AVI files to Windows Movie Maker compatible format are the solution.
Usually, installing a codec package may help you solve this problem, but converting the AVI to the WMV format before importing into Movie Maker maybe the best idea solution. It will ensure a perfect AVI importing, playing and editing workflow with Windows Movie Maker. Here is the step-by-step guide on transcoding AVI to WMV for Windows Movie Maker with some video converting programs.
Part 2: Convert AVI to Windows Movie Maker with Leawo Video Converter
Leawo Video Converter is a professional desktop video converting program allows you to convert video and audio file between 180+ formats. Of course, we can use it to convert AVI to Windows Movie Maker. To be more specific, the formats supported by Leawo Video Converter include Common Video (MP4, H.265 MP4, MKV, H.265 MKV, MOV, etc.), Common Audio (AAC, AC3, WAV, MP3, WMA, FLAC, etc.), HD Video (HD MP4, HD AVI, HD TS, HD VOB, etc.), and 4K Video (4K MP4 and 4K MKV). This professional AVI converter is equipped with an internal video editor that allows users to trim video length, crop video size, add video watermark, adjust video effect, create 3D video, and remove video noise, and at the same time, the internal video player allows you to play video file after the file is imported. The conversion speed from one format to another format with the help of Leawo Video Converter is extremely fast. As claimed on the official website, the speed is 6 times faster. More amazingly, Leawo Video Converter is able to retain 100% original quality of the source file. You are even allowed to add external subtitles and choose an audio track for keeping in the output video file.
Mac users can turn to the Mac version of Leawo Video Converter for help. Download and install the right version of Leawo Video Converter based on the system of your computer, and follow the guide below to convert AVI to Windows Movie Maker with Leawo Video Converter. Here we take the Windows version of Leawo Video Converter as an example.
Step 1. Import Source AVI Video
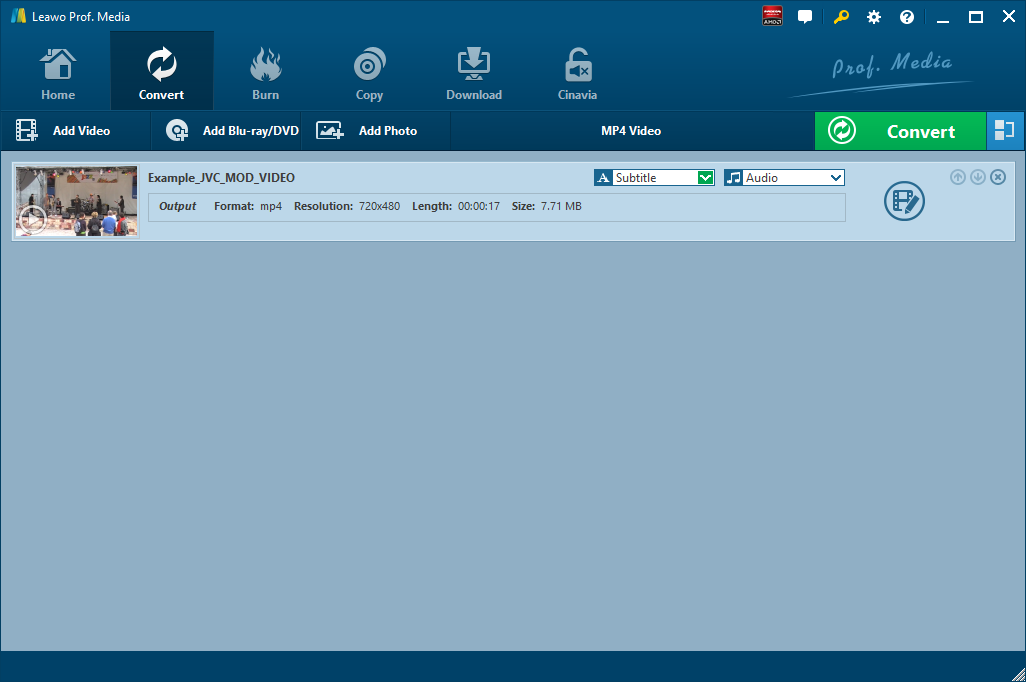
Click off the program after installation, click “Video Converter” on the main interface or click “Convert” tab at the top left menu bar to enter the interface of Leawo Video Converter, where you need to click “Add Video" to choose and add your source AVI video file. Optionally, you can directly drag and drop your source AVI video file into the program. After video file is imported, you can freely choose an audio track and add external subtitle to the output video.
Step 2. Set Output Video Format
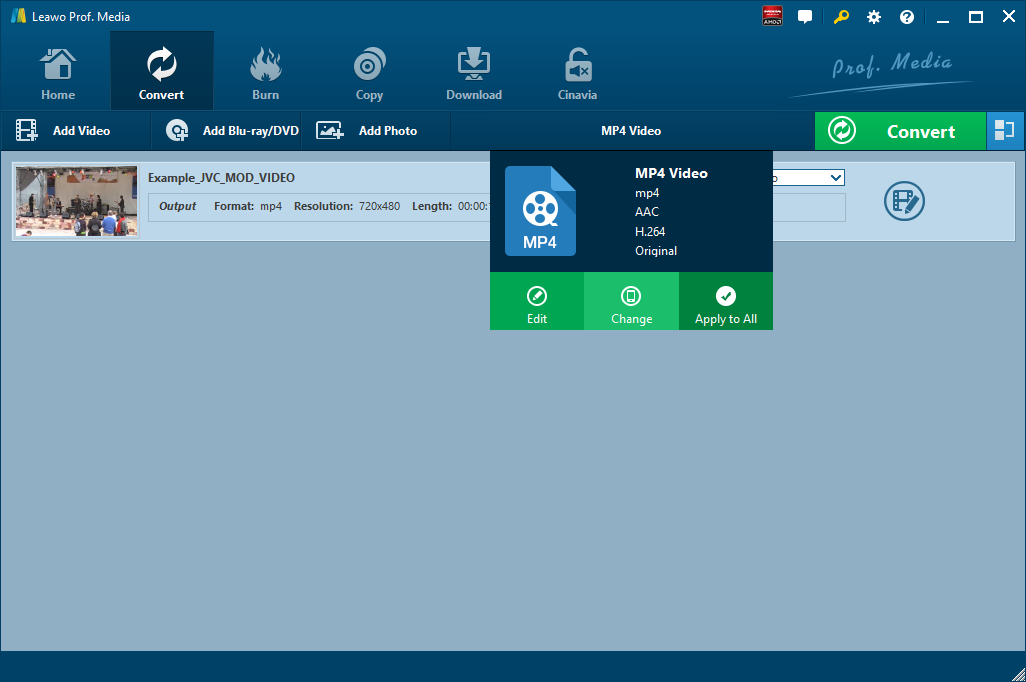
After source AVI video file is imported, to convert it to Windows Movie Maker, you need to set WMV as the output video format. Click the drop-down box named “MP4 Video” by default next to the “Add Photo” button. On the drop-down list, select “Change” option. Then on the popup Profile window, select “WMV” from “Format” column as output format. Please note that once you change the output format, the name of the drop-down box will change as well.
Step 3. Edit Video and Audio Parameters
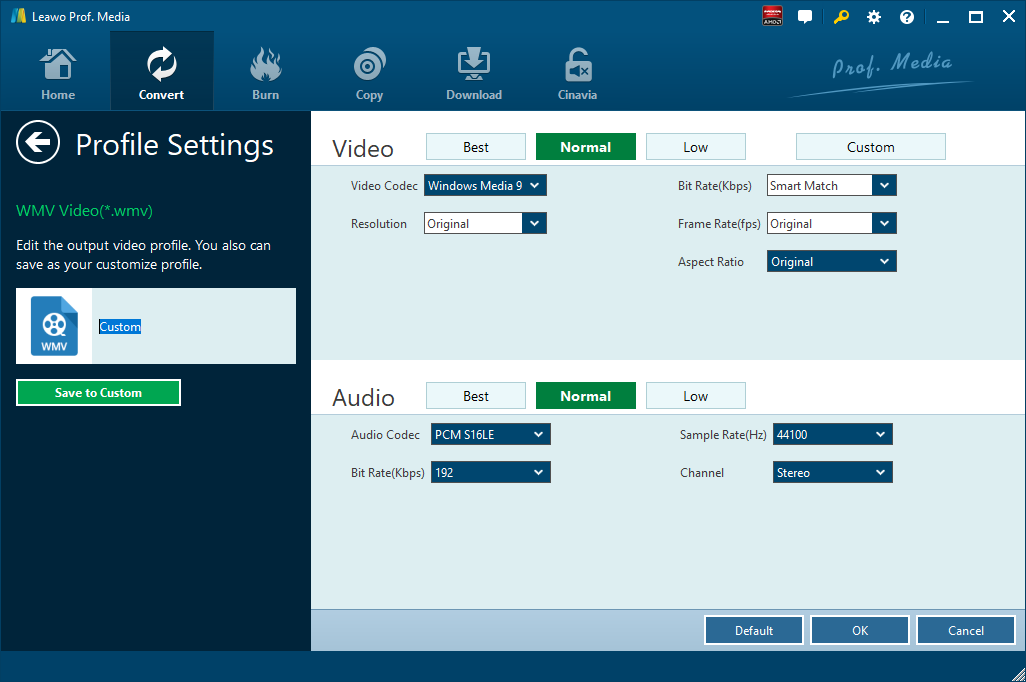
After output video format is set, you will be returned to the main interface, where you need to click “Edit” button on the drop-down profile setting box to edit video and audio parameters including video codec, aspect ratio, frame rate, resolution, audio codec, bit rate, channel, sample rate, etc. After editing job is done, click “OK” to return to the main interface.
Step 4. Start to Convert AVI to Windows Movie Maker
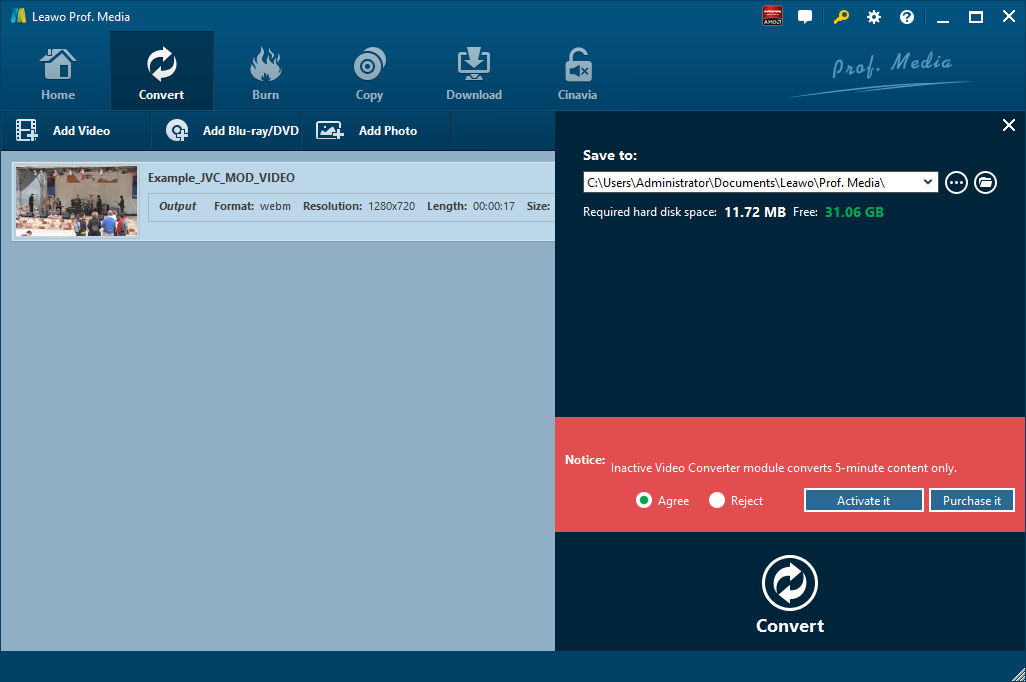
Click the big green “Convert” button on the sub-menu bar next to the format setting drop-down box. Then, on the popup sidebar, set output directory. After setting output directory, click the “Convert” button right below. Leawo Video Converter would start to convert AVI to Windows Movie Maker.
Note: Leawo Video Converter is equipped with an internal video editor, which allows users to trim video length, add video watermark, crop video size, adjust video effect, turn 2D video into 3D video, and remove video background noise.
Part 3: Convert AVI to Windows Movie Maker with Totally Free Converter
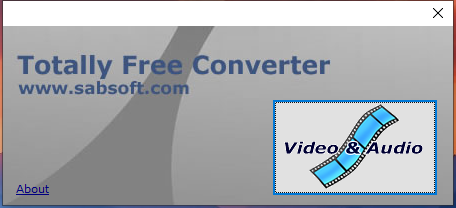
The second method to convert AVI to Windows Movie Maker is to use Totally Free Converter, which supports a wide range of video and audio formats. It can convert AVI to WMV. Check out the detailed steps.
Step 1. Add Source AVI Video
On the interface of Totally Free Converter, click “Video & Audio” to choose and add source AVI video.
Step 2. Choose Output Video Format
Once source AVI video is imported, you will be prompted with a small window panel, where you can choose output video format, rename output video name, and choose output folder. To convert to Windows Movie Maker, you can choose WMV as the output video format.
Step 3. Start to Convert AVI to Windows Movie Maker
After you set the output video format, name and folder, click “Save” to start to convert AVI to WMV. After a while, the converted result will be saved in the folder you just set.
Part 4: Convert AVI to Windows Movie Maker with iWisoft Free Video Converter
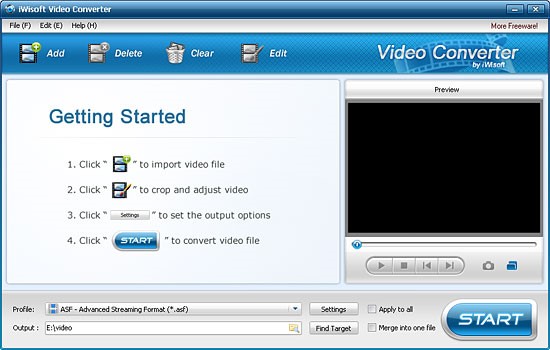
iWisoft Free Video Converter is able to convert videos between all popular formats like AVI, MPEG, WMV, DivX, XviD, MP4, H.264/AVC, AVCHD, FLV, MKV, RM, MOV, 3GP, and audio MP3, WMA, WAV, RA, M4A, AAC, AC3, OGG fast and easily. Like Leawo Video Converter, this video converter enables you to edit video files as well including video cropping, video trimming, video merging, adding watermark, and adding special effects. The video converter is highly praised for its easy-to-use feature, fast conversion speed, and excellent output quality. Most importantly, this video converting program is totally free. Download and install iWisoft Free Video Converter, and then we can start to convert AVI to Windows Movie Maker.
Step 1. Add Source AVI Video File
Click “Add” button on the toolbar or "File> Add Files..." to choose and import source AVI video file.
Step 2. Set WMV as Output Video Format
After source AVI file is imported, click "Profile" drop-down button to choose the formats you need. Here to convert AVI to Windows Movie Maker, you can choose WMV as the output format, and then click the button in Output bar to choose destination folder for saving output files.
Step 3. Start to Convert AVI to Windows Movie Maker
After choosing the format, you only need to click "Start" button on the main window to start converting AVI to Windows Movie Maker. After a while, you will get converted video file in WMV format in the destination folder you just set.
Part 5: Convert AVI to Windows Movie Maker with FFCoder
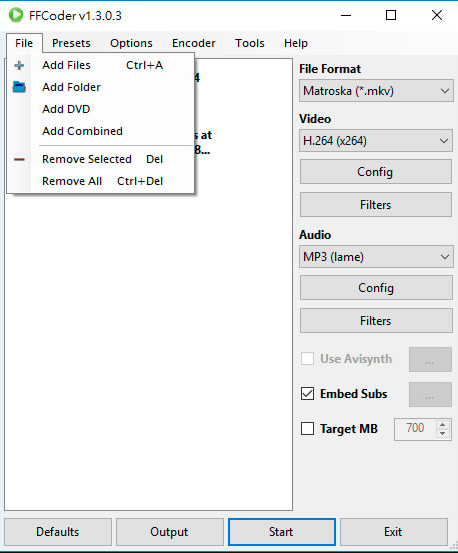
The last one is FFCoder, an audio/video converter, which is capable of transcoding audio and video files to various formats. Also, we can make good use of FFCoder to convert AVI to Windows Movie Maker as well. Check out the guide below to find out more detail.
Step 1. Add Source AVI File
After clicking “File” in the top left menu, you will see a drop-down box, where you need to click “Add Files” to browse and choose source AVI video file.
Step 2. Set WMV as Output Video Format
After AVI file is import, click “Output” to choose and set “WMV” as output video format.
Step 3. Start to Convert AVI to WMV
When output video format is set, you will be returned to the main interface. Now click “Start” to convert AVI to WMV. After a while, you will get converted video file in WMV format.

