Mac and Macbook users should know how painful it is when their hard drive is stuffed with movies and storage space is running out. You can't open it and add an additional hard drive to it. The only way to expand its storage capacity is to use an external hard drive, which could be inconvenient for Macbook users. For movie lovers this could be a real problem. One valid way to make room on a movie fan's Mac is to compress the movies they have. So in this post I would recommend to you several video compressors on Mac you could use and show you how to use one of them to compress a video.
Best video compression software Mac users could try
Below are some video compression software Mac users could use to compress video on Mac.
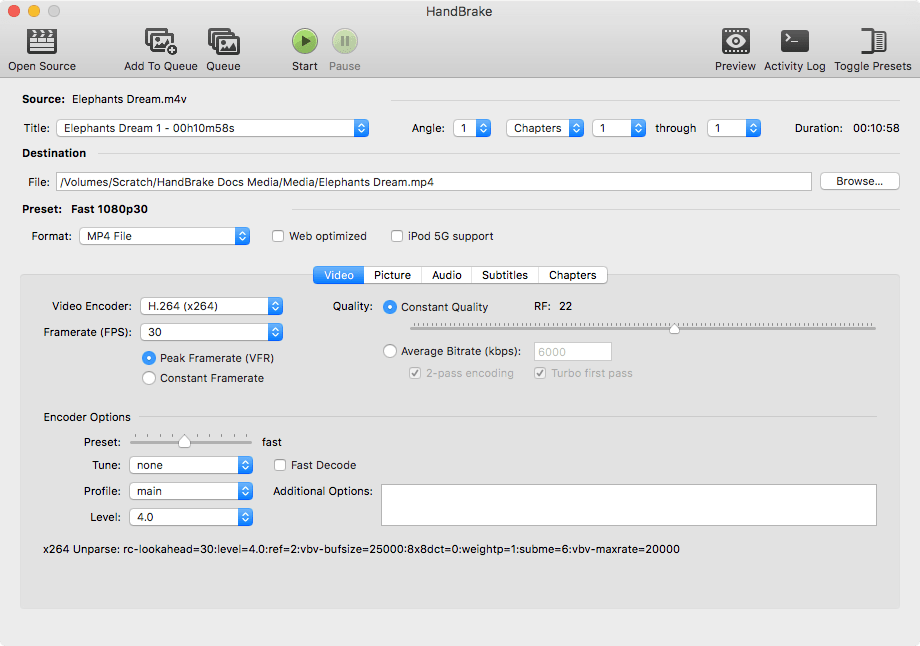
HandBrake
Let's start with something that you might be familiar with or have heard of before: Handbrake. It's a renowned free, open-source video processing program that supports several mainstream platforms including Microsoft Windows, macOS, Linux. You can use it as a video compress on Mac as it's got a lot of settings available for you to adjust. By changing related parameters, you can easily convert a video to a smaller size. Also if you are not familiar with those settings, it's also got a lot of preset profiles for you to use. It's one of the best video compressors for Mac.
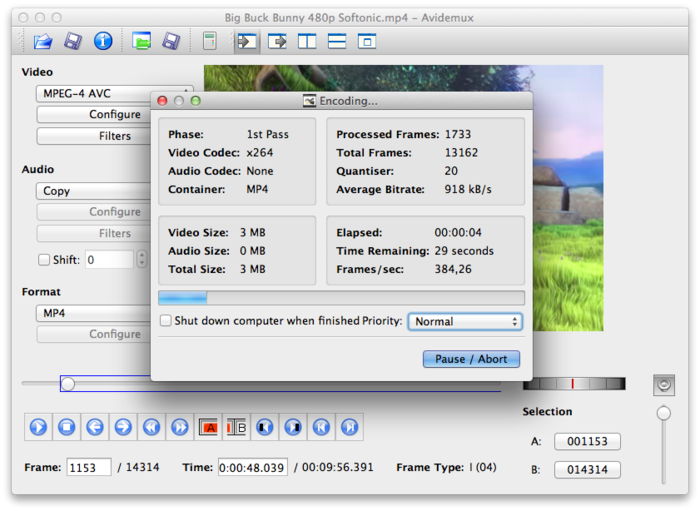
Avidemux
Avidemux is similar to Handbrake as it's also free and open-source. It also supports Windows and macOS. It supports a lot of mainstream video formats like MP4, AVI, H.264, etc. And it also has a lot of video editing features it called Filters in the program to let you edit your video. The only problem about it is that the interface is a little old-fashioned compared to other programs and it might take a little getting-used-to before you can use it to compress a video.
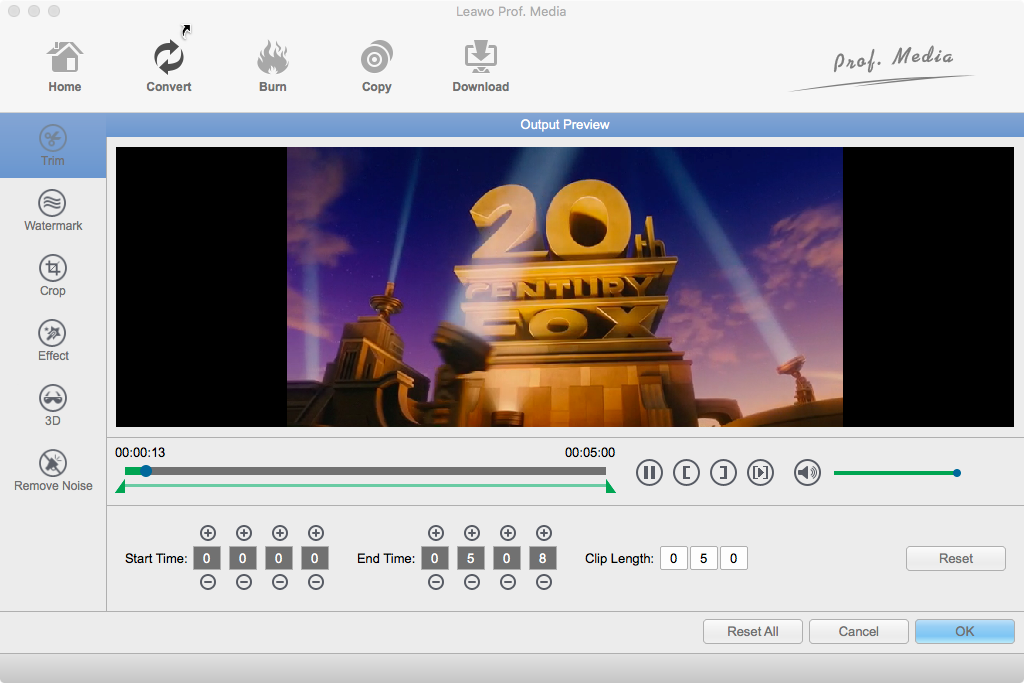
Leawo Video Converter for Mac
Leawo Video Converter for Mac is a professional video converter on Mac that supports converting all kinds of mainstream videos. It also provides users with video editing and video parameter adjustment options. It's also a very user-friendly piece of software. Compared to other two video compressors, it's much easier to use and the interface is much more straightforward.
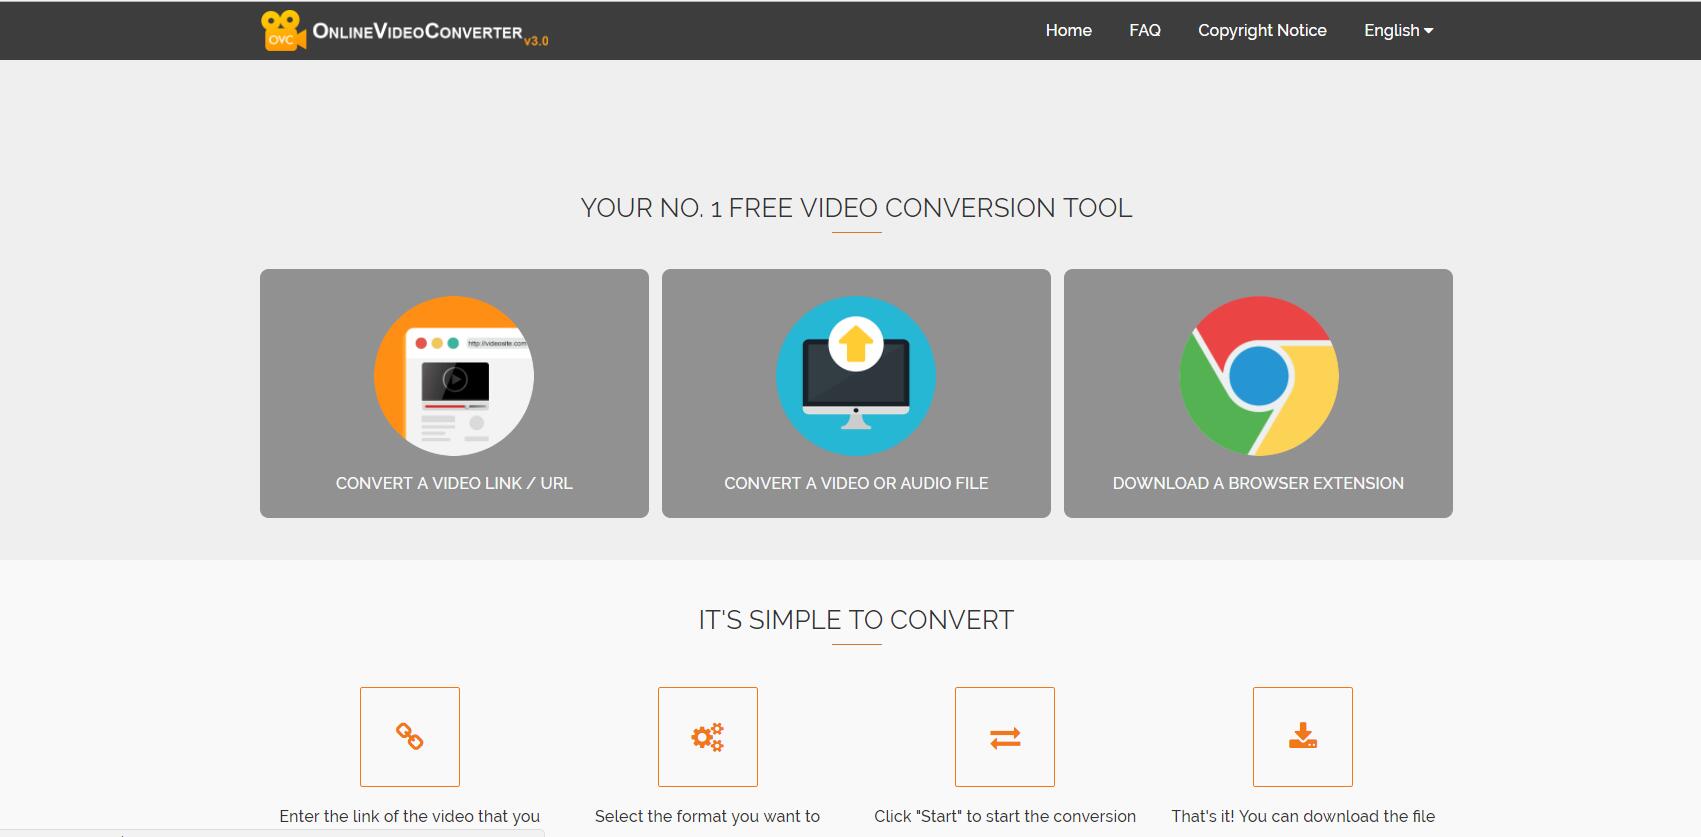
Online Video Compressor
I know a lot of you don't like installing a new program to your hard drive as it's already jammed with videos. Here's the ultimate solution for people like this: Online video compressor. You might not have heard of it before but you can actually convert and compress a video online. There are several websites that provide such kinds of video converting and compressing services. Another advantage this kind of video compressor has is that it's extremely easy to use. Only a few clicks and you can convert and compress a video with it. Here are some online video compressors Mac users could use: onlinevideoconvert, aconvert, online-convert.
How to compress a video on Mac with the best video compressor for Mac
Above are several kinds of video compressors that I think is best for video compression on Mac. In the content below I will show you how to compress a video using one of them. The mac video compressor I'll be using is Leawo Video Converter.
Note: The developer of Leawo Video Converter for Mac has packed the program into a software suite. So when you download and install the program on your computer, you would find that the program is called Prof.Media.
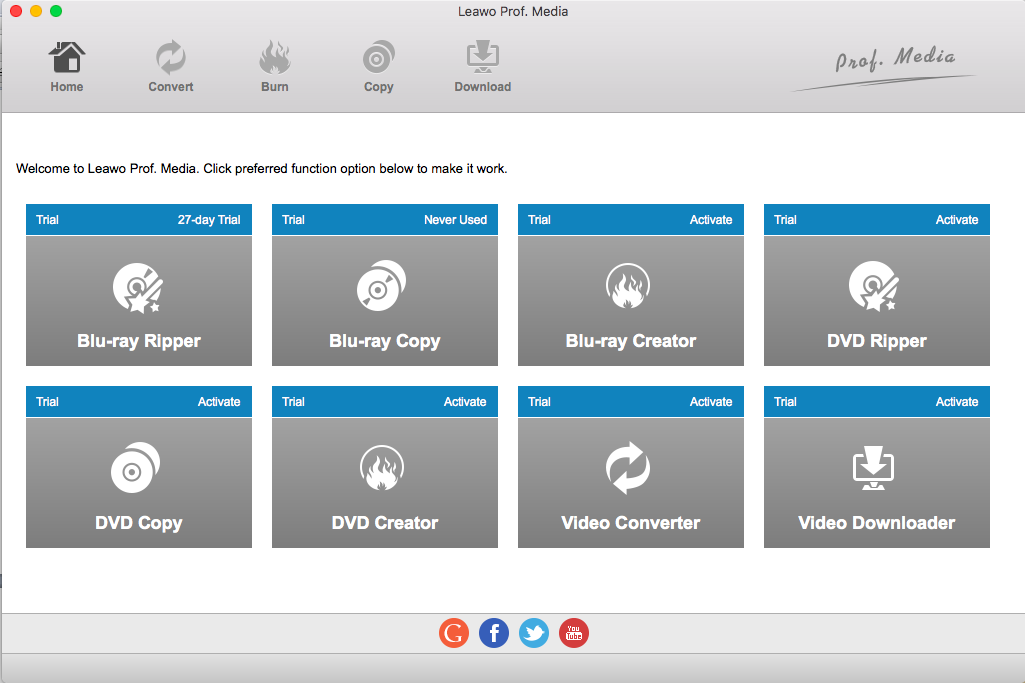
1. Start Prof.Media on your computer. Find Video Converter on the interface from all the 8 tabs and click on it to launch it.
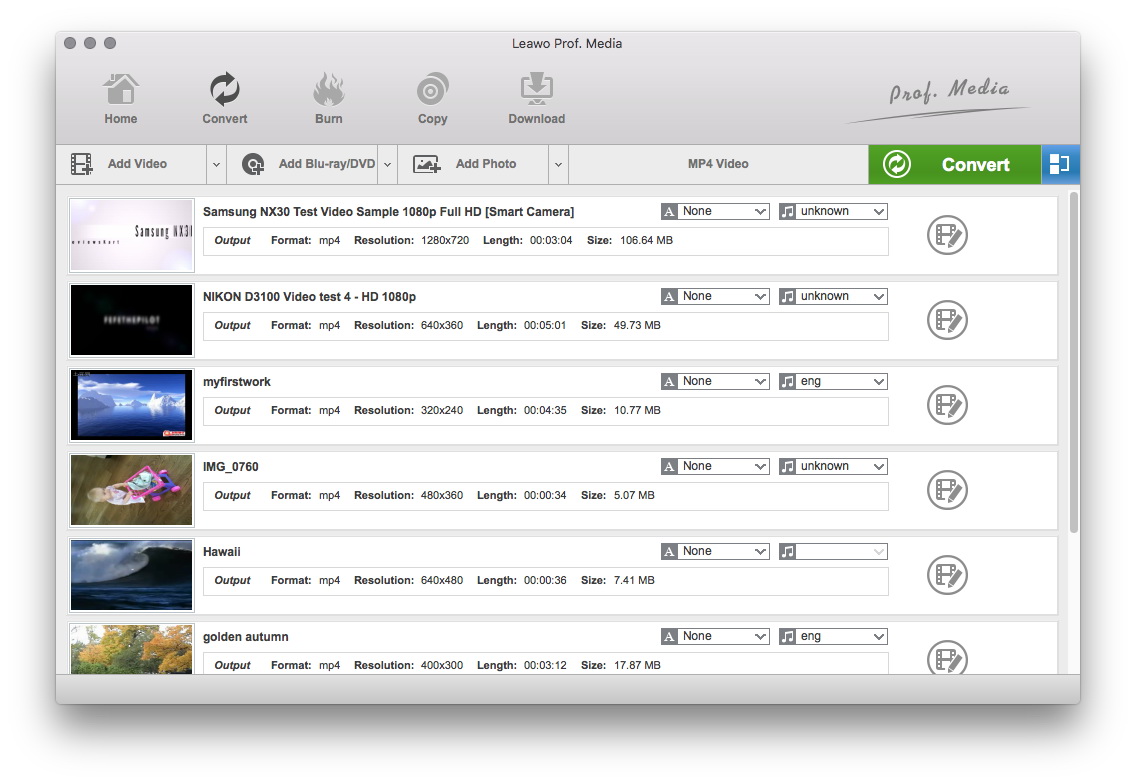
2. To import the video you want to compress, drag and drop them directly to the window of the program. Or click the Add Video button in the top row of buttons and select to import either a video folder or individual videos.
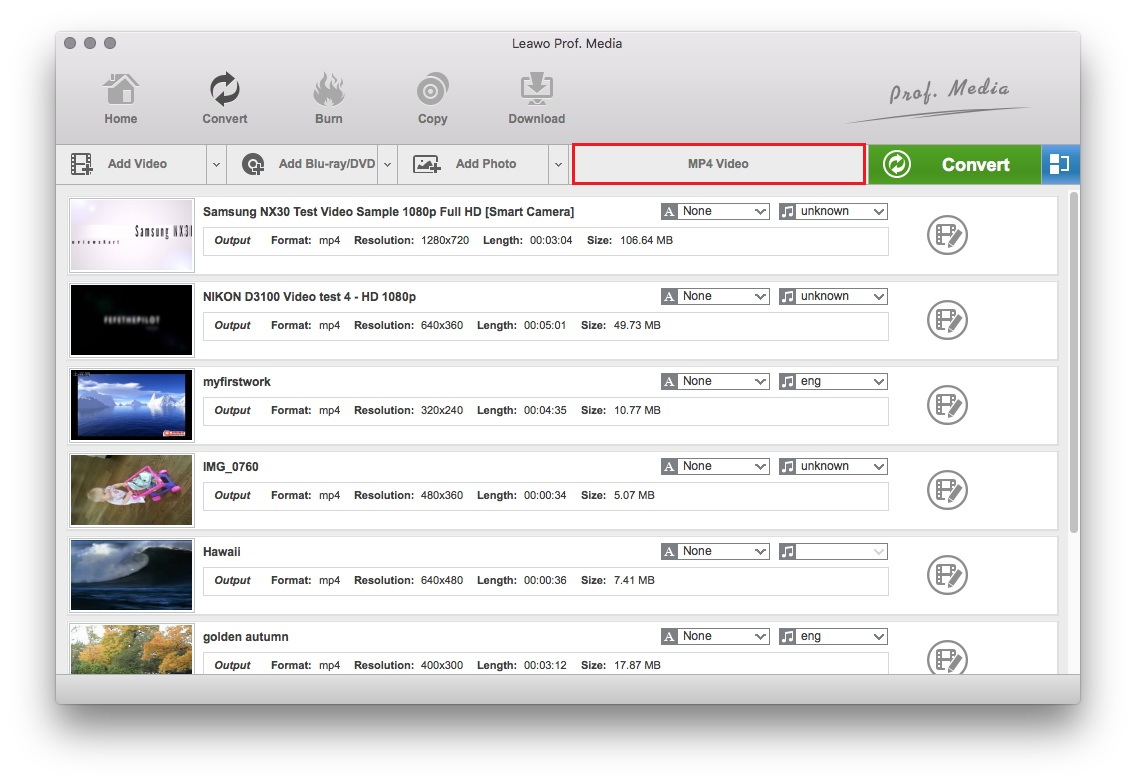
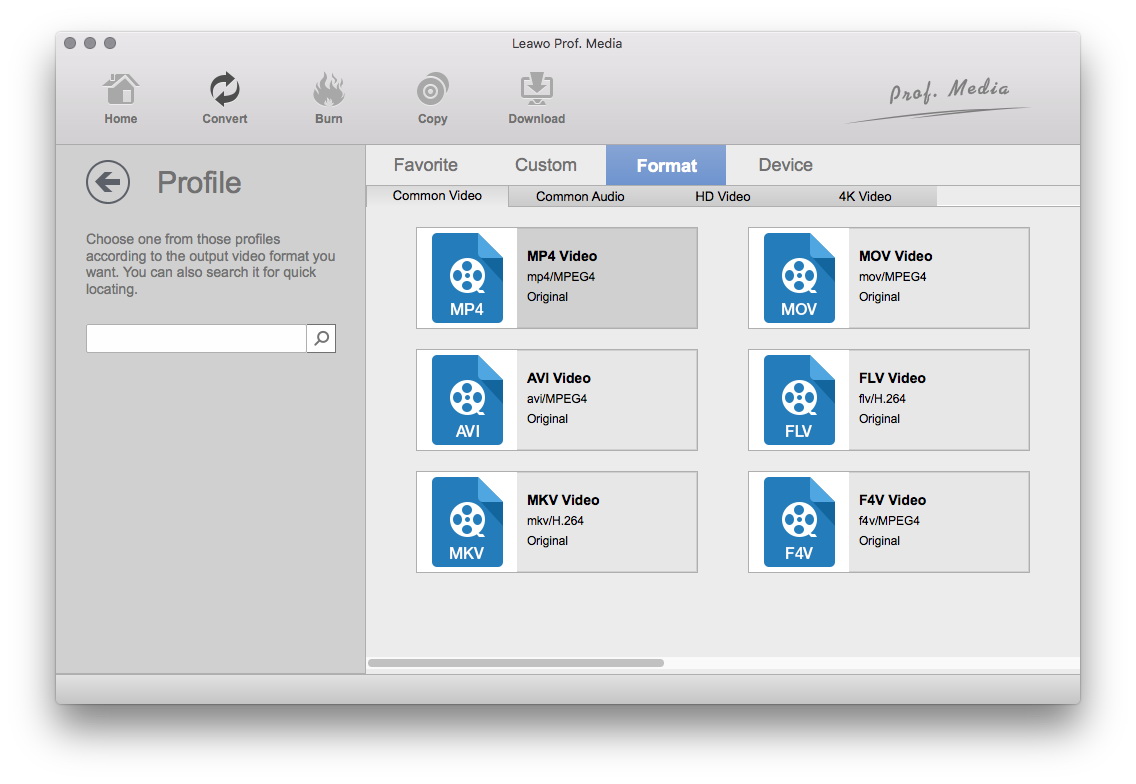
3. To compress a video using Leawo Video Converter, the key is to make good use of the video parameters that the program provides for adjusting. On the top row of buttons, there's a button on the right side of Add Photo button that shows the default output format. Click on that button and a menu would appear with 3 buttons on it. If you want to change the output format, click on the Change button in the middle. If you are okay with the output format and want to jump right to the video parameter adjusting process, click the Edit button on the left of the menu.
You should see two titles on this page with several option boxes below each title. Some of those options could decide the size of the output video. To make the output video smaller in size, here are several parameters you can change: video resolution, video bit rate, video frame rate, audio codec, audio bit rate, audio sample rate. Also the format of the video would also affect the size of a video. For example, if you have the same video in both MP4 and AVI formats, and they are of the same quality, then usually the AVI version would be larger in size than the MP4 version because AVI is less compressed. So you might want to avoid AVI when choosing the output format.
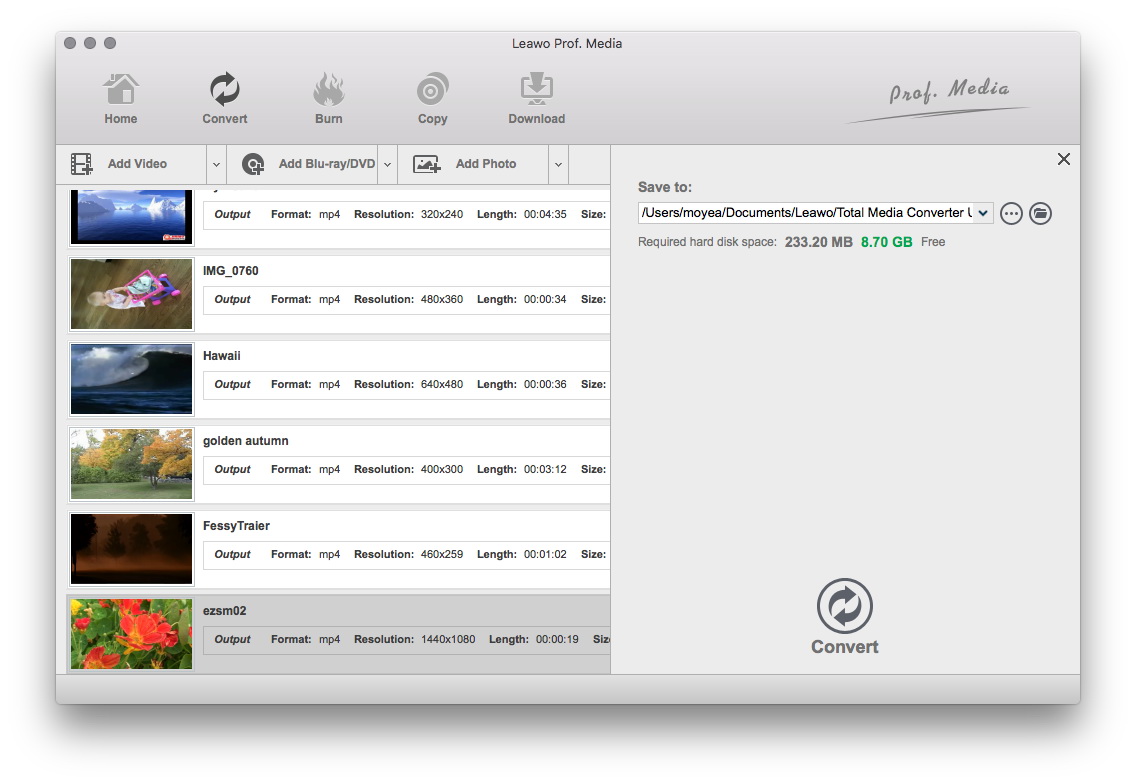
4. Before you start compressing your videos on Mac, there's one more thing to do and that's to set the output directory for the output video. Click the green Convert button on top of the video list and a sidebar would pop up under the button. Right on top of the sidebar is the default output directory, click the "…" button to change it if you need. And then click the Convert button to officially start the video compression.
Above are the best video compression software Mac users could use. Use your best judgement and pick out the best video compress for Mac to compress your movies and videos on Mac.

