An introduction to Leawo Blu-ray Ripper for Mac that shows you what the program is and what it’s capable of doing.
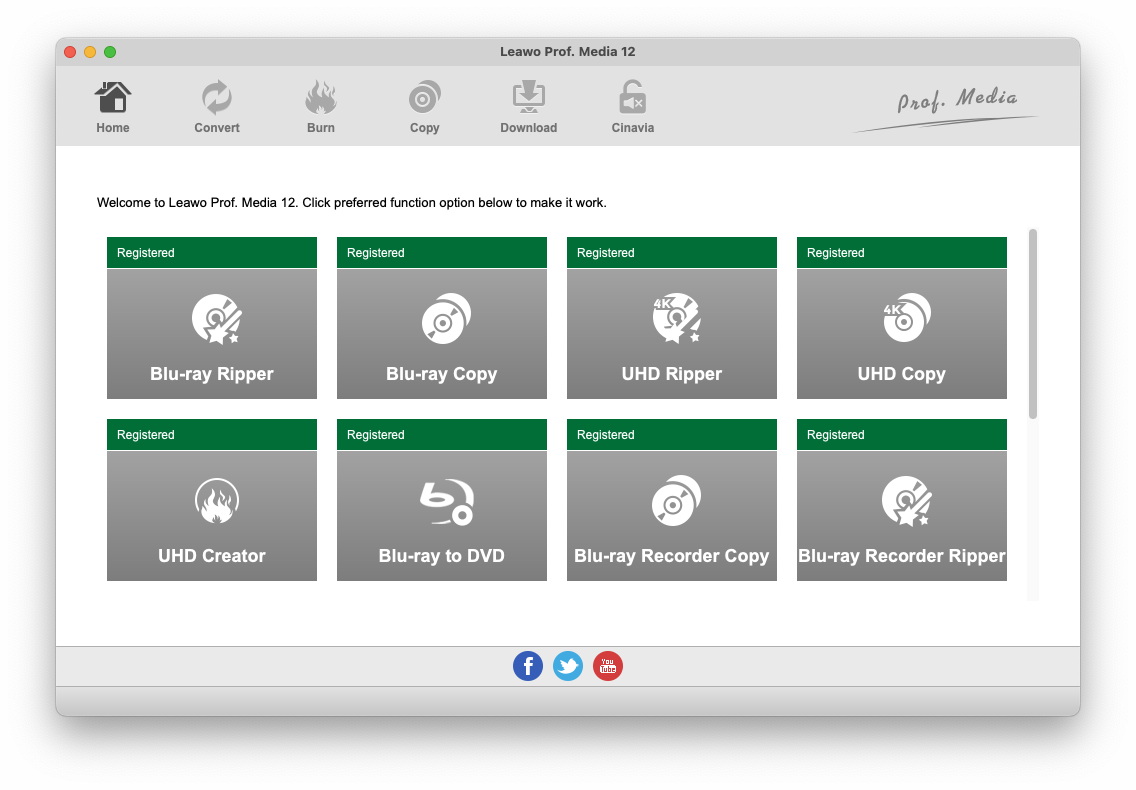
Leawo Blu-ray Ripper is a powerful Blu-ray ripping tool designed to help users rip and convert their Blu-ray collection to all kinds of popular video and audio formats. It also features a built-in video player that would allow users to play Blu-ray movies directly within the program. Also the video editing features within the program allow users to edit the movie freely. Furthermore, it enables users to add 3D effects on common 2D movies to create 3D movies from ordinary 2D videos. It can also rip Blu-ray to lossless MKV video which contains all the data including all subtitles and audio tracks. Other than Blu-ray, Leawo Blu-ray Ripper can process DVD discs as well. It’s currently packed inside a software suite that Leawo Software calls Prof. Media for Mac. To open Leawo Blu-ray Ripper for Mac, first launch Prof. Media for Mac and click the Blu-ray Ripper icon from the main interface.
 [12/29/23] MAX Downloader V15.0.0 NEW[12/27/23] Disney+ Downloader V15.0.0 NEW[12/01/23] All-in-one Downloader V15.0.0 NEW[11/28/23] Hulu Downloader V15.0.0 NEW[11/18/23] Amazon Downloader V15.0.0 NEW
 10,000,000 people are using Leawo!
 All Transactions are protected!
 30-Day Money Back Guarantee!
Any 3rd-party product names, trademarks, logos and images occasionally mentioned on this site belong to their owners. These might include but not be limited to YouTube, Apple, Amazon, Adobe, Netflix, etc. Leawo Software is independent of all of these property owners.


 Prof. Media 13
 Blu-ray Ripper
 Blu-ray Copy
 Prof. DRM