Aperture Priority mode is an amazing camera feature which helps you not only photograph vast landscapes, but also photograph the smallest insects. Many photographers opt to use Aperture Priority mode as the default mode selection. By using Aperture Priority mode, you can take eye-catching photos without controlling your settings all the time. Therefore, it is quite an effective and helpful feature for both beginners and professionals. In this post, you can figure out what is Aperture Priority mode and how to use Aperture Priority.
Menu
Part 1: What is Aperture Priority Mode?
The aperture is a great way to experiment with deep and shallow depth of field or how much of the image is in focus, in which determines how blurred or detailed your backgrounds will look. Aperture Priority is a camera mode, often abbreviated A or Av on dial, in which you can manually set the aperture, while the camera automatically selects a shutter speed for a better exposure. You can’t manually adjust your shutter speed in this mode. Alternatively, there is another camera mode—manual mode, where you must decide both values, shutter priority where you pick a shutter speed with the camera selecting an appropriate aperture, or program mode where the camera selects both. It is obvious that Aperture Priority mode is comparatively less complicated than manual mode, for both beginners and professionals. When Aperture Priority mode is set properly, either using wide aperture or narrow aperture, you can significantly improve your photography.
Part 2: How to Set Aperture Priority Mode to Your Camera?
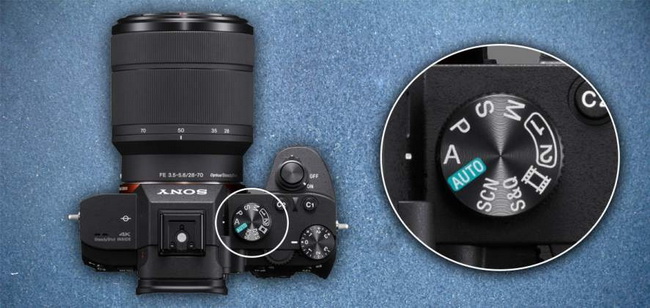
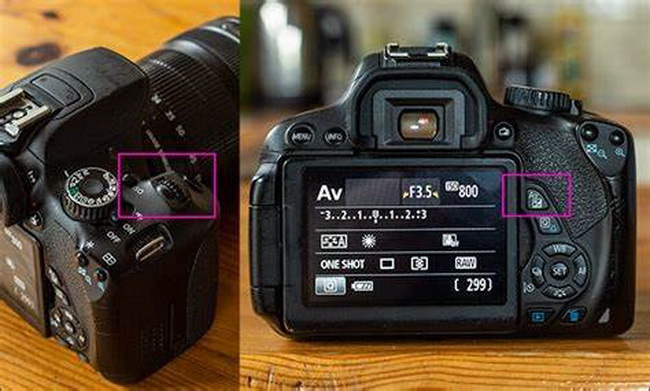
To use Aperture Priority mode, you’d better figure out how to set this mode to your camera. There is no doubt that it differs from maker to maker, while you set Aperture Priority mode for different cameras. It is quite simple to control this mode when you are using the popular Nikon and Cannon cameras. For most Nikon digital SLRs, there is a mode dial. You can easily turn the dial to “A” and then select your aperture manually by spinning your front control dial to adjust your aperture or using the rear control dial to make it. For nearly all Cannon SLRs, you need to turn your mode dial to “Av”, and then the main control dial will adjust your aperture.
Part 3: How to Use Aperture Priority Mode?
Since you have learnt what Aperture Priority mode is and how to set it, now it’s time for you to figure out when and how to use Aperture Priority mode. Moreover, you will still be able to manually control aperture, ISO, and all other settings.
3.1 How to Use Aperture Priority Mode
As mentioned, Aperture Priority mode allows you to control the aperture value, which helps you pick the right one and ultimately selects the desired depth of field. Besides, Aperture Priority mode requires your camera to select a shutter speed automatically.
△ 1. Focus on Subject and Control Your Depth of Field
When you turn Aperture Priority mode, you can focus on your subject and control the depth of field. This mode is perfect for you to choose the depth of field your shooting needs whereas leaving shutter speed automatically set by the camera. You can use a small aperture to force more depth of field, and a large aperture to a shallow depth of field.
△ 2. Control the Shutter Speeds and ISO
Your camera will automatically adjust the shutter speed when aperture priority is enabled. In Aperture Priority mode, you can adjust the aperture, and then an optimal shutter speed will be automatically chosen to match your selection based on the amount of light came through the lens. If you are shooting a subject in dark conditions, you need to increase ISO.
3.2 When to Use Aperture Priority Mode
As you know, Aperture Priority Mode is a valuable tool to shoot flattering photos. Then, when do you need to use aperture priority? Here are some situations you’d better use Aperture Priority mode.
△ 1. Use Aperture Priority mode when you take portrait photos
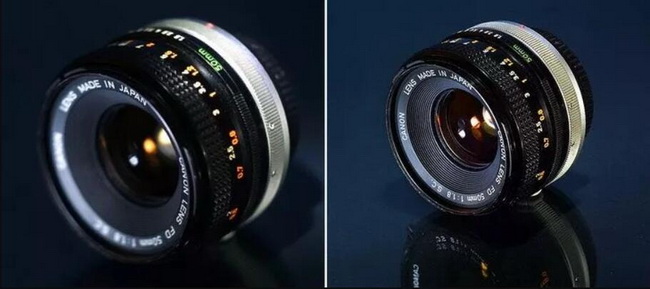
When the camera is turned to Aperture Priority mode, you should manually choose the required aperture value to get the right depth of field. While taking portrait or close-up shots, you have to keep the subject in focus and blur out the background by choosing a large aperture such as f/1.8 or f/2.8 to achieve a shallow depth of field. Actually, you can also use this mode to focus your subject in distracting environments such as events, weddings, parties, and street photography.
△ 2. Use Aperture Priority mode when shooting landscapes/cityscapes
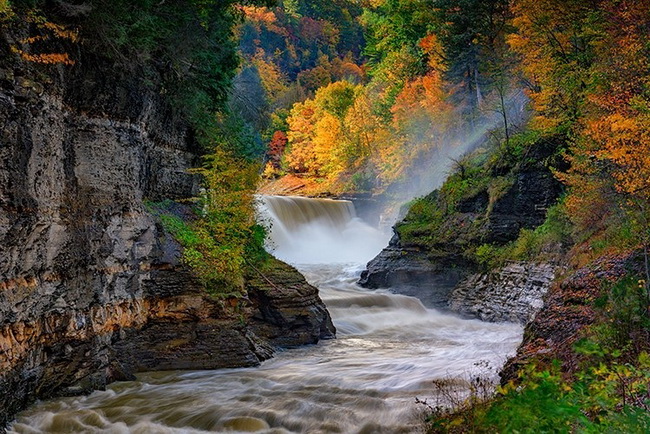
While you are shooting landscapes or cityscapes, you might want to choose a small aperture and get everything in focus. When Aperture Priority mode is activated, you can select the desired aperture value like f/16 or f/22 to achieve deep depth of field so that both the foreground and the background might be in focus for a landscape or cityscape shot.
△ 3. Use Aperture Priority mode when photographing in low lighting
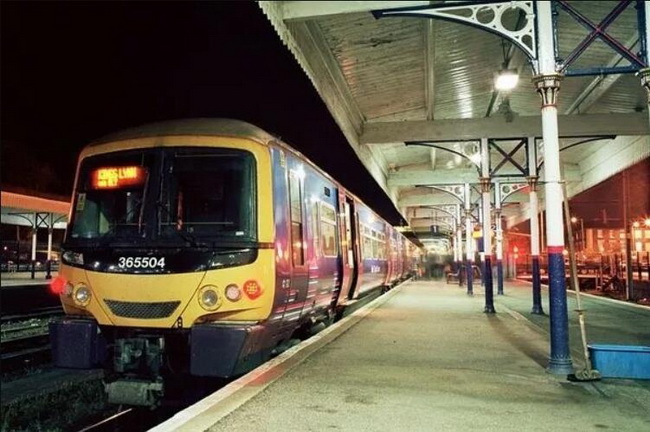
Aperture Mode helps you decide how much light to let in your lens while making a photo. When you are photographing in situations in dim lighting. You’d better select a smaller aperture value such as f/1.8 or f/2.8 so as to get more light into the camera and capture a better-exposed photo. While shooting indoors, for example, you can use Aperture Priority mode to take a sharp picture.
△ 4. Use Aperture Priority mode for sports/wildlife photography
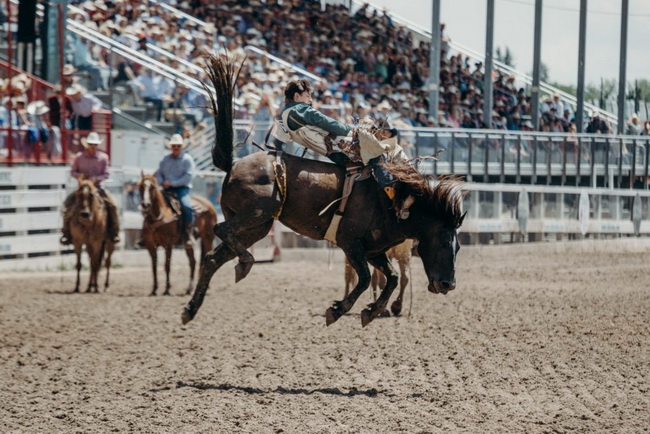
Many professionals for sports and wildlife photography prefer using aperture priority mode. In this mode, you can set a very large aperture, such as f/2.8 or f/4, to ensure that the most possible light is allowed in. When you use Aperture Priority mode and set a large aperture, a fast shutter speed will be automatically selected for the correct exposure and freezing motion. On the contrary, a slow shutter speed may result in motion blur. Make sure you set proper aperture before focusing a moving subject.
3.3 When Not to Use Aperture Priority Mode
Obviously, Aperture Priority mode is a mostly preferred mode that gives a lot of help for different genres of photography. But that doesn’t mean it is always ideal for photographers. There are some situations when you’d better not use Aperture Priority mode.
- For HDR, you’d better not use Aperture Priority mode. Since bracketing makes HDR possible, and you will need to take bracketed shots for HDR, you will need to use manual mode as well as different settings for different exposures.
- Aperture Priority mode only allows shutter speeds of up to 30 seconds on most cameras. Any photography that requires more than 30 seconds of exposure (bulb/time mode) will need to be done in manual mode.
- You should use manual mode when you do flash photography to maintain a balance between the light from the flash and ambient light.
- When shooting panoramas, time lapse, and for focus stacking, it is best to use manual mode and completely avoid any other modes of shooting, including Aperture Priority mode.
- In some conditions, you will often get photos that are in low light or inconsistently exposed in Aperture Priority mode, for example, with Milky Way photography. To fix it, you have to use manual mode, which works great in taking star photos or other photos in dark conditions.
Part 4: How to Enhance Photos Shot by Aperture Priority Mode in Camera?
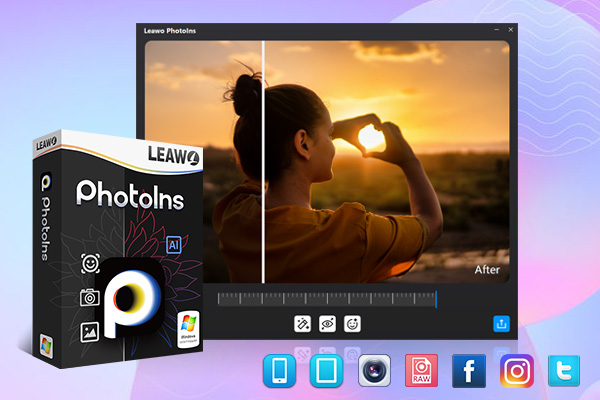
It is a common sense for all photographers that the postprocessing or enhancement of photos is quite essential to create the best photos. To get the most impressive and fantastic photos, it is best to enhance photos shot by Aperture Priority mode in camera. How could you make it, then? Leawo PhotoIns would be the best tool that will help. As a powerful and advanced AI photo enhancer, Leawo PhotoIns can do portrait enhancement like retouching skin, removing freckles, enlarging eyes, adjusting lighting and more with a few clicks. Besides, it can also adjust exposure, optimize photo colors, remove haziness, boost lighting and color quality and so on. Here comes the simple guide for you to do photo enhancement.
Step 1. Download and Install Leawo PhotoIns
Download the lightweight Leawo PhotoIns installation package on the official site for free. And then install it on your computer in minutes.
-
Leawo PhotoIns
- Enhance portrait photos easily with advanced AI technology
- Fix photo exposure and white balance issues automatically
- Optimize photo colors and perfect photo tints
- Make photos perfectly clear with smart dehaze
- Boost photo lighting and color quality
- Process RAW and JPG files
Step 2. Launch it and Add Photos
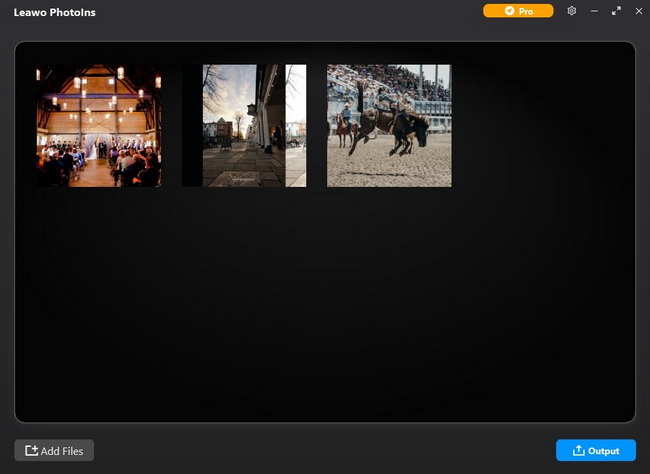
Launch the program and enter the main interface where you can click “Add Photos” button to import the photos you want to enhance. And then you can also add more photos or delete the loaded photos on the photo-listing panel.
Step 3. Enhance Photos Automatically
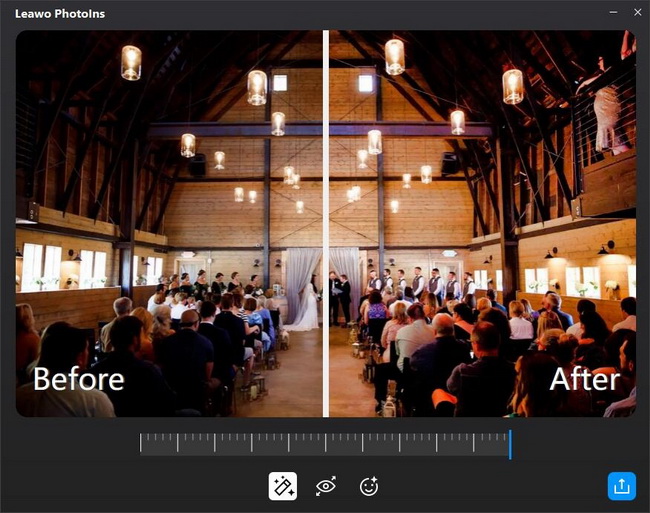
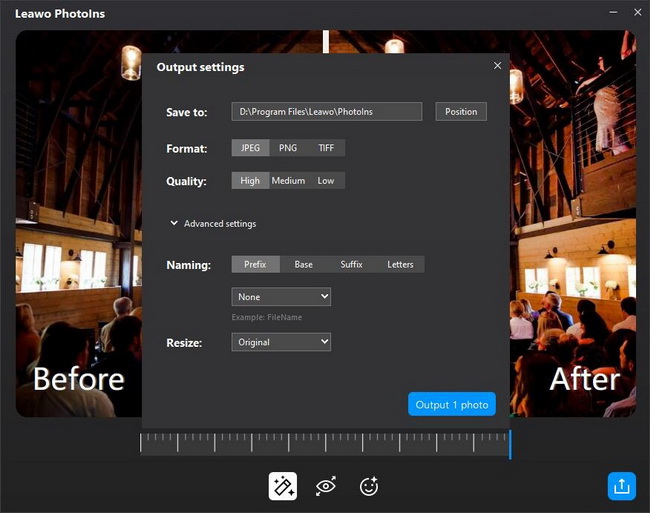
Select one photo and double-click it to enter the editing panel, where the built-in AI photo enhancer will automatically improve the photo. There is an effect adjust bar below the previewer, which allows you to adjust the AI enhancing degrees. And you can clearly see the comparison of the “Before” and the “After”.
Step 4. Output Photos
When the AI enhancement completes, click the blue output icon on the right bottom corner to open the output setting panel where you can set the output path, output format, quality, and other settings. And then, export the enhanced photos when all settings are done.

