If you want to solve how to remove suggested Emails from Mail on iPhone, you can check out this guidance to help you. Some suggestions of Mail are annoying, and you can deal with this problem to avoid the unwanted suggestions. Now let’s read the following contents to get to know the method to solve how to remove unwanted Email suggestions from Mail app on iPhone.
You may also be interested in:
How to Fix 'My iPhone Won't Charge' Issue
How to Import Bookmarks from Computer to iPhone
Four Ways to Fix Full iPhone Storage
Part 1: How to Remove Email Suggestions from Autocomplete in iOS Mail on iPhone
On your iPhone, if you want to handle how do you remove email addresses from autocomplete, you can refer to the steps listed below. The detailed contents will instruct you to achieve your aim.
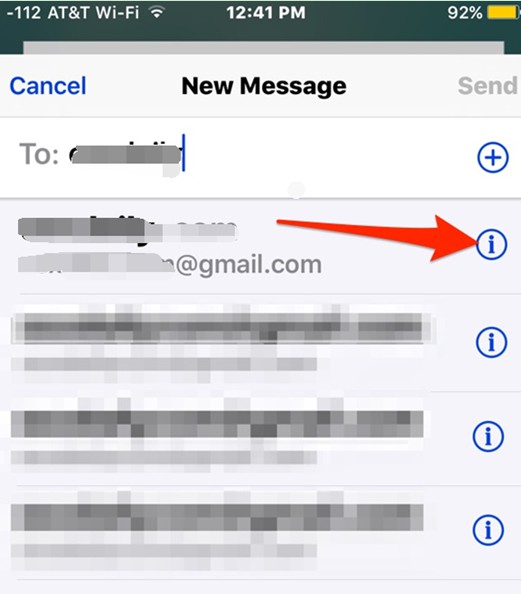
1. Click on the Mail app on your iPhone and then choose the compose button to tap to create a new mail message to begin to deal with how to remove suggested Emails from Mail on iPhone. Afterwards, you need to click on the “To” field and begin typing the email address where unwanted suggestions begin to pop up. Click on the button with the letter “i” beside the email address of the contact that you want to remove from the suggested list.
2. After that, you need to click on the option of “Remove From Recents” to remove it from the list to solve how to remove suggested Emails from Mail on iPhone.
3. If you want to remove other unwanted email addresses and contacts, you can repeat the steps shown above.
This solution to deal with how do you remove email addresses from autocomplete is quite easy. If you want to send photos from iPhone to iPhone via the Mail app, you can continue to read the following two parts to assist you.
Part 2: How to Send Photos from iPhone to iPhone via Mail App
After you have solved how to remove suggested Emails from Mail on iPhone, you can use Mail app to transfer photos from iPhone to another iPhone at ease. The detailed steps are as follows.
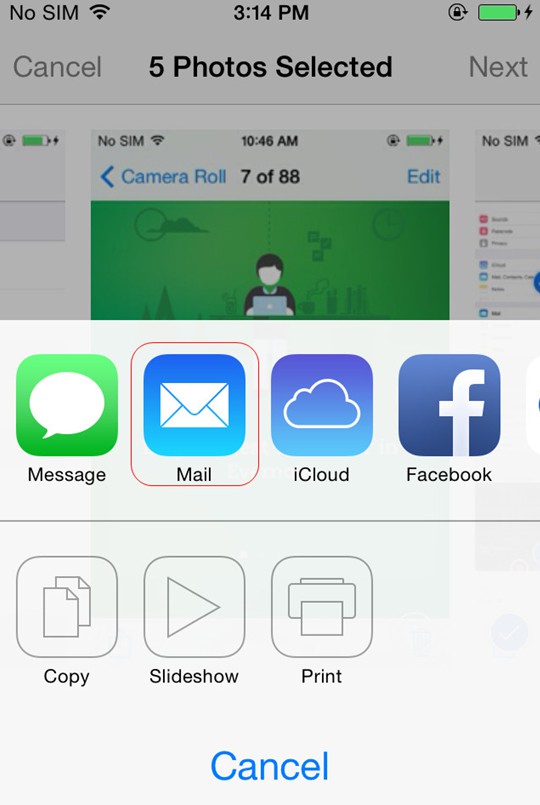
1. On you iPhone, go to the Photos app and then select the pictures that you wish to move to another iPhone. Afterwards, you need to tap the “Share” button at the left bottom.
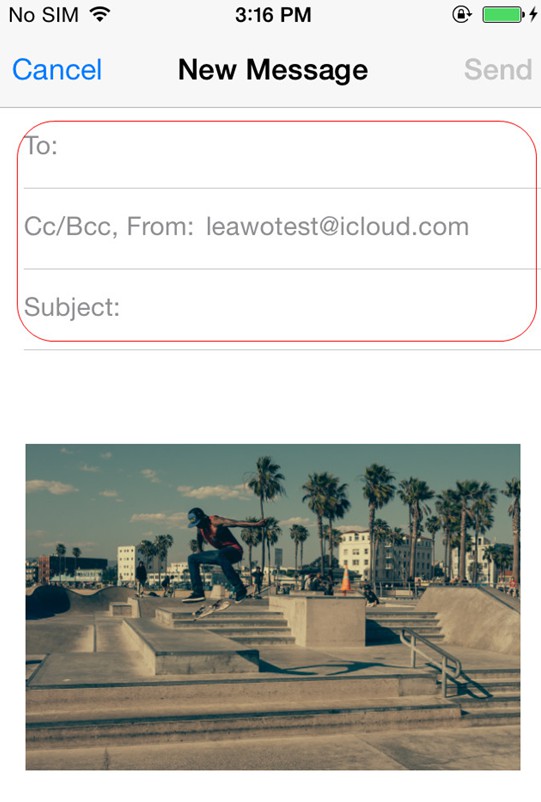
2. After that, click on the Mail app option and then you can send the pictures to another email address of yourself on another iPhone.
3. On another iPhone, you need to sign into your email box and then download the photos in the new email to your iPhone.
To solve how to remove suggested Emails from Mail on iPhone can help you to get rid of the annoying suggestions. It will enable you to send photos from iPhone to iPhone happily without the unwanted trouble. If you want to use a much more powerful program to help you to transfer photos from iPhone to iPhone, you can continue to read the following contents to assist you.
Part 3: How to Transfer Photos from iPhone to iPhone via Leawo iTransfer
Leawo iTransfer is useful for you to send photos from iPhone to iPhone. The files that it can deal with are various, including photos, songs, videos and so on. You can take advantage of it to solve different kinds of transfer problems. Now let’s take a look at how to use this amazing software to realize your goal.
Leawo iTransfer
☉ Transfer files among iOS devices, iTunes and PCs with ease.
☉ Transfer up to 14 kinds of data and files without iTunes.
☉ Support the latest iOS devices like iPhone 7, iPhone 7 Plus, etc.
☉ Play back, view, and delete data and files on iOS devices.
3.1 Export Photos from iPhone to Computer
In order to send photos from iPhone to iPhone, the first thing you need to do is export pictures from iPhone to PC. The steps are as follows.
Step 1. Connect iPhone to PC
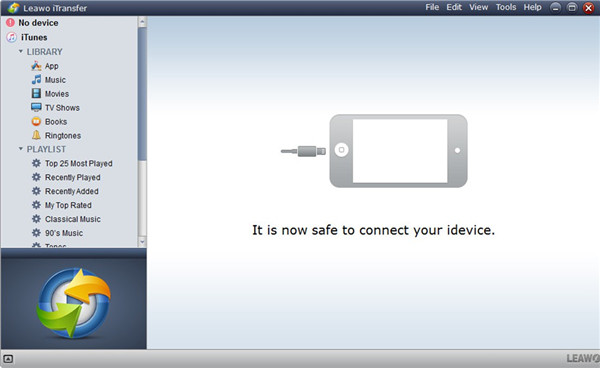
Launch iTransfer on computer and then connect your iPhone with PC via proper USB. Your iPhone info will show in the window of the software.
Step 2. Select Photos to Export to Computer
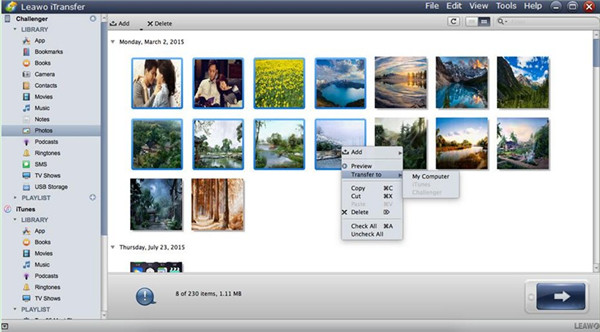
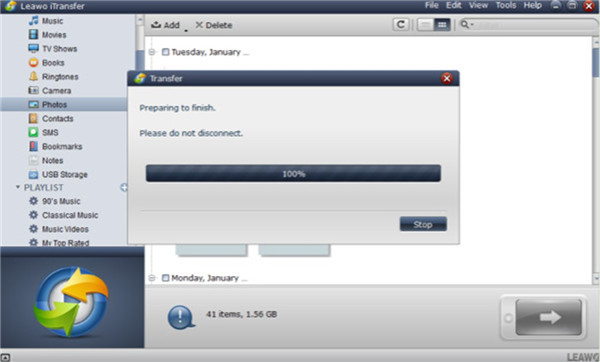
Head to “iPhone icon > LIBRARY > Photos” in the left sidebar of the interface. Select the photos you wish to send to PC for later use. Right click on one of the chosen pictures and then choose “Transfer to > My Computer” to click on. In the next panel, you need to tap on the “Change” button to choose a location on your PC to save the exported photos. In the end, you can tap on “Transfer Now” to begin to move photos from iPhone to PC. The process will take you a few seconds. After that, the iPhone photos will be in the computer folder.
3.2 Import Photos from PC to Another iPhone
When you have finished exporting photos to computer, you need to continue to read this part to know how to import the pictures from computer to another iPhone. The following contents will instruct you to make it.
Step 1. Connect Another iPhone to PC
Unplug the iPhone you have just used and then connect another iPhone with PC via USB cable. The program will show the information of this iPhone automatically.
2. Add Photos to Another iPhone
Afterwards, you need to move to “iPhone icon > LIBRARY > Photos > Add”. Find the photos that you have exported to PC and then tap the “Open” button to initiate the process to transfer pictures. When this procedure comes to an end, the photos will be available in this iPhone.
iTransfer is the most professional program among all transfer tools. You can have a try with this magic tool to help you to deal with various issues effectively. After you read this guidance you will know how to remove unwanted Email suggestions from Mail app on iPhone and how to transfer photos from iPhone to iPhone easily.

