If you have downloaded or saved lots of files on your iPod, your iPod space will be run out of. In order to free up the storage of your iPod, you can transfer some files to your iPhone or to your computer. In some cases, you may want to enjoy some iPod songs on your iPhone or view some iPod photos on your iPhone. Therefore, you need to transfer them from iPod to iPhone for your convenience. This guidance will show you 4 methods to help you to make it.
Part 1: How to Transfer Files from iPod to iPhone via Email
Email is a free tool to help you to transfer files. You just need to load the files to your Email as the attachments to send to your iPhone from iPod. Here I would like to take how to transfer photos from iPod to iPhone for instance. The detailed steps are as follows. 1. On your iPod, navigate to your Photos app and then select some pictures that you want to transfer to your iPhone. Tap on the share icon in the screen and then choose the Mails app as the share method. 2. In the next panel, fill in the necessary information on the new mail, including another Email address of yourself, the subject and some texts. After that, click on the “Send” button to send the email to your iPhone.
3. On your iPhone, move to open the new email you have just received to download the photos to your iPhone. Thus, you can resolve how to transfer photos from iPod to iPhone easily. If you have lots of photos to transfer, this method to deal with how to transfer photos from iPod to iPhone will not work so effectively. You can choose other ways in this guidance to assist you. Besides, you can also make use of Email to transfer other types of files from iPod to iPhone.
Part 2: How to Transfer Files from iPod to iPhone via iCloud
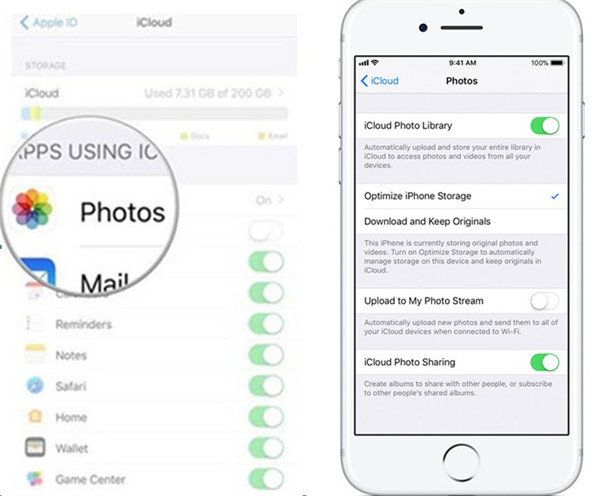
When it comes to transferring files from iPod to iPhone, iCloud can also be helpful. Its sync function is powerful and can be used simply to realize the file transfer between iDevices. Now let’s have a look at how to transfer photos from iPod to iPhone for instance. 1. On iPod, click on “Settings > Name/Apple ID > iCloud > Photos” tab to enable it. Tap “iCloud Photo Library” to turn it on. Make sure the connection of Wi-Fi network is available. Thus, your iPod photos will be uploaded to iCloud.
2. On iPhone, swipe upwards to connect iPhone with Wi-Fi network. After that, do what you have done on your iPod. At last, you can click on the “Merge’ button in the panel that appear to sync iCloud photos to iPhone. Thus, you can solve how to transfer photos from iPod to iPhone without any difficulty. After you have disposed how to transfer photos from iPod to iPhone via iCloud, you can also refer to the steps shown above to transfer other files from iPod to iPhone using the sync function of iCloud.
Part 3: How to Transfer Files from iPod to iPhone via iTunes
In order to cope with how to transfer files from iPod to iPhone, iTunes is a great tool for you to make use of. The sync function of iTunes can allow you to handle this problem with a few clicks. I would like to take how to transfer music from iPod to iPhone for instance. The following steps below can instruct you to make it. 1. On computer, run iTunes software and make sure it is the latest. Tap on “iTunes Store> Authorize This Computer” in order to prepare to solve how to transfer songs from iPod to iPhone.
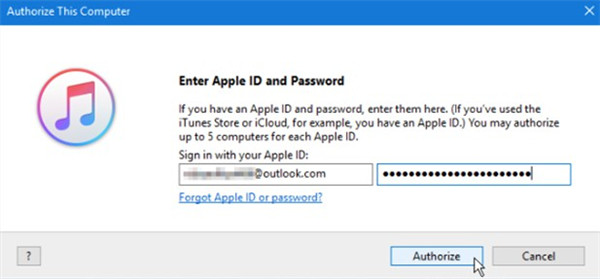
2. Fill in your Apple ID and password that you have used to purchase music. Click on the “Authorize” button to continue.
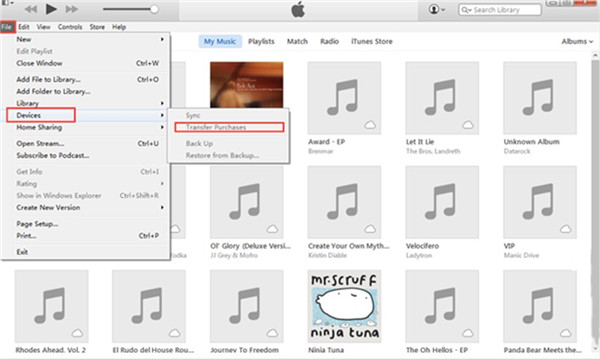
3. Insert iPod into computer via a USB cable and then go to “File > Devices > Transfer Purchases”.
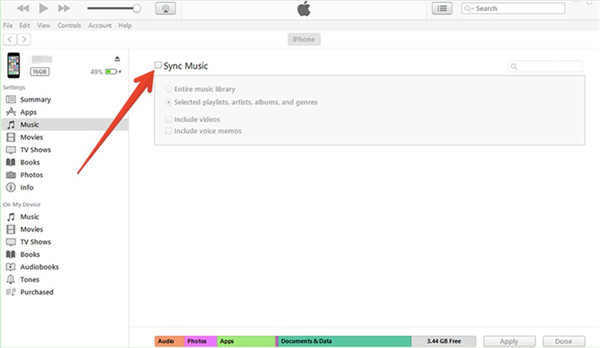
4. Now you need to insert iPhone into computer via proper USB cable. Click on “iPhone icon> Settings > Summary > Music” to choose the songs you want to transfer to iPhone. After that, tap the box next to “Sync Music” to put a checkmark in it. In the end, click on the “Apply” button to initiate the sync process to realize the aim to settle how to transfer music from iPod to iPhone.
Note: Before the sync process starts, you need to go to “Edit > Preferences > Devices” to check the option of “Prevent iPods, iPhones, and iPads from syncing automatically”. Thus, you can solve how to transfer music from iPod to iPhone. However, you should know that this can only transfer the purchased files from iPod to iPhone. If you want to transfer files from iPod to iPhone more completely, you can resort to other solutions.
Part 4: How to Transfer Files from iPod to iPhone via Leawo iTransfer
Leawo iTransfer is a third-party program, which has the trial and the paid version. This software is easy to handle and it can transfer different kinds of files quickly and safely. The files it support are up to 12 kinds, such as songs, photos, movies and so on. Let’s check out how to move music from iPod to iPhone via iTransfer for example.
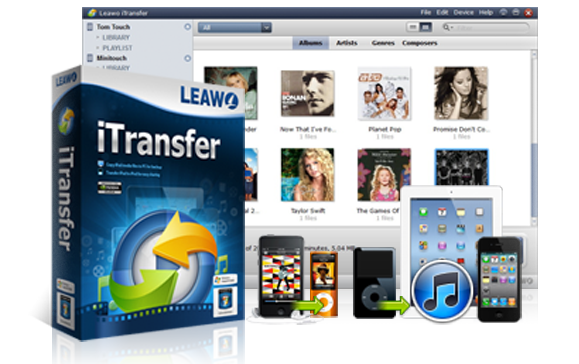
Leawo iTransfer
☉ Transfer files among iOS devices, iTunes and PCs with ease. ☉ Transfer up to 14 kinds of data and files without iTunes. ☉ Support the latest iOS devices like iPhone 7, iPhone 7 Plus, etc. ☉ Play back, view, and delete data and files on iOS devices.
4.1 Export Music from iPod to Computer
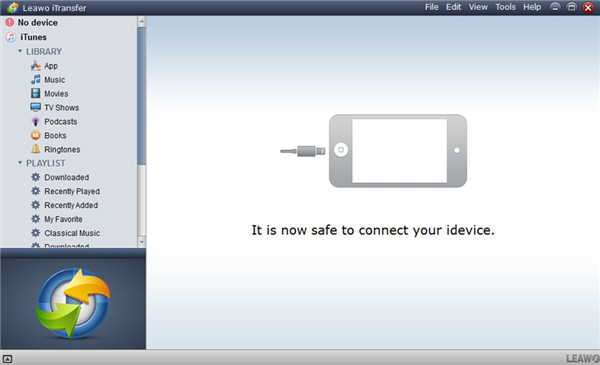
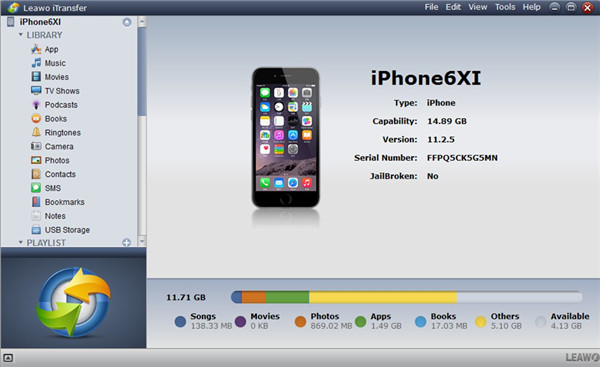
In order to deal with how to move music from iPod to iPhone, first you need to export iPod music to computer for later use. Step 1. Launch Leawo iTransfer Insert iPod to computer via USB cable and the run the software on computer. The software will recognize your iPod automatically.
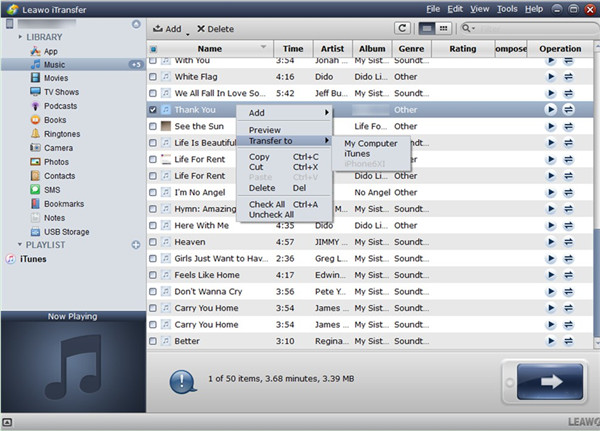
Step 2. Choose Music to Export to Computer Move to “iPod icon > LIBRARY > Music” to continue to transfer music from iPod to iPhone without iTunes. Choose the songs that you want to export to computer in the right window. Right click on one of the songs and then click on “Transfer to > My Computer”. In the next panel, check “Save to folder” and then tap the “Change” button to set a computer folder to save the exported music files. Afterwards, click on “Transfer Now” to realize the exportation from iPod to computer.
4.2 Import Music from Computer to iPhone
To continue the process to transfer music from iPod to iPhone without iTunes, you need to import the iPod songs from computer to iPhone via iTransfer. Step 1. Connect iPhone to Computer Unplug iPod from computer and then connect iPhone with computer via matched USB cable.
2. Add Music to iPhone
Navigate to “iPhone icon > LIBRARY > Music > Add”. Choose “Add File” or “Add Folder” according to your needs. Find the exported iPod songs on your computer and then click on the button of “Open” to invoke the process to transfer to iPhone. In a few seconds, the procedure will complete. Thus, the iPod music will be available on iPhone.
To transfer music from iPod to iPhone without iTunes is not a hard task at all. If you want to take advantage of iTransfer to manage other types of files, you just need to refer to the steps shown above and choose the corresponding category you need to transfer. Do you wanna move iPod audiobooks from iPod to iPhone, or do you want to move large videos from iPod touch to iPhone, you could resort to iTransfer right away.

