What would you need if there's the moment that you want to have a voice recorder at hand so that you could keep some voice messages to others? What if you want the voice messages to be be reversed? If so, you're in the right place. You could try to use the Rewind program also Reverse Voice Recorder, which is widely recognized as the useful tool to passively record anything that your smart phone is picking up. Here we would like to share you with more details about the application.
Part 1: How to Record Voice with Reverse Voice Recorder on Android and iPhone
Rewind Reverse Voice Recorder is one useful application that enables you to passively record the surroundings with its easy-to-use interface. The powerful program is mainly featured by running in the background in a steady stream so as to record anything Android and iPhone device hears. Rewind Reverse Voice Recorder might fulfill your expectation of rewinding time, capturing and recording moments in the last 1 to 30 minutes before you miss them. Before you continue reading the article below, you may need to free download Rewind Reverse Voice Recorder and launch the backwards voice recorder freely on your Android and iPhone device.
Step 1: Activate the recording page
After you've launched the Reverse Recorder, you may need to click the big red button in the lower right hand corner of the interface.
Step 2: Choose the recording buffer time
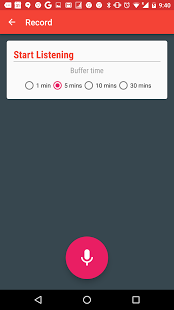
You could view several buffer time options for you to choose like 1 min, 5 mins, 10 mins and 30 mins. You could select one of them as you like, and then click the big red "Start Recording" button.
Step 3: Start to record
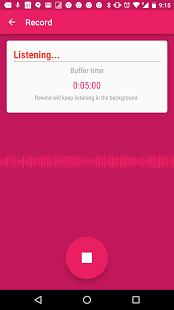
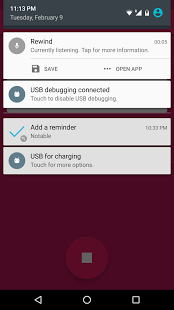
And then you may come to the recording process, you could view it clearly in the picture below.
Step 4: Save your recordings
After you've finished the recording process, you could click the large red button in the bottom of the interface directly, and then you could open another page where you could save your recordings by clicking the "SAVE" button.
Step 5: Find your recordings
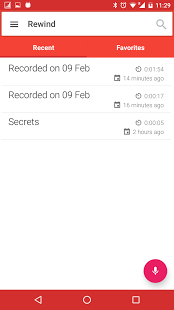
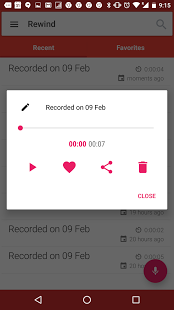
You could view the recorded audios under the "Recent" tab clearly. The recordings list has shown the recording date and buffer time clearly.
Step 6: Play back recordings
You could click one of the recordings to play the sound, choose it as your favorites, share it with your friends or delete it directly, just click the "CLOSE" button to close the window.
Part 2: How to Record Voice on Computer with Leawo Music Recorder
Leawo Music Recorder could be one good helper for you to record voice/audio/music on computer with the user-friendly interface and high quality. What's more, the all-in-one application also offers the powerful editing function for you to customize your own specified voice settings easily. The versatile voice recorder is also loaded with some other additional features like uploading recordings to iTunes with only one click, editing the music tags freely and many more. The first thing you need to go is to download Leawo Music Recorder for free and open it directly.
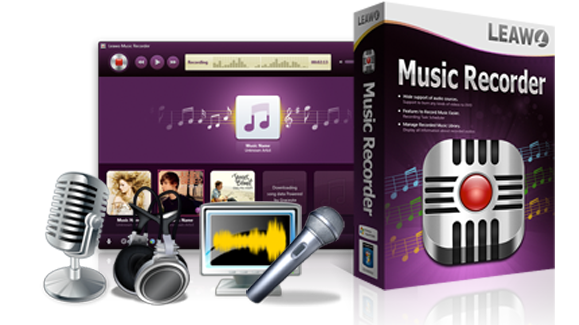
Leawo Music Recorder
☉ Record any sound from computer stream audio and built-in input audio.
☉ Record music from 1000+ music sites like YouTube, Facebook, Veoh, VEVO, etc.
☉ Schedule music recording via the internal recording task scheduler.
☉ Automatically/manually add and complete music tags like artist, album, cover, genre, etc.
☉ Save recorded musicfiles into either WAV or MP3 format for wide uses.
The below steps show you how to use Leawo Music Recorder to record HD audio. Click the above download link to download and install this HD audio recorder on your computer and then follow the below stesp to learn how to record HD audio with it in detail.
Step 1: Select your desired audio source
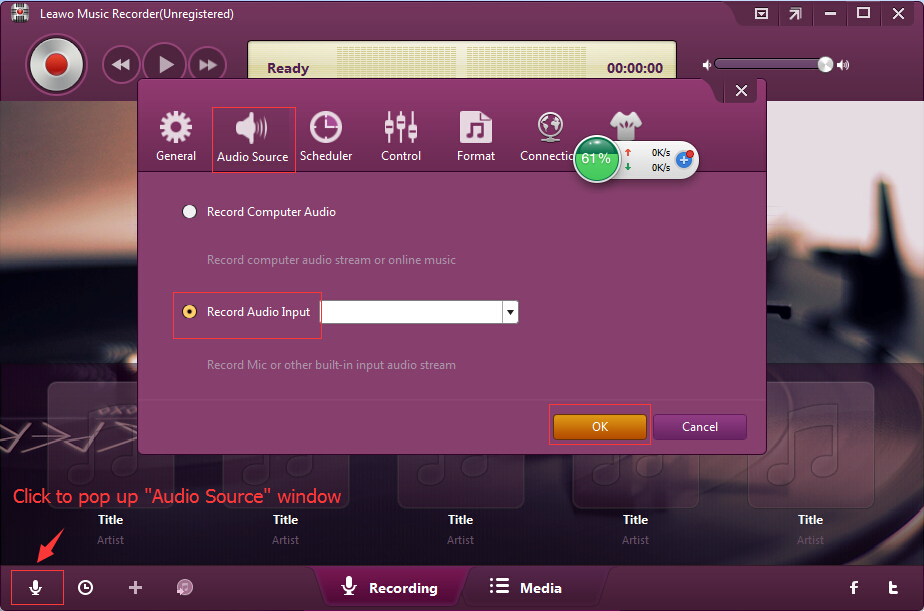
Leawo Music Recorder could offer the appropriate functions in appropriate places with the graphical button interface. Here you may need to click the "Audio Source" button and the audio settings window appears in which you should select "Record Computer Audio" as you need. It's that simple.
Step 2: Choose the output profile as WAV and do the audios settings
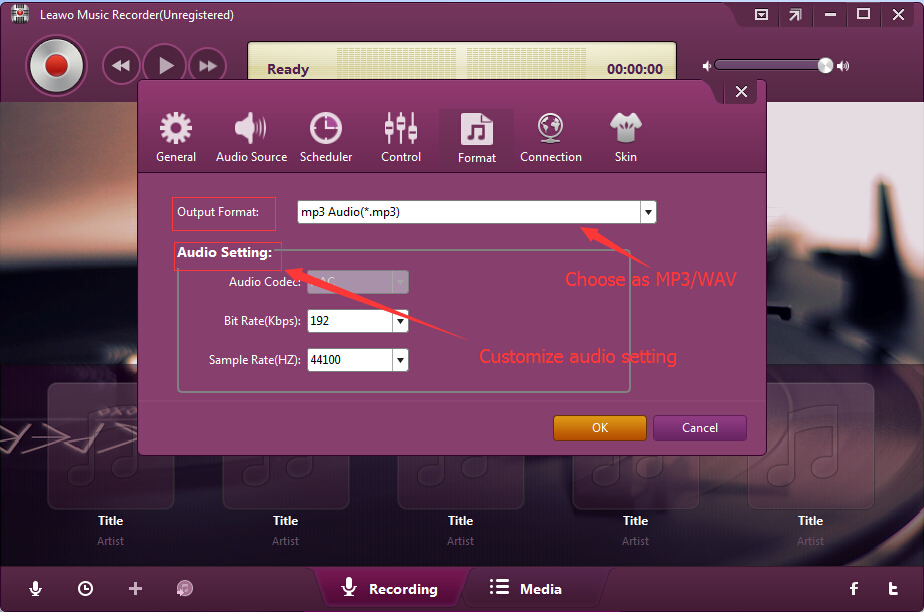
Typically, we would like to record audios with high quality, which could require a higher demand for editing functions. Voice recorder could satisfy your wanting by customizing your audio settings like Audio Codec, Sample Rate and Bit rate under the "Format" tab, you could also export the output files as MP3 or WAV as you need.
Step 3: Select folder to save output file
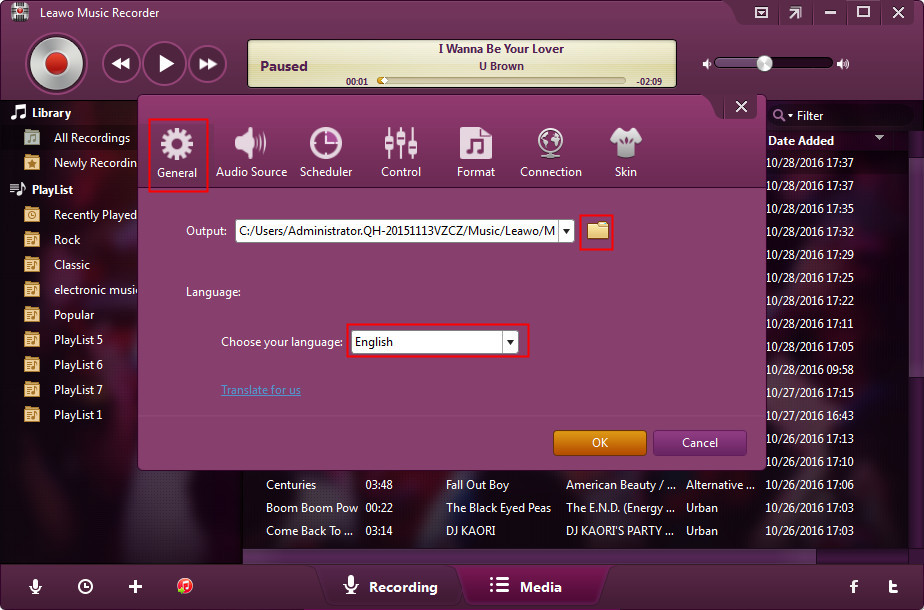
At the same settings window, the first menu on the left is the "General" tab where you may need to choose the output directory to save your recorded audio files.
Step 4: Start to record audio
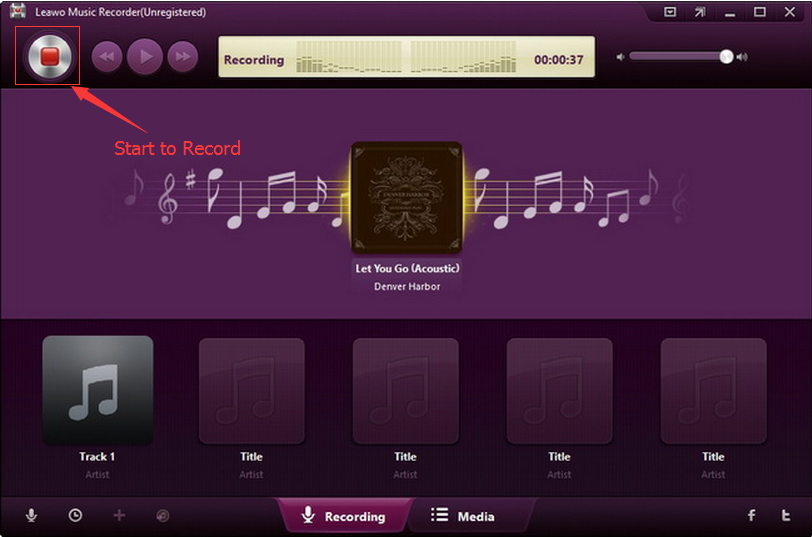
Here you may need to proceed with the recording process freely, the operation is also easy to carry out. Just click the "Record" button as indicated in the figure below to get started on the recording job, surely, you're also able to play the audio files during the process.
Step 5: Edit tags for recordings
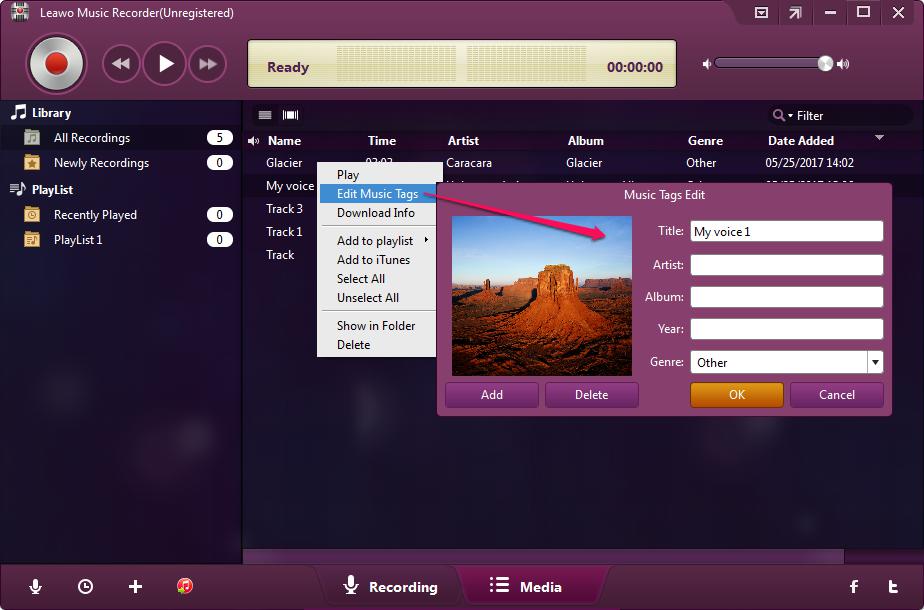
If you're recording a song, you will find that Leawo Music Recorder has automatically downloaded and added song tags like artist, title, album, cover, etc. to the recorded HD audio. Of course, you could also adjust these tags by right clicking recorded audio file and then choosing "Edit Music Tags" option.
Step 6: Transfer the recordings to iPhone and Android device
After the recording process is finished, you could find the recorded audio files in the output folder and transfer them to your mobile devices like iPhone and Android device by using one USB cable. And then you could enjoy your favorite recordings freely.
If you're using a Mac computer, you could turn to Leawo Music Recorder for Mac, which could do exactly the same thing as that of the Windows version, and be compatible with Mac OS 10.6 and later.
In conclusion, Leawo Music Recorder could be your best Reverse Voice Recorder alternative for you to record voice on your computer freely with its user-friendly interface.

 Jun. 03, 2017 by

