
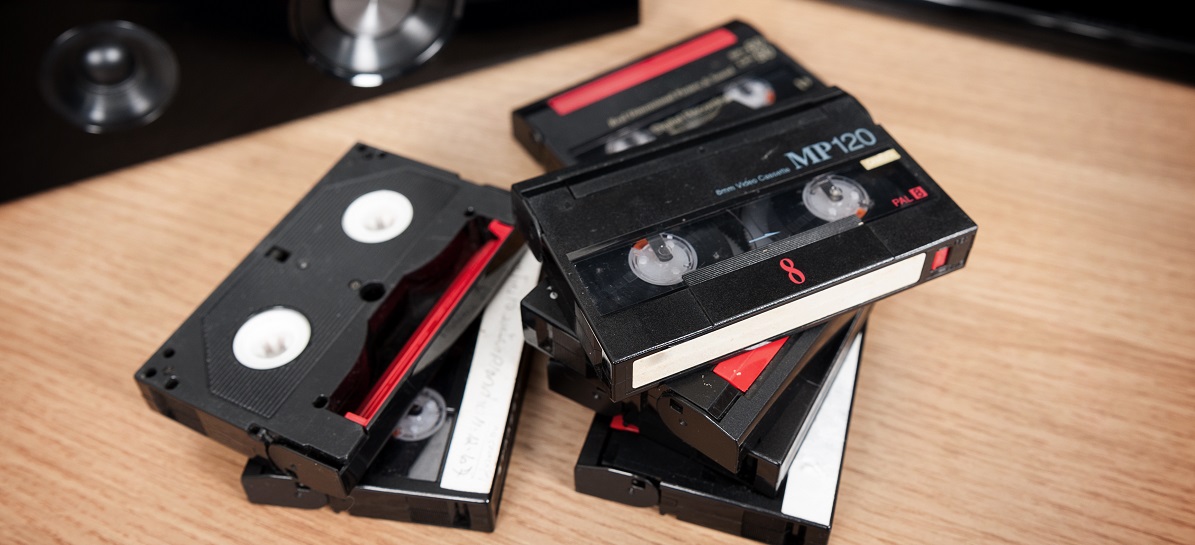
Created by the Eastman Kodak company in 1932, 8 mm film is a motion picture film format containing eight-millimeter wide film. Generally speaking, it includes two main versions – the original standard 8 mm film (also known as regular 8 mm or Double 8 mm) and Super 8. With time passing by, the 8mm format is gradually replaced by many other video formats. There are still so many 8mm tapes out there of course, so it brings out a question: How to convert 8mm to other video formats? Or, to be more specific, how to convert 8mm to DVD which is more lightweight, convenient and compatible? Well, follow the instruction below and you should be able to convert 8mm to DVD in a very short period of time.
Why you should convert 8mm to DVD immediately
8mm film used to dominate the media industry and was very popular among video-makers for a long time. In specific, 8mm video formats were most popular during the 1930s – 1980s, so they are now, to a certain extent, outdated. The story is totally different due to the emergence of DVDs, Blu-rays, and many other media software. 8mm film cannot work without a proper projector and for the worst case, if your projector is broken or obsolete, you must be very worried about how to view the 8mm film. Luckily, it is not a problem anymore. You can convert your 8mm to a new medium, such as DVD.
8mm film is no longer the mainstream medium in today's life. Consequently, converting 8mm film to other medium is most likely the best way out to protect the 8mm film contents. In addition, 8mm film is prone to scratches or damage easily, leading to huge costs and efforts to preserve. And that explains why we convert 8mm film to DVD to some extent. After all, DVD is more popular and can better preserve video contents than 8mm film. By converting 8mm film to DVD, your 8mm film will gain vitality once more and DVD can be further burned to ISO image for storage in computer or cloud service.
Solution 1: Convert 8mm to DVD at home with Leawo Blu-ray Creator
Although it seems complicated to convert 8mm to DVD, with right equipment and method, you can actually do it at home with a free weekend. Converting 8mm to DVD at home is not impossible, but still need some preparations and a detailed guide. If you know some professional guys who is willing to help you, that would be great. But if you don't, don't worry, read this post, and you can also grab a general idea of how to convert 8mm to DVD at home.
Step 1: preparations
Converting 8mm to DVD requires some technical equipment. The things you need to prepare differs from different approaches that you are going to use. Yes, there are a lot of methods for you to convert your 8mm films to DVD. Before starting the conversion, check whether you have these equipment at hand or not. Or, see if you can get them with minimum efforts so that you can choose the simplest approach for you. Don't worry if you find yourself lack of some of the things listed here. First, you don't need them all, you only need some of them in order to apply one method. Second, all of the things here are easy to get. You can easily buy them from online or your local store.
A Projector. This is necessary when you want to Use a Projector to extract 8mm Film. There are more than one way to extract videos from your 8mm tape, and a projector is required in one of the methods.
A Camera. This is also needed in the process of extracting 8mm film. The better the camera is, the higher the quality of the final footage will be.
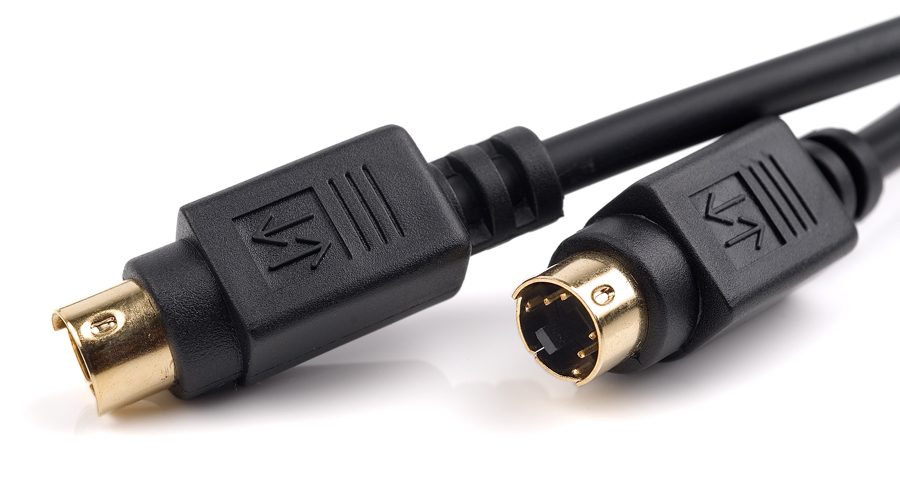
Firewire, USB cable or S-video cable. This is used to connect your computer with your camcorder when you want to extract your video with software.
DVD burning software. This is the most important part, which you need to use to burn your extracted footage to a DVD.
Step 2: convert 8mm to digital
As mentioned above, you have more than one way to extract 8mm film to computer. Here, you will be taught how to extract 8mm film to computer in two different ways, i.e. via a projector or a third-party video capturing software like the Free VirtualDub.
1. Use a Projector to Extract 8mm Film

- Place the projector and camera side by side, around 4-6 feet from the wall.
- Power up your camera and turn the projector lamp on. Then, frame the projected image through the viewfinder in your camera.
- Attach your roll of film to the supply reel spindle, insert the film into the loading slot and make sure your film is properly loaded.
- Hit the Record button on your camera and turn the projector on. Your film should begin projecting now.
- After that, link your camera to the computer and transfer the 8mm film from your camera to your computer.
2. Use VirtualDub to Extract 8mm Film
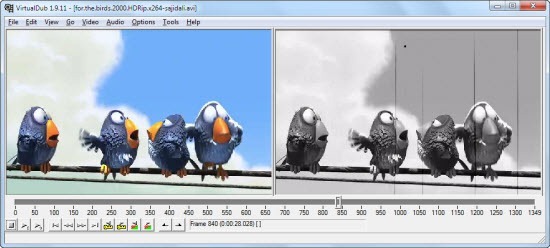
- Connect your 8mm camcorder or player to your capture card on a computer via Firewire, USB cable or S-video cable. And then run the VirtualDub software on the computer.
- Insert 8mm tap into the camcorder or player and navigate to the spot in the tape where you want to start the capturing process.
- Hit the Options or Settings icon in the video-capturing software to set the output format as MPEG-2, which is best for burning to DVD.
- Hit the Capture option on the VirtualDub software and Play icon on the 8mm video camcorder/player to continue the process. Once it is finished, 8mm video will be then saved on your computer's hard drive.
Now the 8mm videos have been saved on the computer and you can then follow the below step to convert 8mm film to DVD.
Step 3: burn digital to DVD using Leawo Blu-ray Creator
The final step is to burn your extracted footage to a DVD. There are a lot of programs you can use to burn videos to a DVD. Among them, there is one that I would like to strongly recommend. The program is called Leawo Blu-ray Creator. Leawo Blu-ray Creator is a professional Blu-ray burning program that can easily burn all kinds of videos to a Blu-ray disc with exceptional quality. Here is the detailed guide on how to burn the exracted 8mm film to DVD with Leawo Blu-ray Creator.
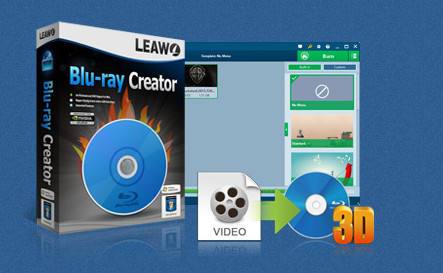
Blu-ray Creator
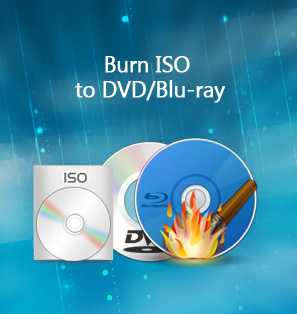
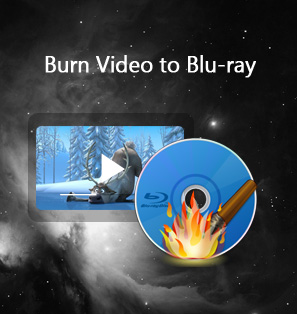
☉ Burn videos to Blu-ray/DVD disc, folder, ISO image file.
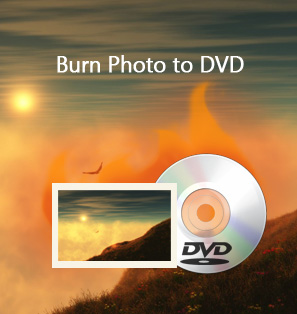
☉ Create photo slideshows and burn to DVD/Blu-ray disc.
☉ One clickto burn ISO image to Blu-ray/DVD disc.
☉ Add watermark, trim video size, adjust effect, etc.
☉ Create 3D Blu-ray/DVD movies with 6 different 3D effects.
☉ Design and add disc menu to Blu-ray/DVD disc.
![]()
![]()
Step 1. Download Leawo Blu-ray Creator and run the program on your computer.
Step 2. Insert a Blu-ray disc which has enough capacity for the 3D Blu-ray video.
Step 3. Load the movie you would like to burn to 3D type to the program by clicking "Add Video" at the top of the main screen. By the way, you can also set the Blu-ray disc menu by selecting your favorite menu templates on the right-hand bar.

Step 4 (Optional):Leawo Blu-ray Creator provides some additional functions for you to burn a more personalized Blu-ray/DVD disc. If you want to do some further edits to your video, click the edit button on the video, you can trim, crop, add special effects, add watermarks, or turn 2D video to 3D in the built-in video editor. You can also create a Blu-ray menu base on the beautiful Blu-ray menu templates.
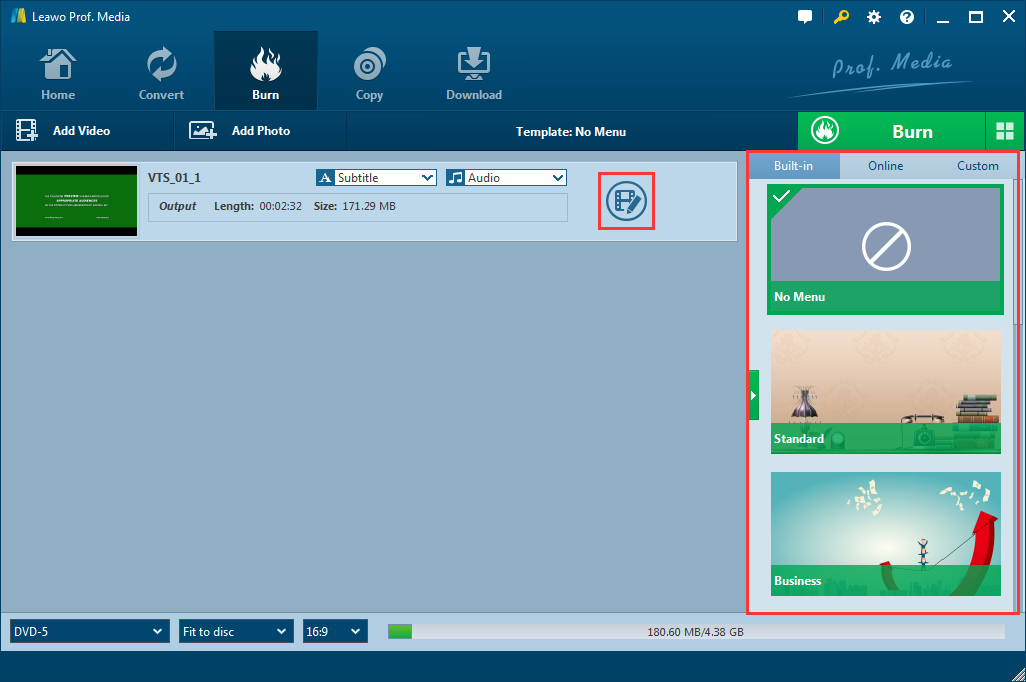
Step 5. Start burning. When all the output settings have been set successfully, you can click green "Burn" icon and select the "Burn to", "Disc label" and "Save to" options to start the 3D Blu-ray disc burning.

User guide on Leawo Blu-ray Creator
Solution 2: Contact video transfer service.
If you think converting 8mm to DVD at home by yourself is too much trouble, there is always another option: Contact a video transfer service. There are a lot of video transfer services online, which you can contact, send your 8mm film to, and they will convert the film to DVD and then mail them back to you. Sometimes you can even find a local video transfer service not far from your home. All you need to do is to bring your film to them, and bring it back with the newly made DVD a couple of days later. Most of the services are charged per tape, and the time you have to wait can range from days to weeks.
Conclusion
We are now clear that 8mm film is no longer popular but if you still have 8mm film, it is better to extract the film video, turn them to digital file, and burn them to DVD. To capture the film, we need to ready the necessary devices in advance such as projector, camera, firewire and so on. The film video captured can then be turned to digital files usually in .avi or .mpeg format that can be burned to DVD effortlessly. Like what we said, we need a qualified program to burn the extracted digital file to DVD as accurate as we can. Leawo DVD Creator is thus highly recommended to fulfill the burning process. With it, we can enjoy faster burning speed thanks to the support of Intel Quick Sync acceleration technology and better output quality.
That means we will not compromise any quality loss after burning the file to DVD. As known to all, 8mm film is prone to deterioration as time goes by. Scratches, dirt, or damage is hard to avoid, plus 8mm film is not as efficient and powerful as DVD disc, thus making burning 8mm film to DVD quite demanded. Leawo DVD Creator, a professional and industry-leading media processing program can be the best solution to burn 8mm film to DVD disc. There are both trial and registered version options for users to give it a shot. If you are satisfied with the powerful features it provides, you can then turn to register the program.
 Sep. 07, 2021 by


 Prof. Media
 Blu-ray Ripper
 Blu-ray Copy
 iOS Data Recovery
 [12/29/23] MAX Downloader V15.0.0
 10,000,000 people are using Leawo!
 All Transactions are protected!
 30-Day Money Back Guarantee!