The internet is getting much more cheaper and accessible, and more people are watching videos on the internet probably more than on any other platform. Until recently, the most popular file format for internet videos was Flash Video, which has two different formats (FLV and F4V). Flash Video delivers video content by using Adobe Flash Player. However, Flash content has been associated with computer security risks and vulnerabilities, and according to some sources 95% of websites have since ditched Adobe Flash because of that. Multi-media programs like Windows Media Player and Adobe’s own Flash Player can open F4V video files, but not many native operating system applications will support it. Apple’s own iOS mobile operating system does not include native support for the Flash plug-in which can be a disadvantage to anyone who owns F4V video files. It can also be a disadvantage to non iOS users who own F4V video files because Adobe Flash will retire soon, and using this software beyond its retirement is a risk. The best thing to do when you own F4V video files is to convert them to popular video file types like MP4 video, which can open and play on almost any device. In this guide, we will show you how to convert from F4V video to MP4 video with some software programs and over the internet.
Part 1: How to convert F4V to MP4 with Leawo Video Converter
Leawo Video Converter is a professional video and audio converting program that will give you more options than many other converters, by offering you over 180+ video and audio converting solutions. It comes packed with advanced, but easy to use editing tools for output which include trimming, watermarking, noise removal and more. Even more impressive is the ability to convert 2D videos to 3D videos. In case you have many F4V video files that need to be converted to MP4 videos, you can also simultaneously convert them. Leawo Video Converter is integrated into the Leawo Prof. Media software suite for both Windows and Mac OS. You can download this software to run Leawo Prof. Media.
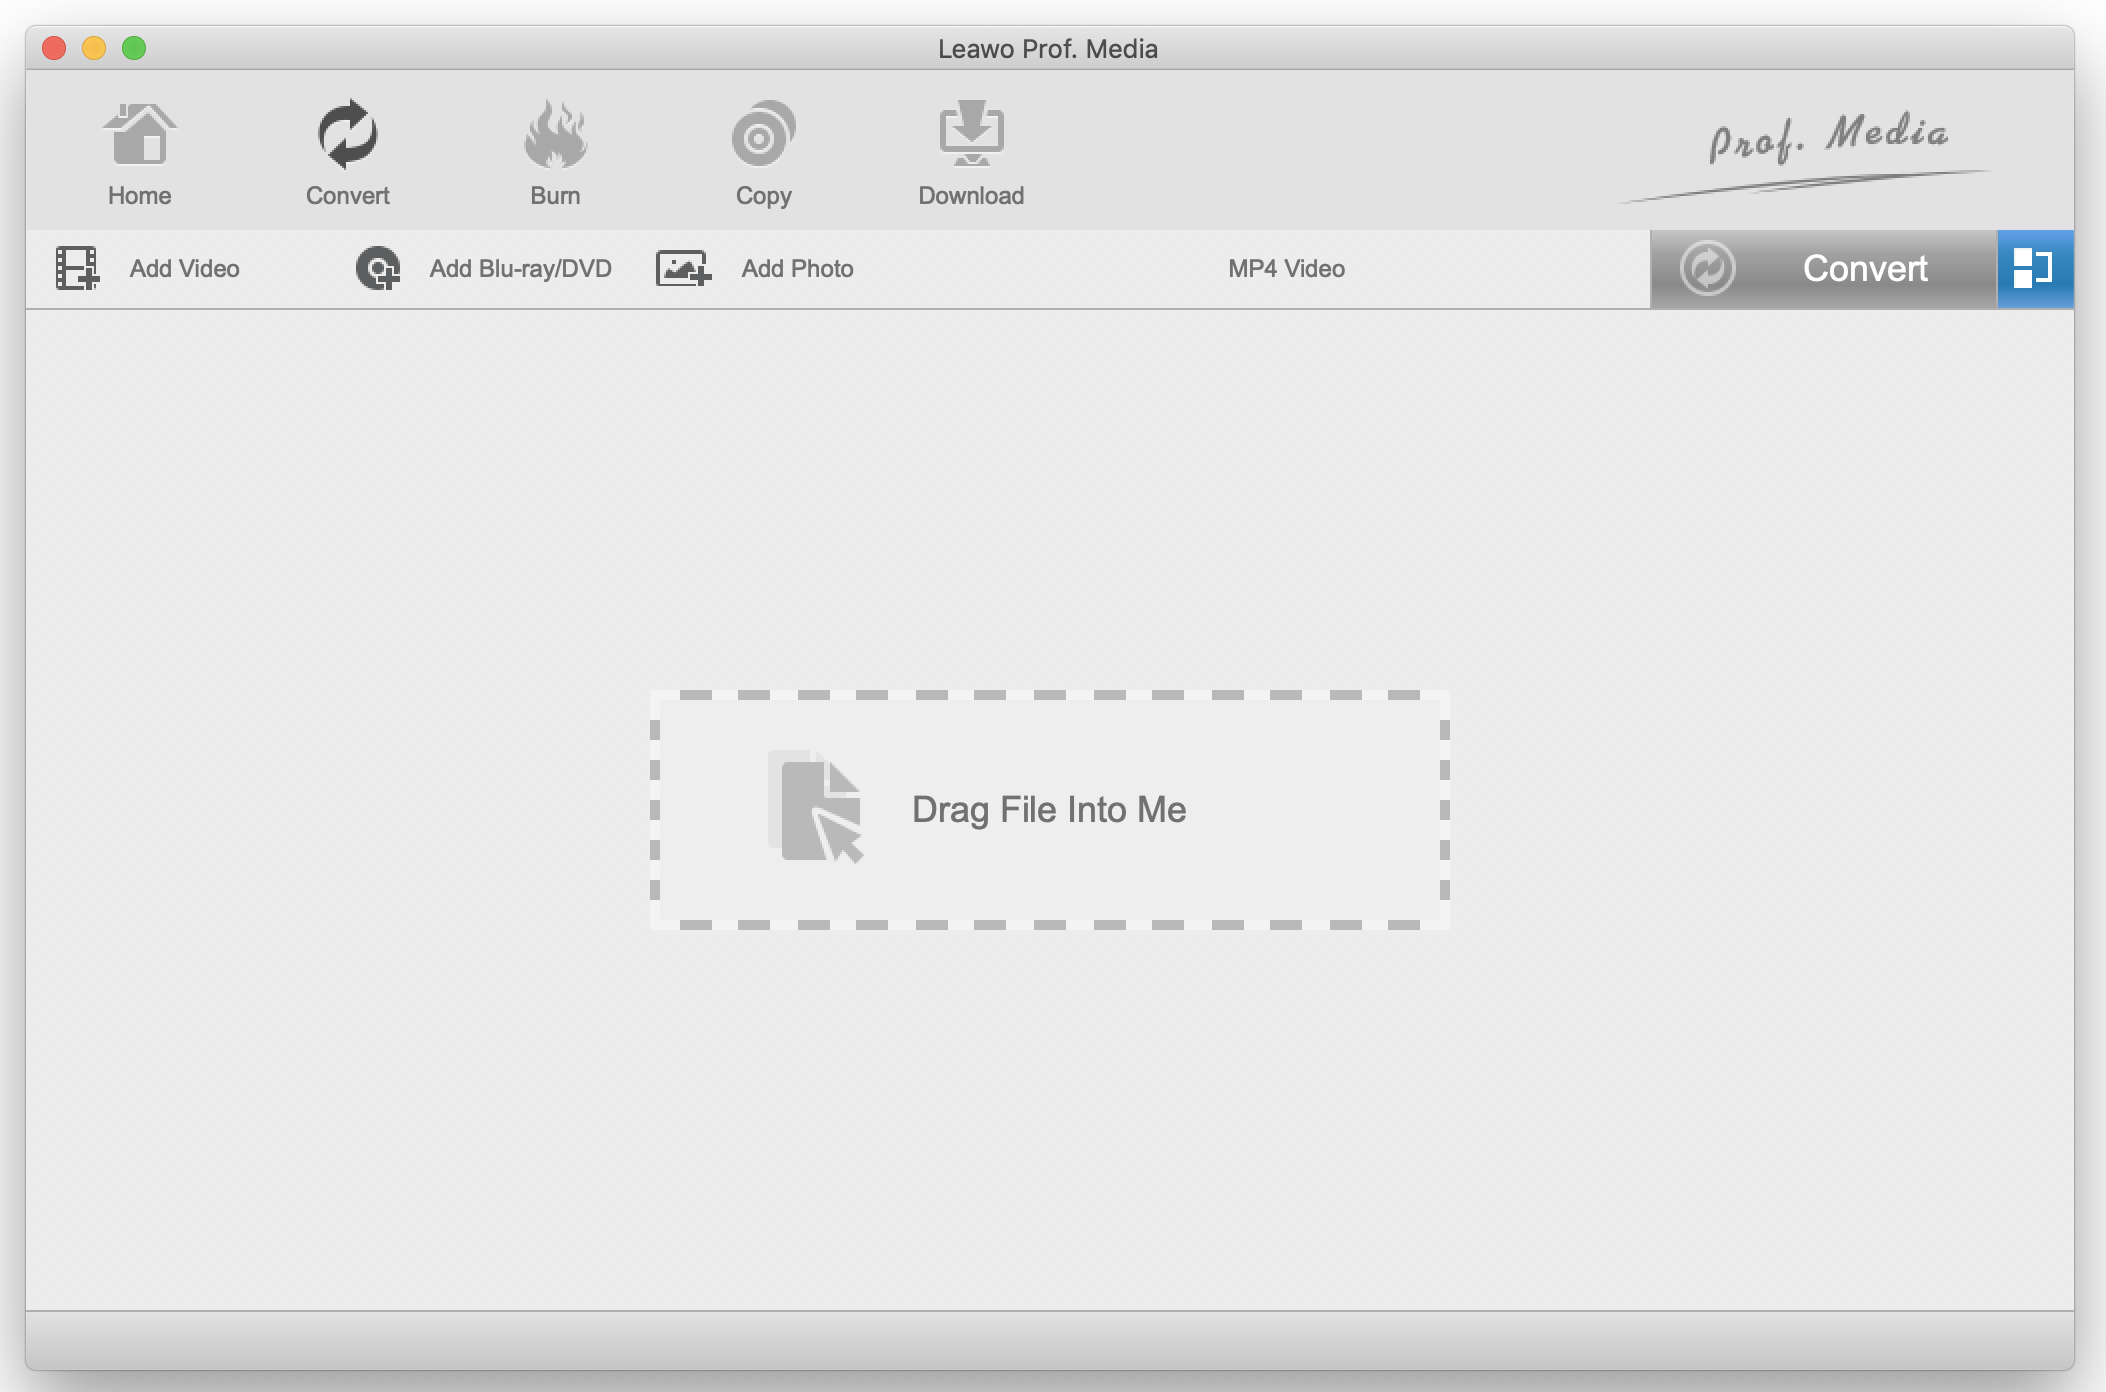
Step 1: Import your F4V video files. From the main interface of the program (on both Windows and Mac OS), click “Video Converter”. As this software is easy to use, it will allow you to drag the F4V or any other video type into it. If you are feeling lazy to drag the file, you can also click “Add Video” to import your video. When you click this button, a window will open and you can conveniently browse for the video.
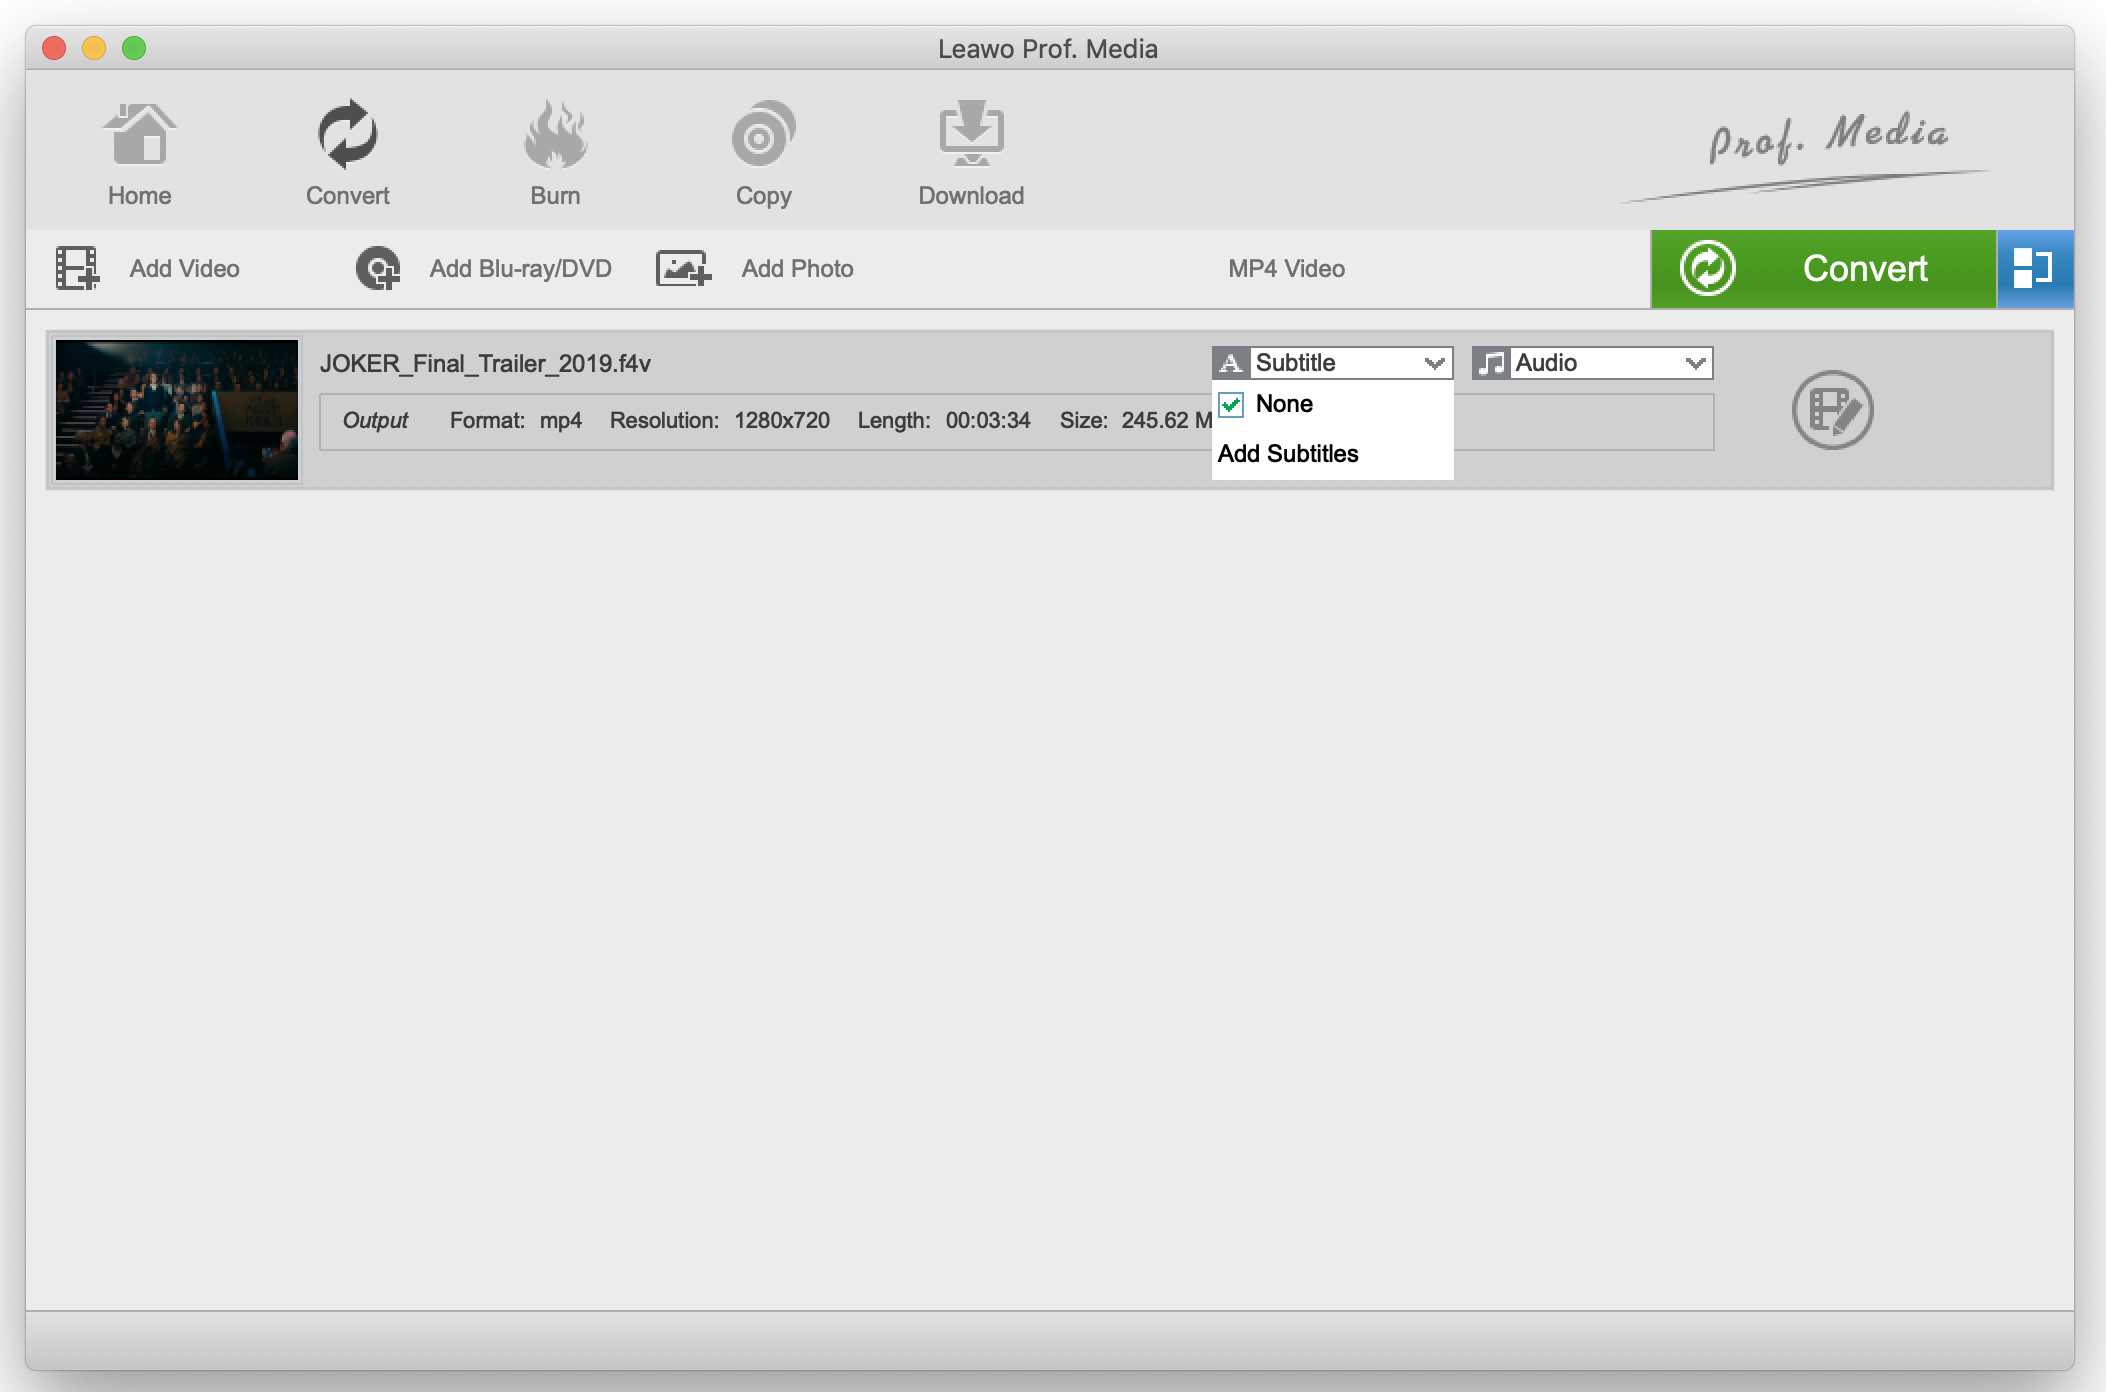
Step 2: Language, audio track and subtitle options. With rich customization options, you can add or select subtitles. Click the “Subtitle” drop down menu, and select your subtitle from the available tick boxes. To import subtitles, click “Add Subtitles” which will open a window to allow you to import the file (usually with .srt extensions). Clicking “Audio” will allow you to select an audio track.
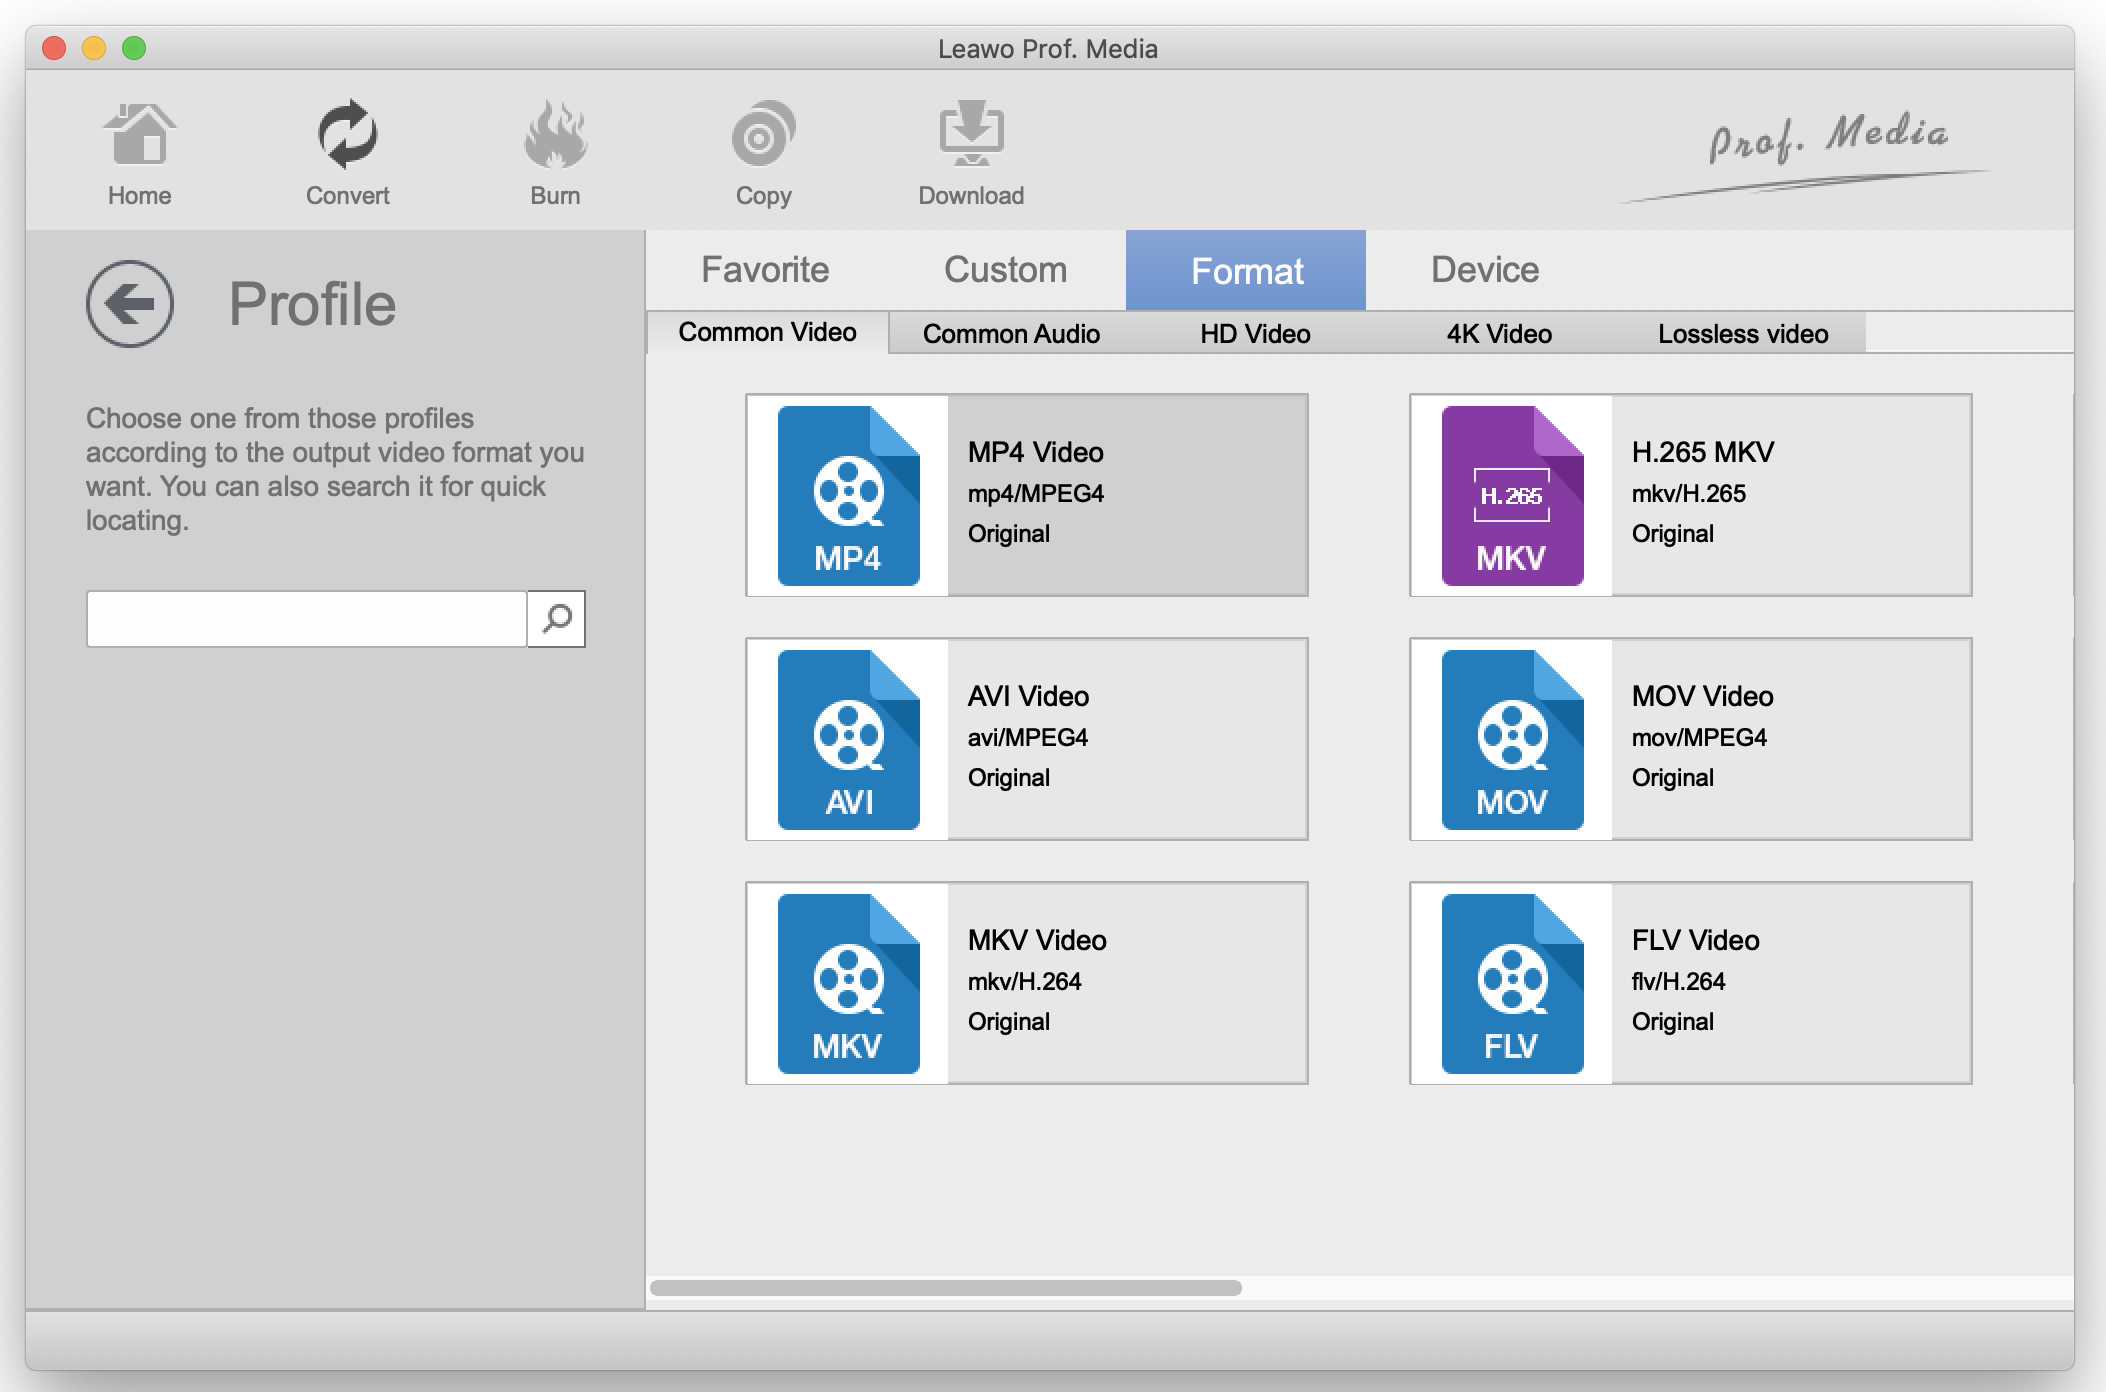
Step 3: Choose your profile settings. To do this, click “MP4 Video”. Please note that the F4V video file should be imported at this stage. You have 2 options from the pop-up menu to change the settings. If you click “Change” it will show you pre-made profile settings for different device types, under “Device” and several other video format options under “Format”. In this case, go under “Format” and select MP4 video. If you click “Edit” from the pop-up menu, you can manually change your video options, from being able to select the output quality you want, the resolution, the codec etc.
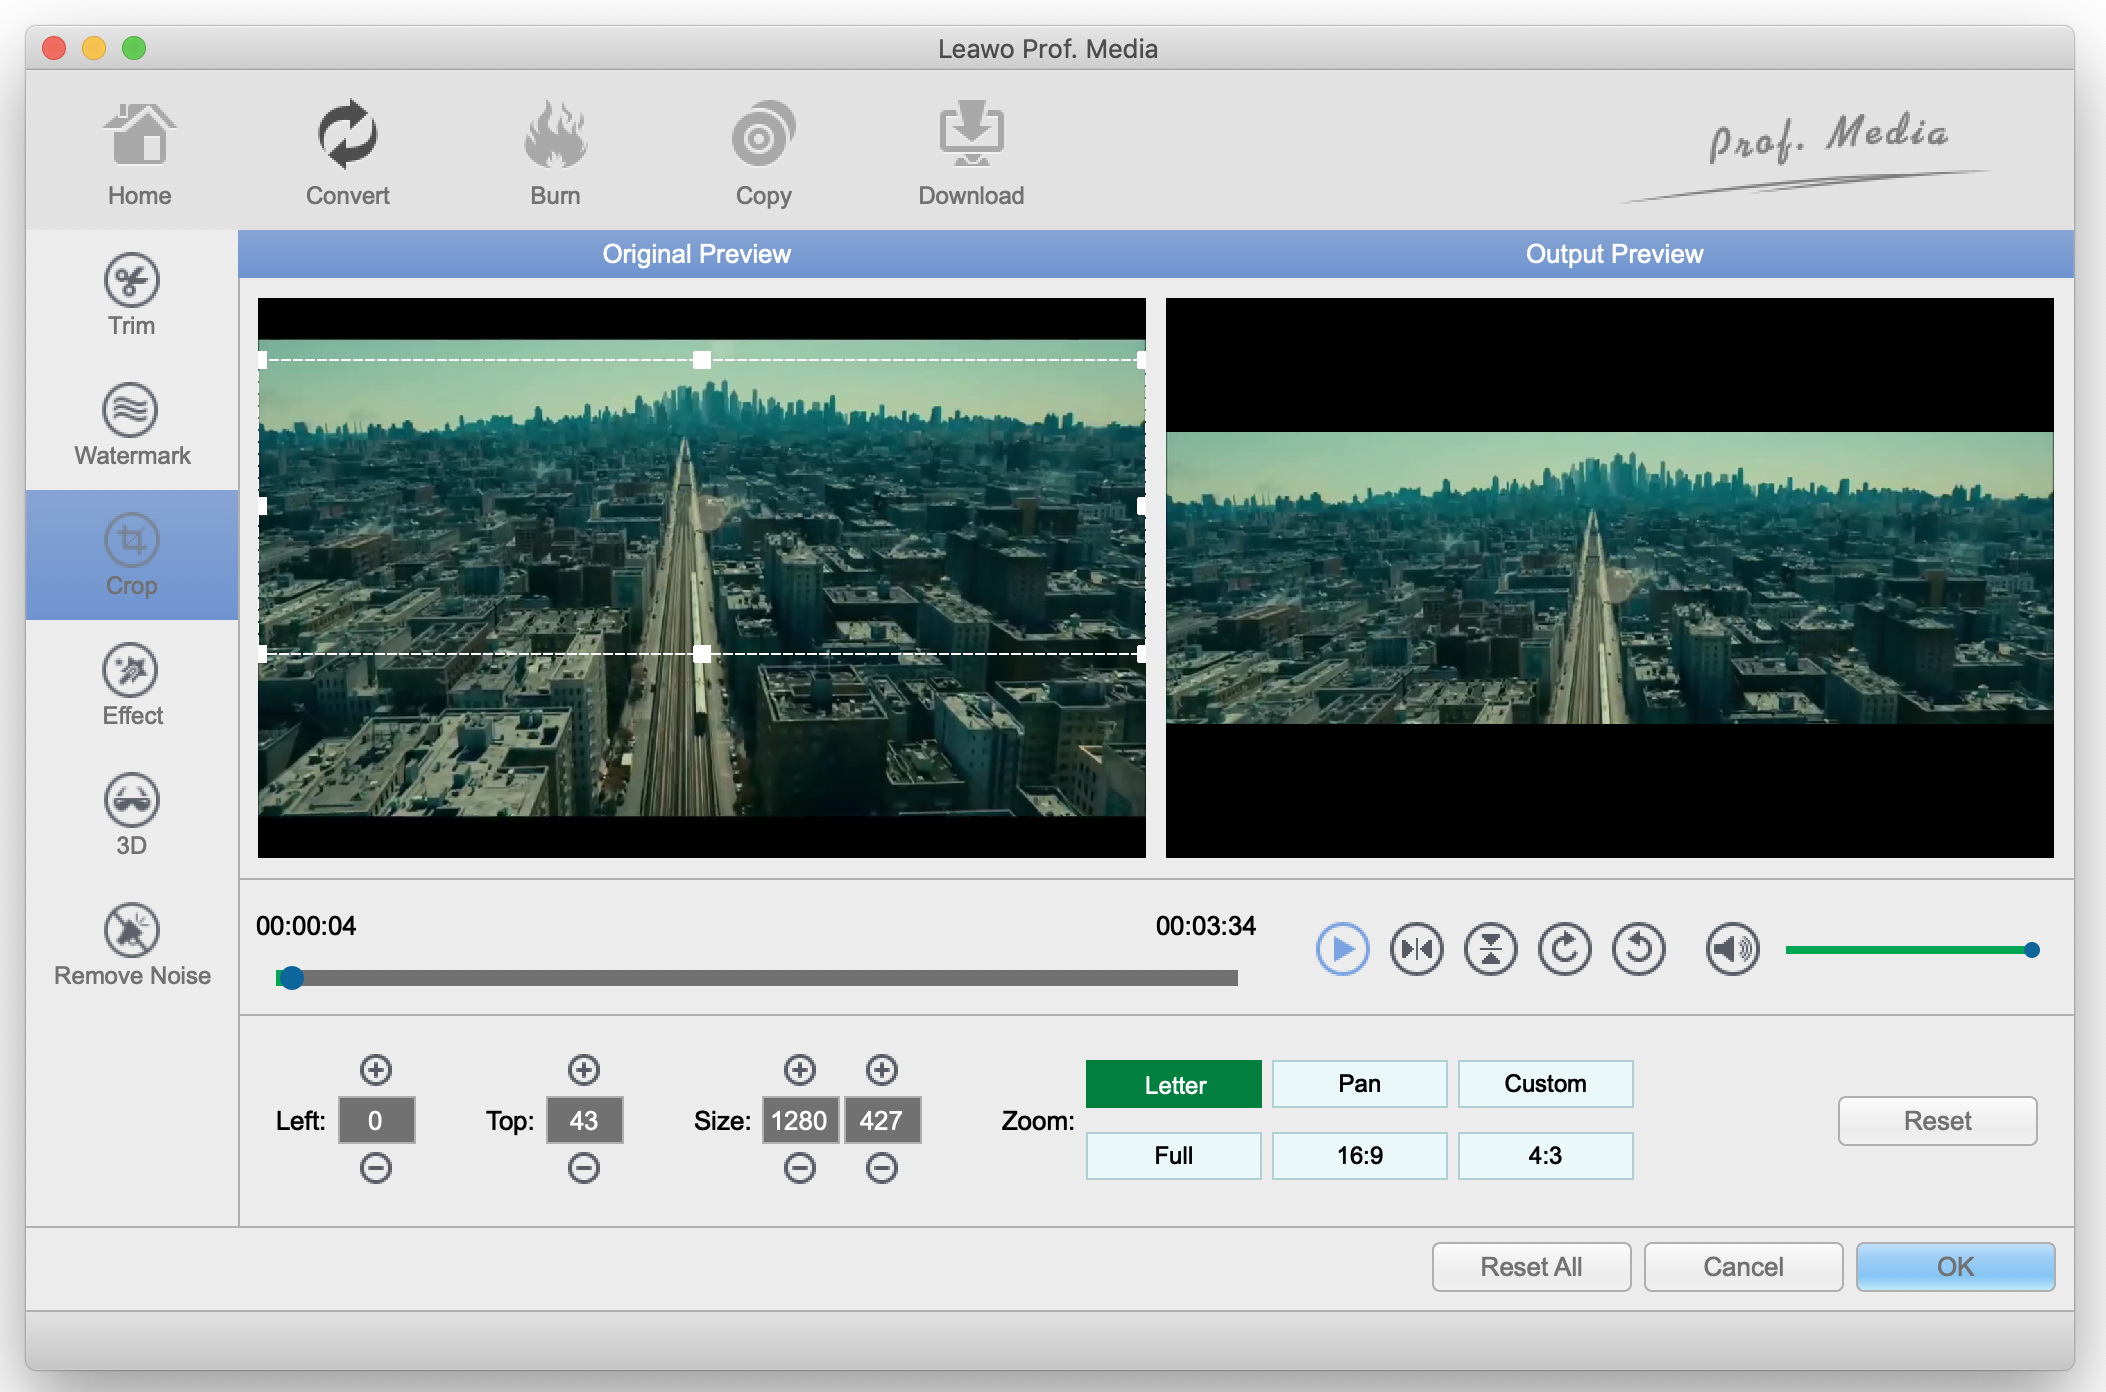
Step 4: Video editing tools. Click the edit video icon to get to the editing menu. Here are more ways to customize your video, for example the “Crop” menu allows you to crop the video, so that you can watch specifically what you want from the video without some distractions from the same video. You also have several other options which include effects, trim, 3D, adding watermarks and more from the same menu. Click “OK” when you finish.
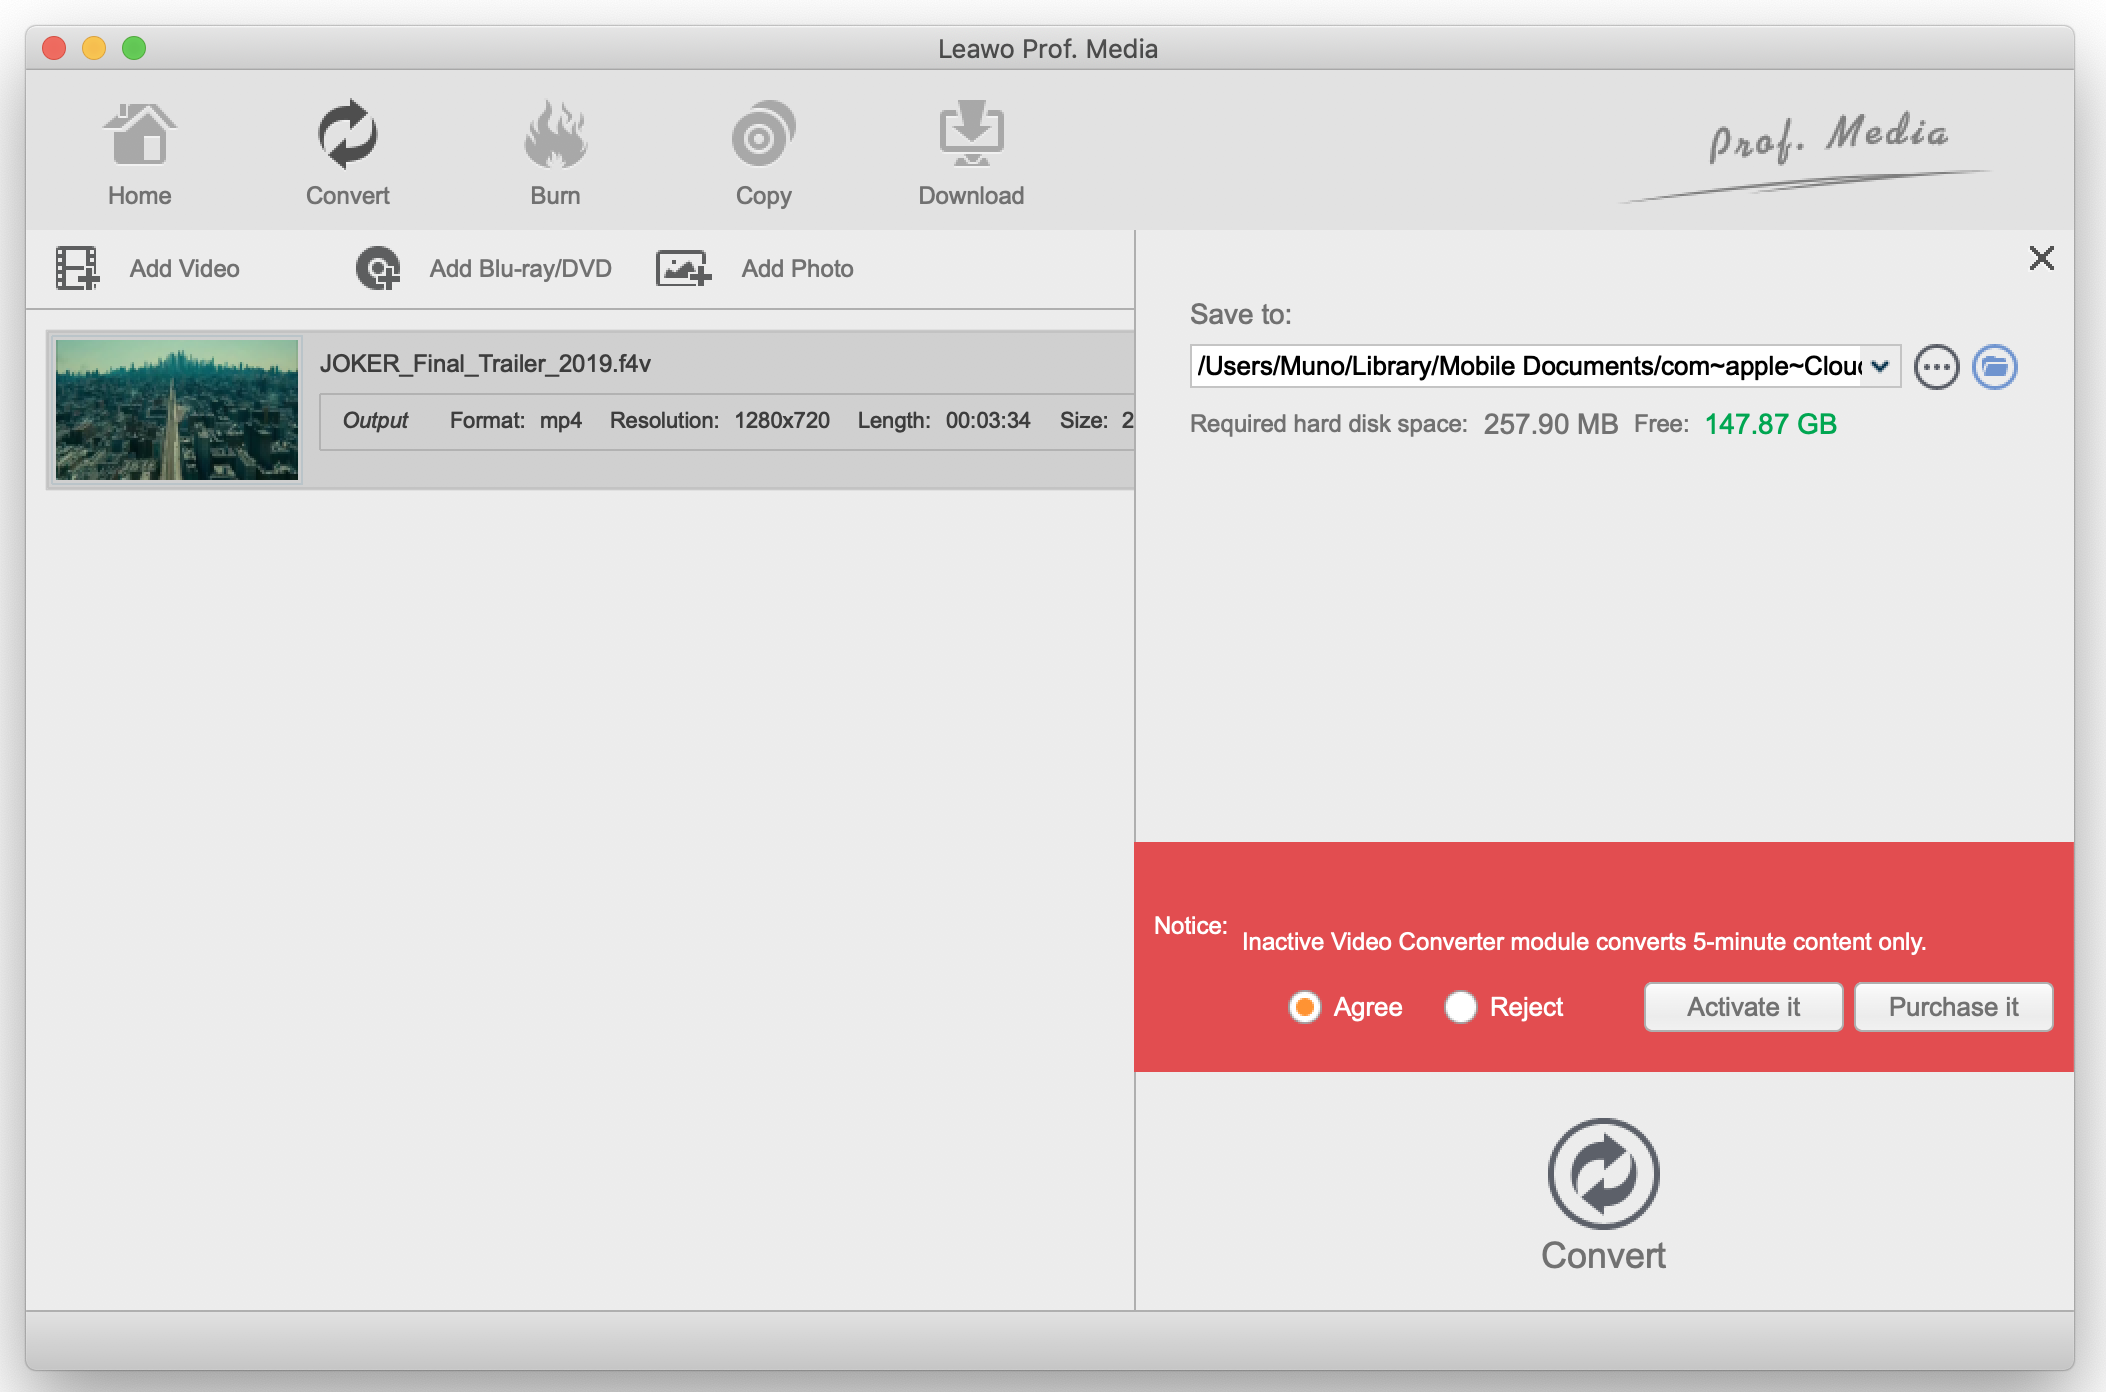
Step 5: Converting your F4V video. When you have finished with your settings, click the green “Convert” button to start converting your video. Once clicked, a small sidebar will pop up. You can set a directory under “Save to” box for the output files, in this case an MP4 video file. Click the “Convert” button at the bottom of sidebar, which is shown below, to start conversion process.
Part 2: How to convert F4V to MP4 with AnyVideo Converter
AnyVideo converter is another alternative software to use in this case. However, for higher quality videos, you will have to buy the ultimate version of this software which may not be good if you are very concerned about the video quality. The ability to edit the video clips is also only available on the ultimate version. This software is available on both Windows and Mac OS. To convert your F4V video files to MP4 video by using this software, download install and launch it.
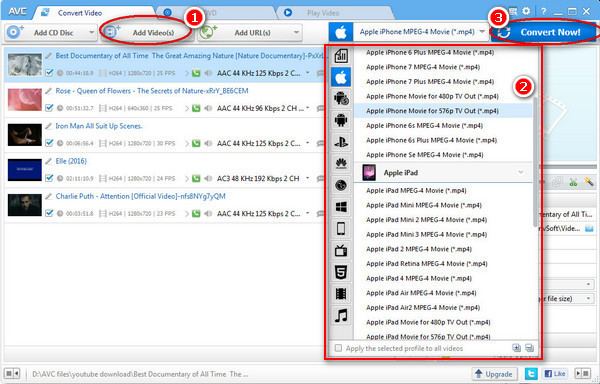
Step 1: To import the F4V video files, click “Add Video(s)” to begin the process.
Step 2: Setting the output. Since AnyVideo converter does not allow you to edit the videos on the free version of the software, proceed to click the drop down list with the output profiles, in this case select MP4 video.
Step 3: Once you have finished with the settings, set your output destination then click “Convert now!” to start converting your videos.
Part 3: How to convert F4V to MP4 with OnlineConvertFree
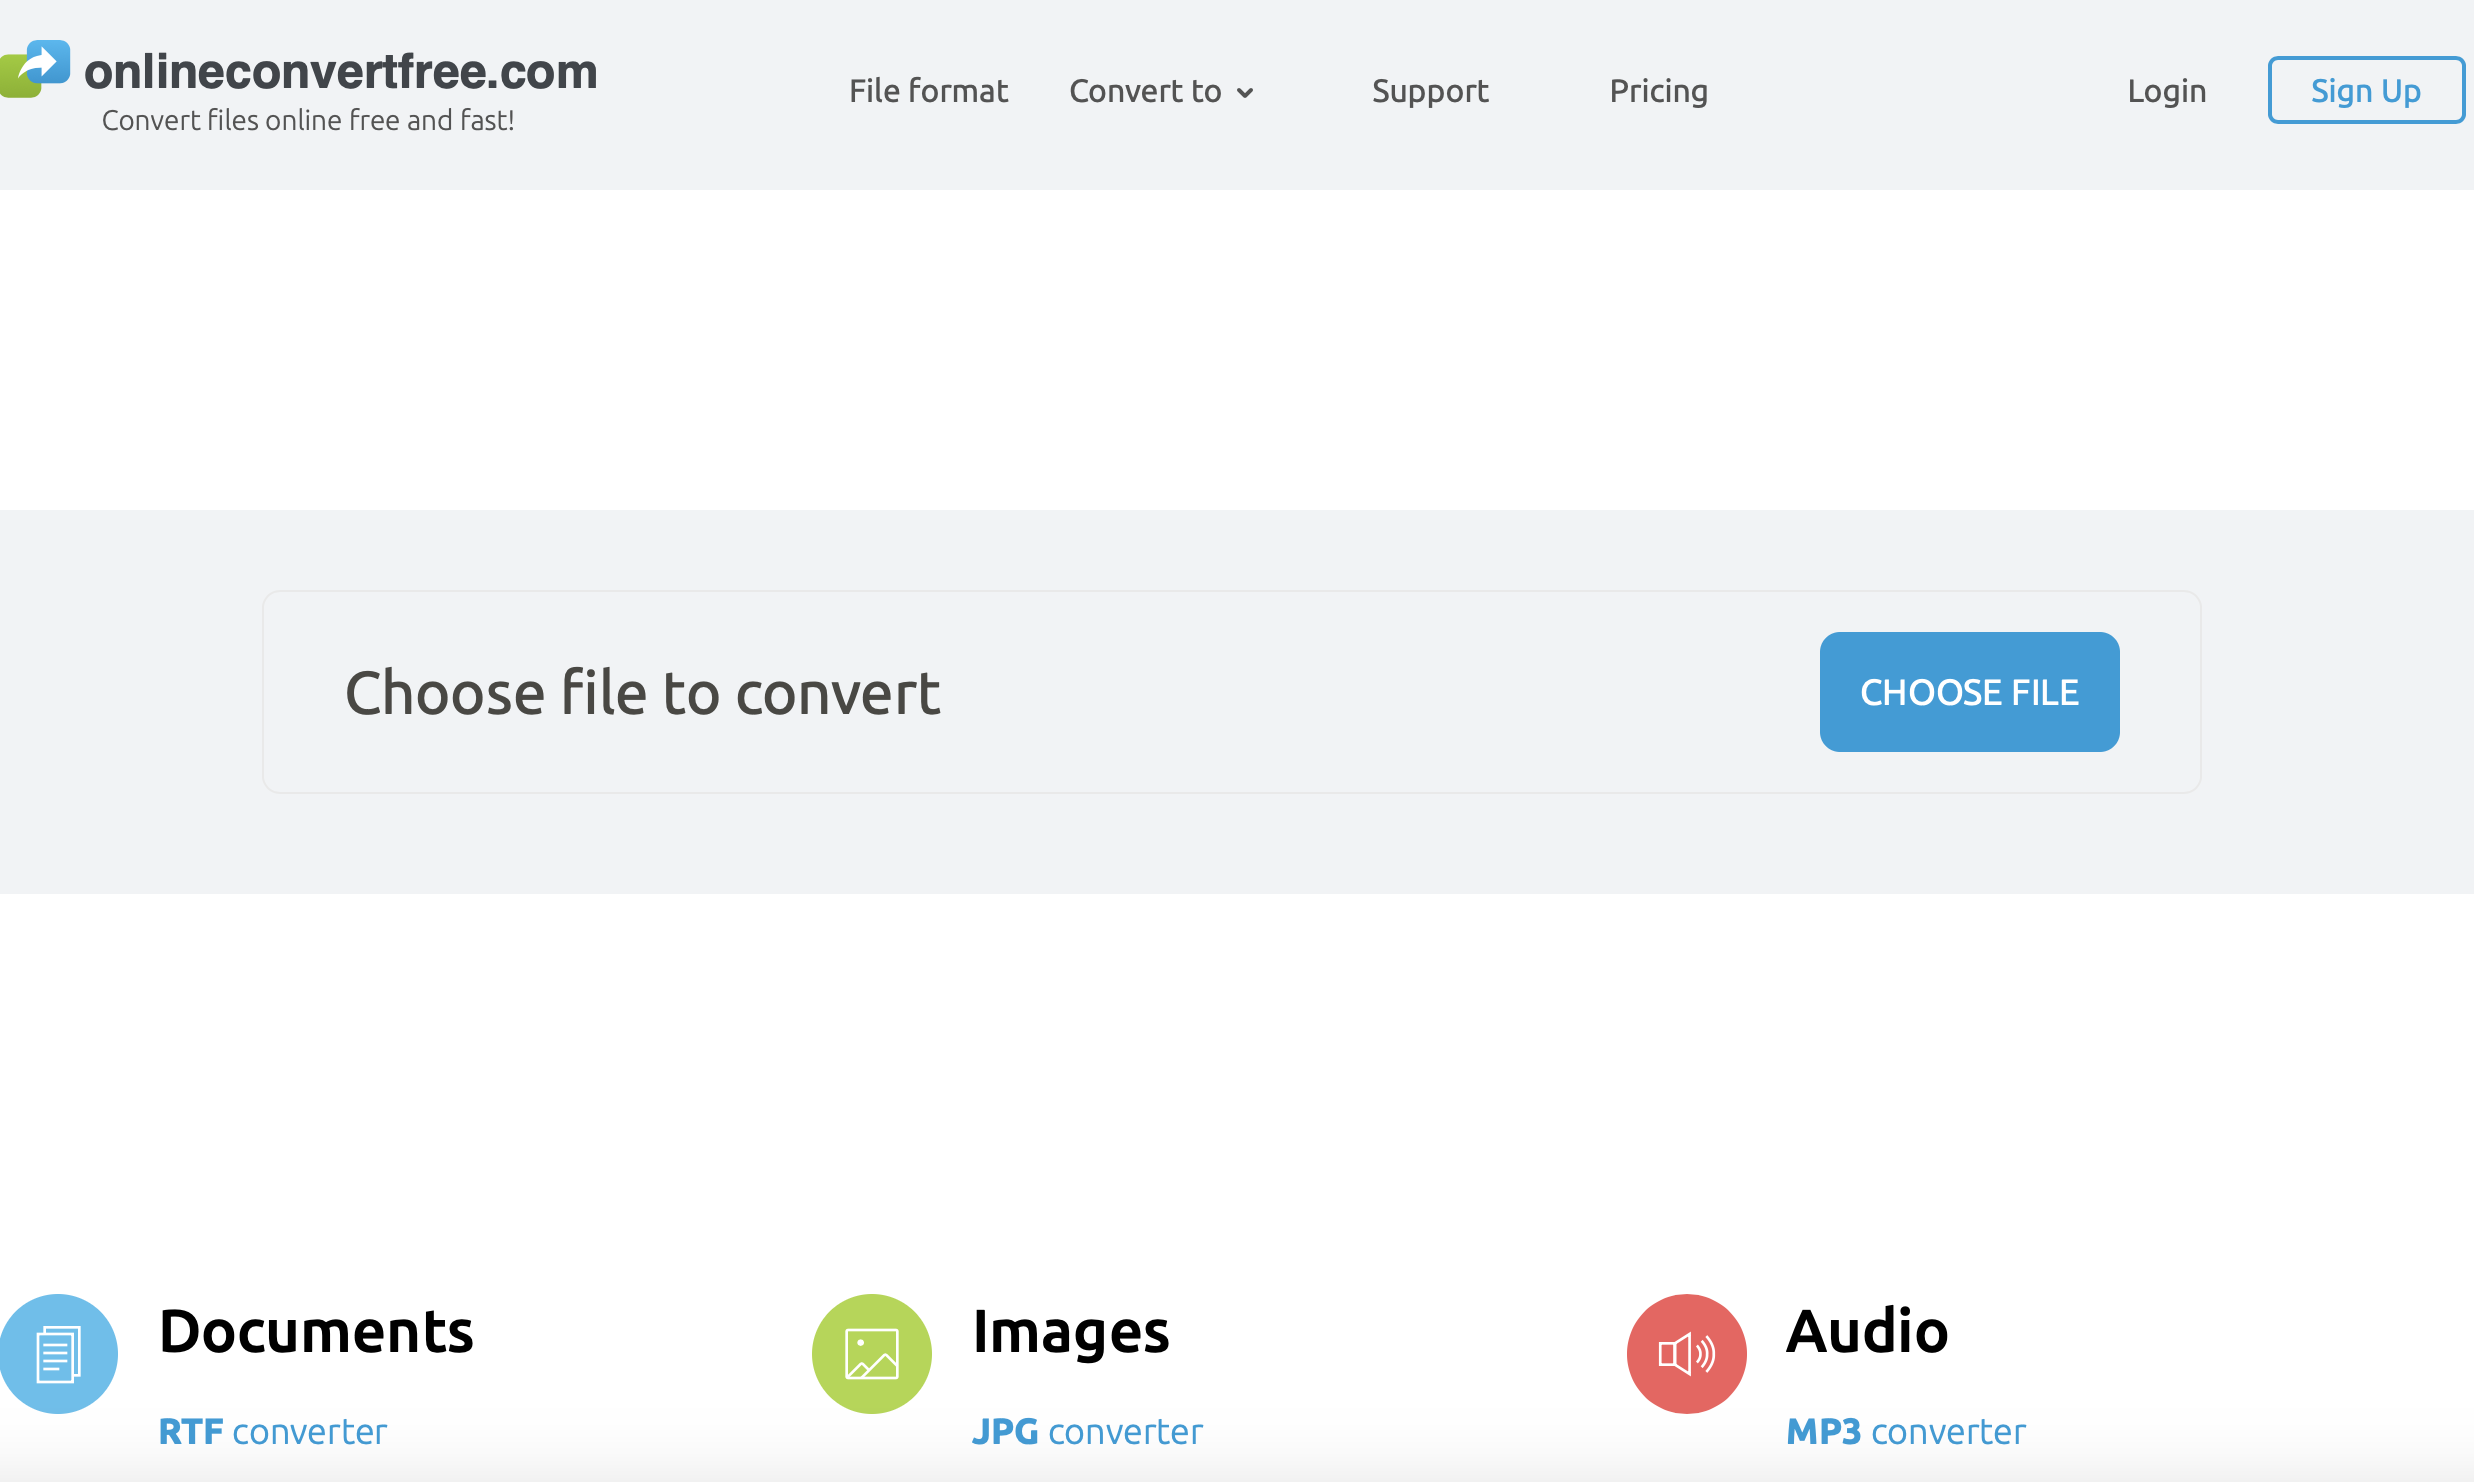
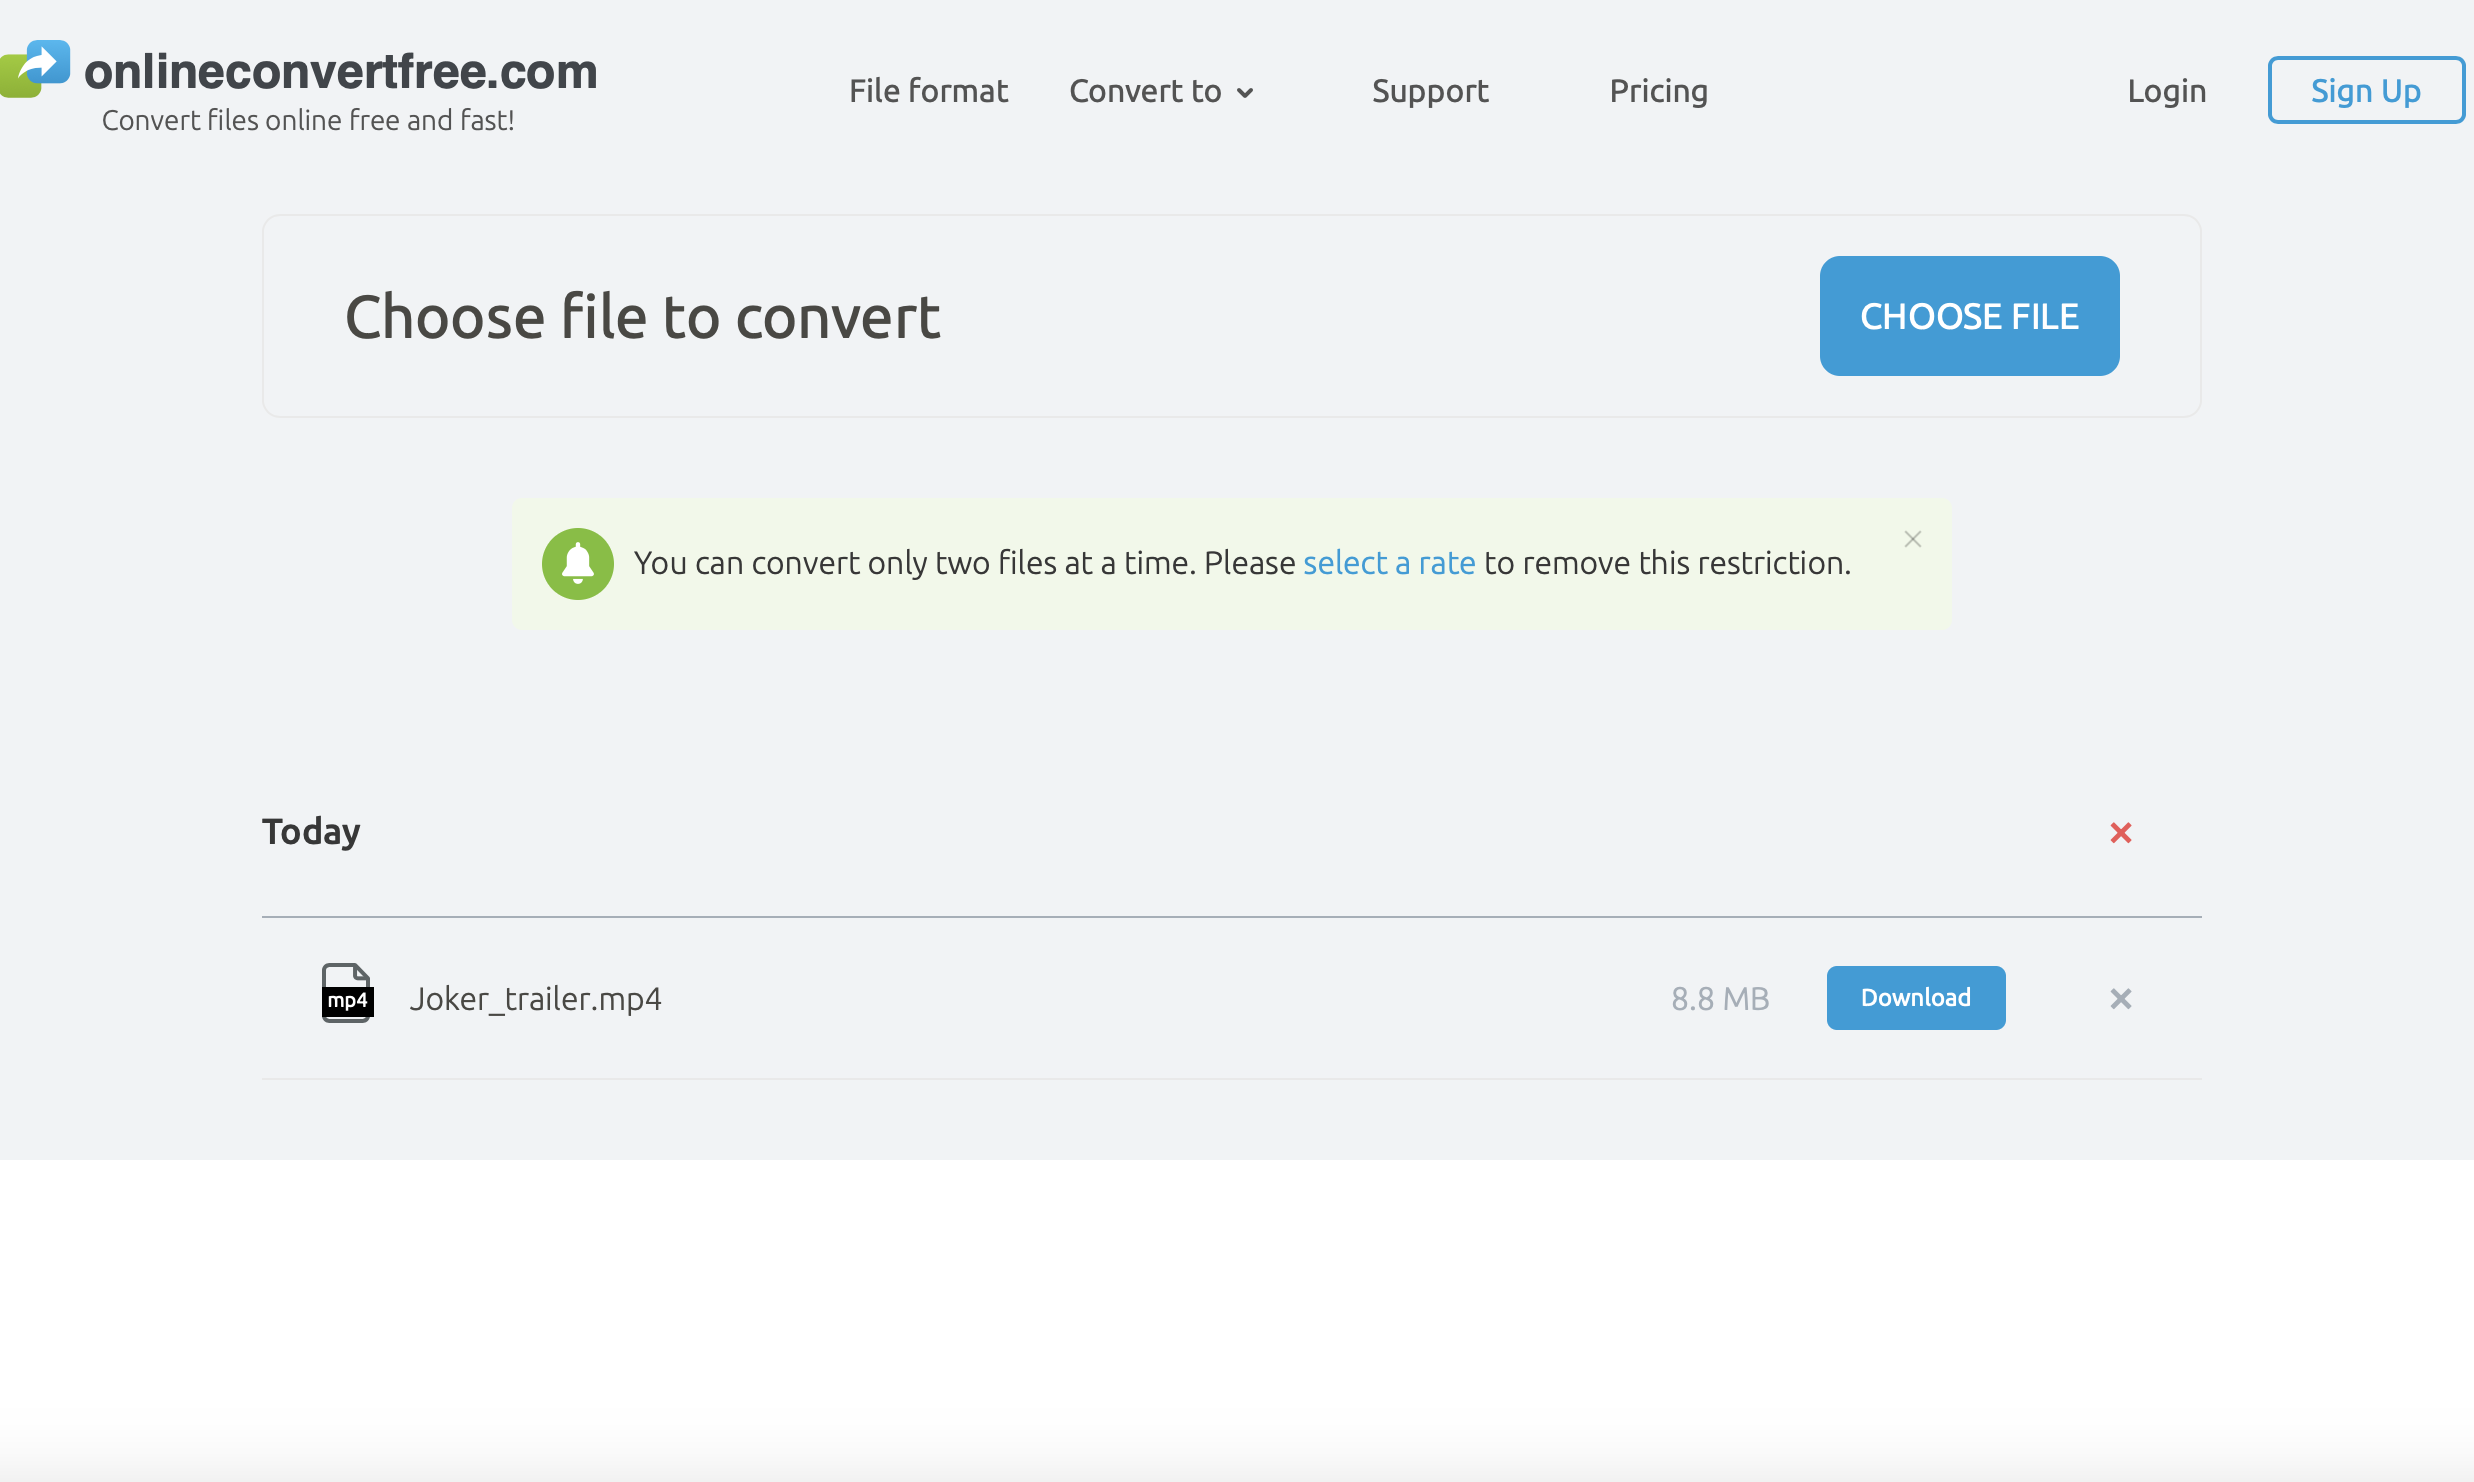
OnlineConvertFree is an internet video transcoder or converter, which can be an advantage since there is no need to download any software. However, you will need a fast and reliable internet connection for this, especially when you are dealing with larger files. You are also limited to the number of files you can convert daily, and for simultaneous conversions you are limited to just two files at a time. The maximum allowed file size for free conversion is less than 30MB, and 500MB for the premium and paid service. To start, open your internet browser and go to their website.
Step 1: When you have opened the OnlineConvertFree website, the first thing you can do is to log in to your account, or create one in case you want to save some settings or even purchase the service subscription. If you wish to convert a few videos which are less than 30MB each, you can skip this step. Also keep in mind that you have daily limits for free conversion.
Step 2: Uploading your files. Once you have finished or skipped the first step, upload your video by clicking “CHOOSE FILE” which will open a window from where you can browse and locate your video file(s). Alternatively, you can drag the F4V video file(s) into the browser.
Step 3: Select the output file type. When your F4V video file has been successfully uploaded, click the drop down menu and select the video output type of your choice, in this case choose MP4 video. When you finish, click convert and the video will start converting.
Step 4: When the video has successfully converted, the website will automatically refresh itself and you will see the download button. Click it and download your converted MP4 video file type.
Part 4: How to convert F4V to MP4 with Aconvert
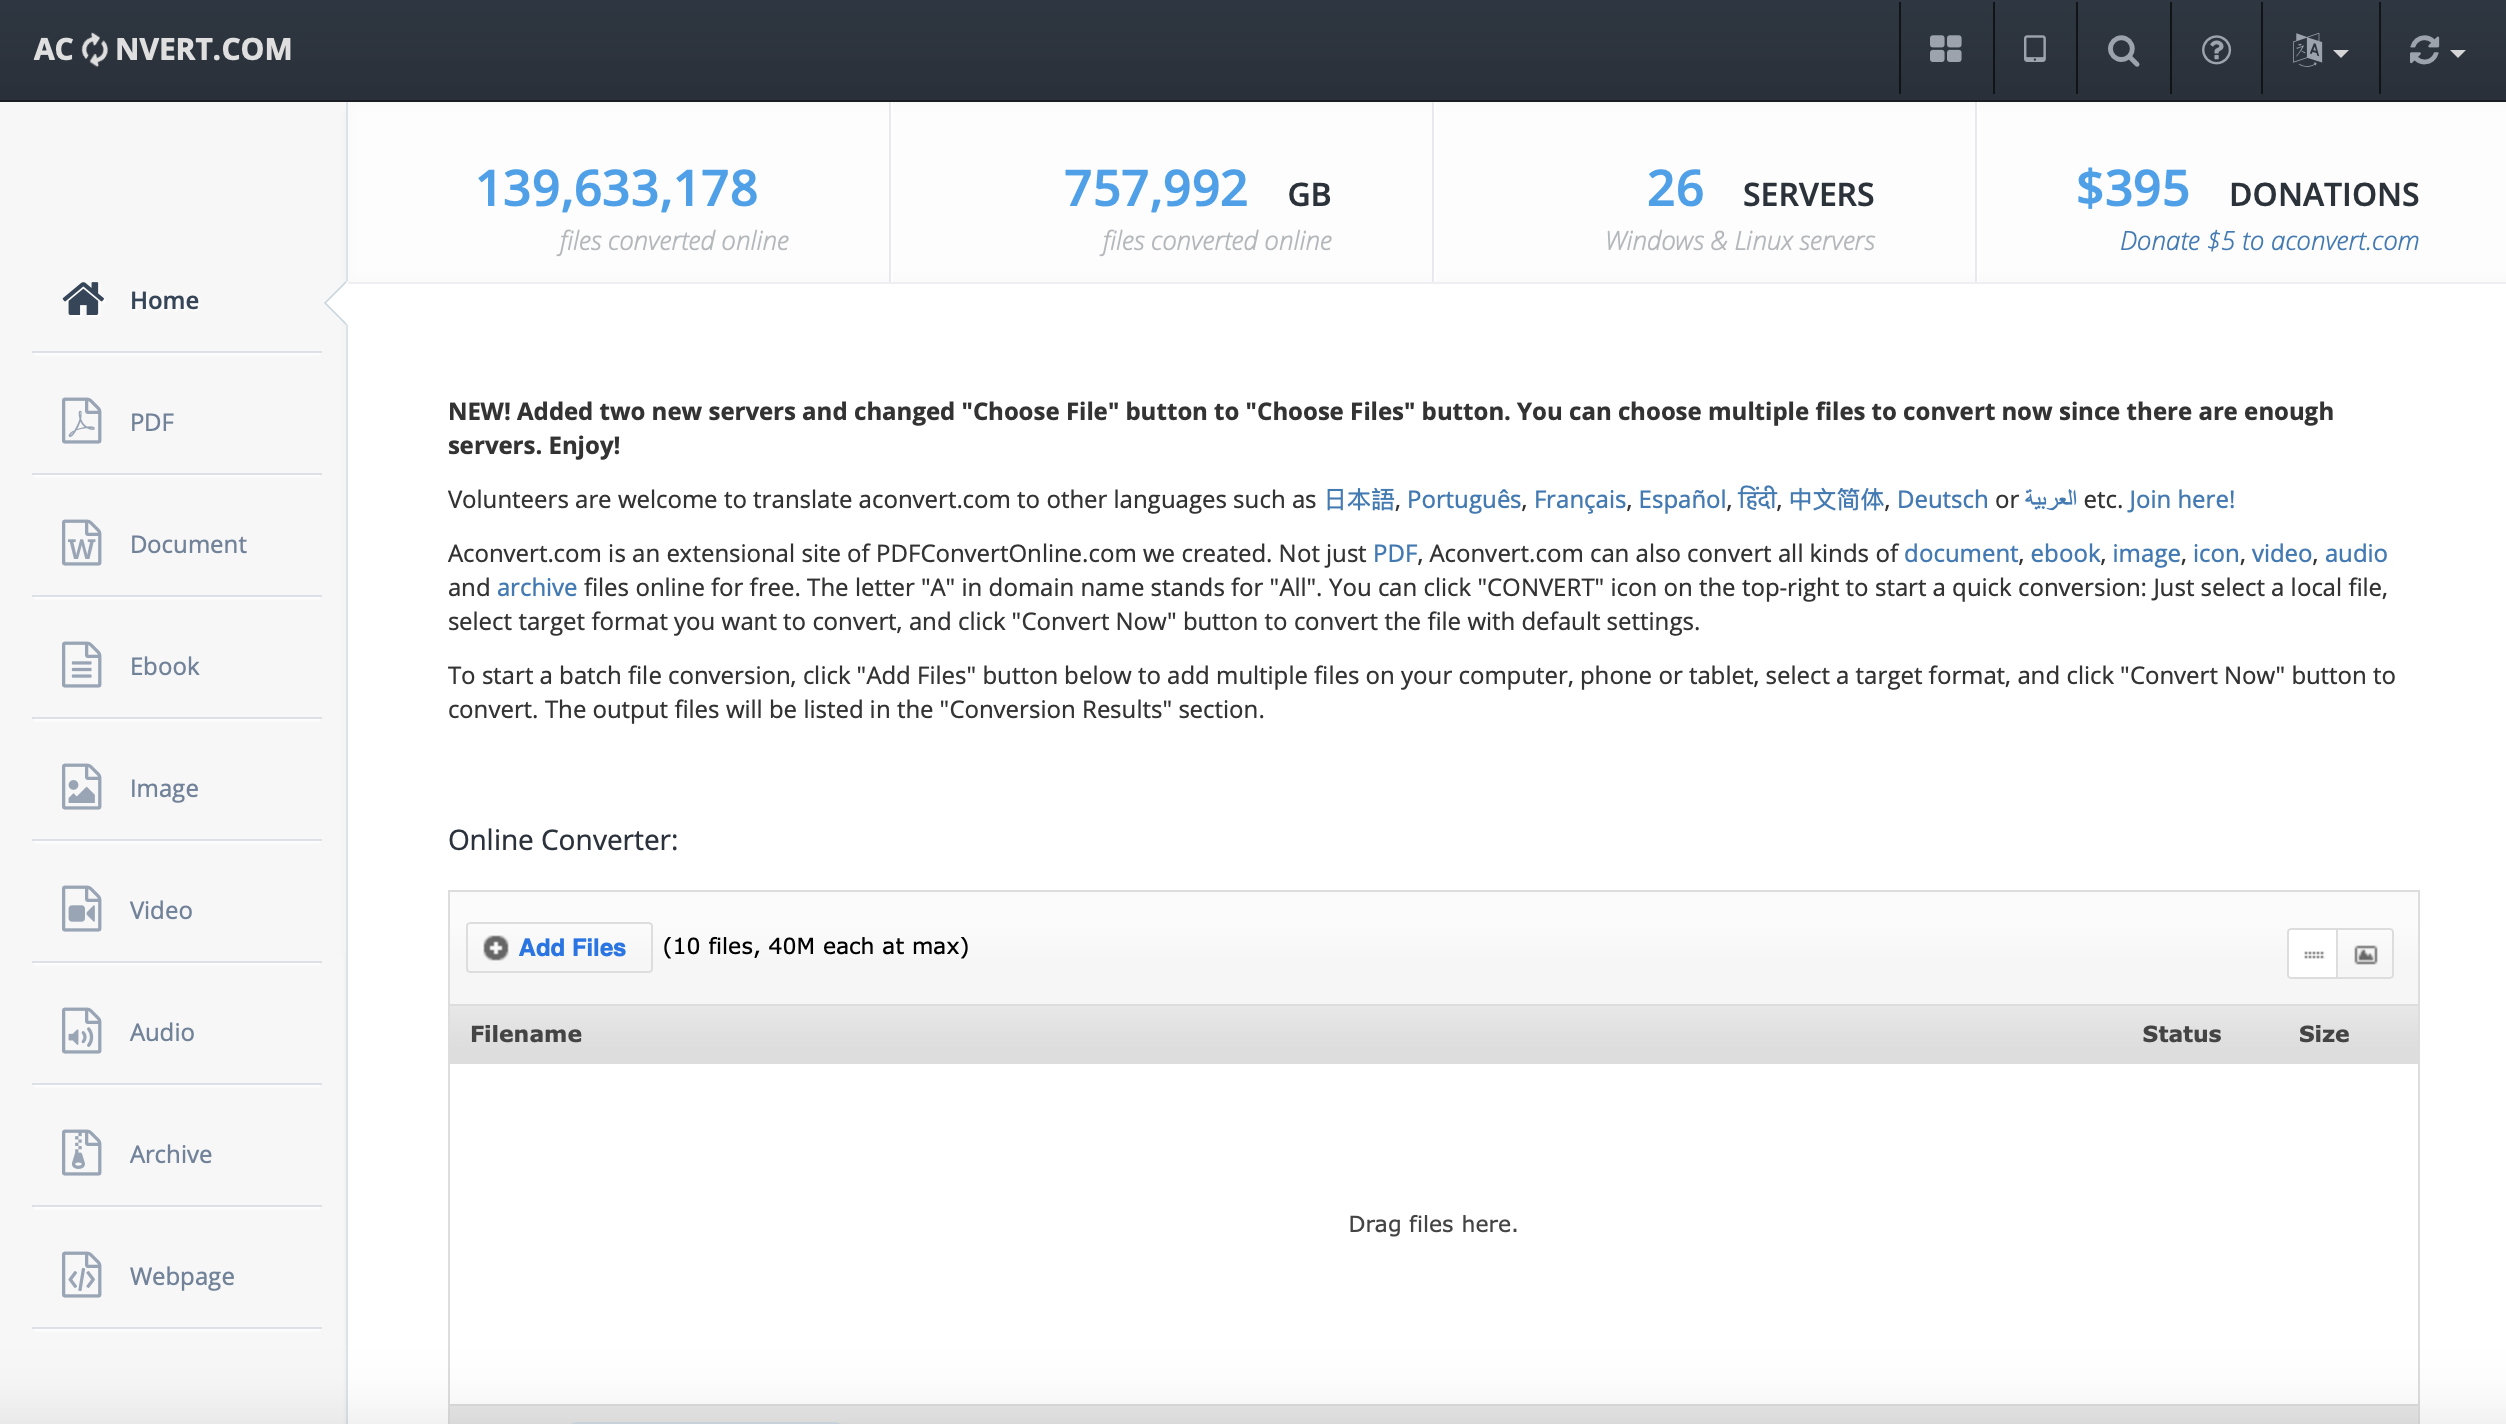
Aconvert, just like OnlineConvertFree is an internet converter that converts many file types including videos. You will get the ability to change video sizes, bitrates and frame rates, but you will only be limited to 16 video file types. You should also note that a single video file should not exceed 40MB, and you are limited to 10 files a day. Heard over to the Aconvert website to start converting your F4V videos to MP4 videos.
Step 1: Under “Online Converter:”, click the “+Add Files” button which will open a new window from where you can browse for your F4V video file(s). Alternatively drag the file into the area labeled “Drag files here”.
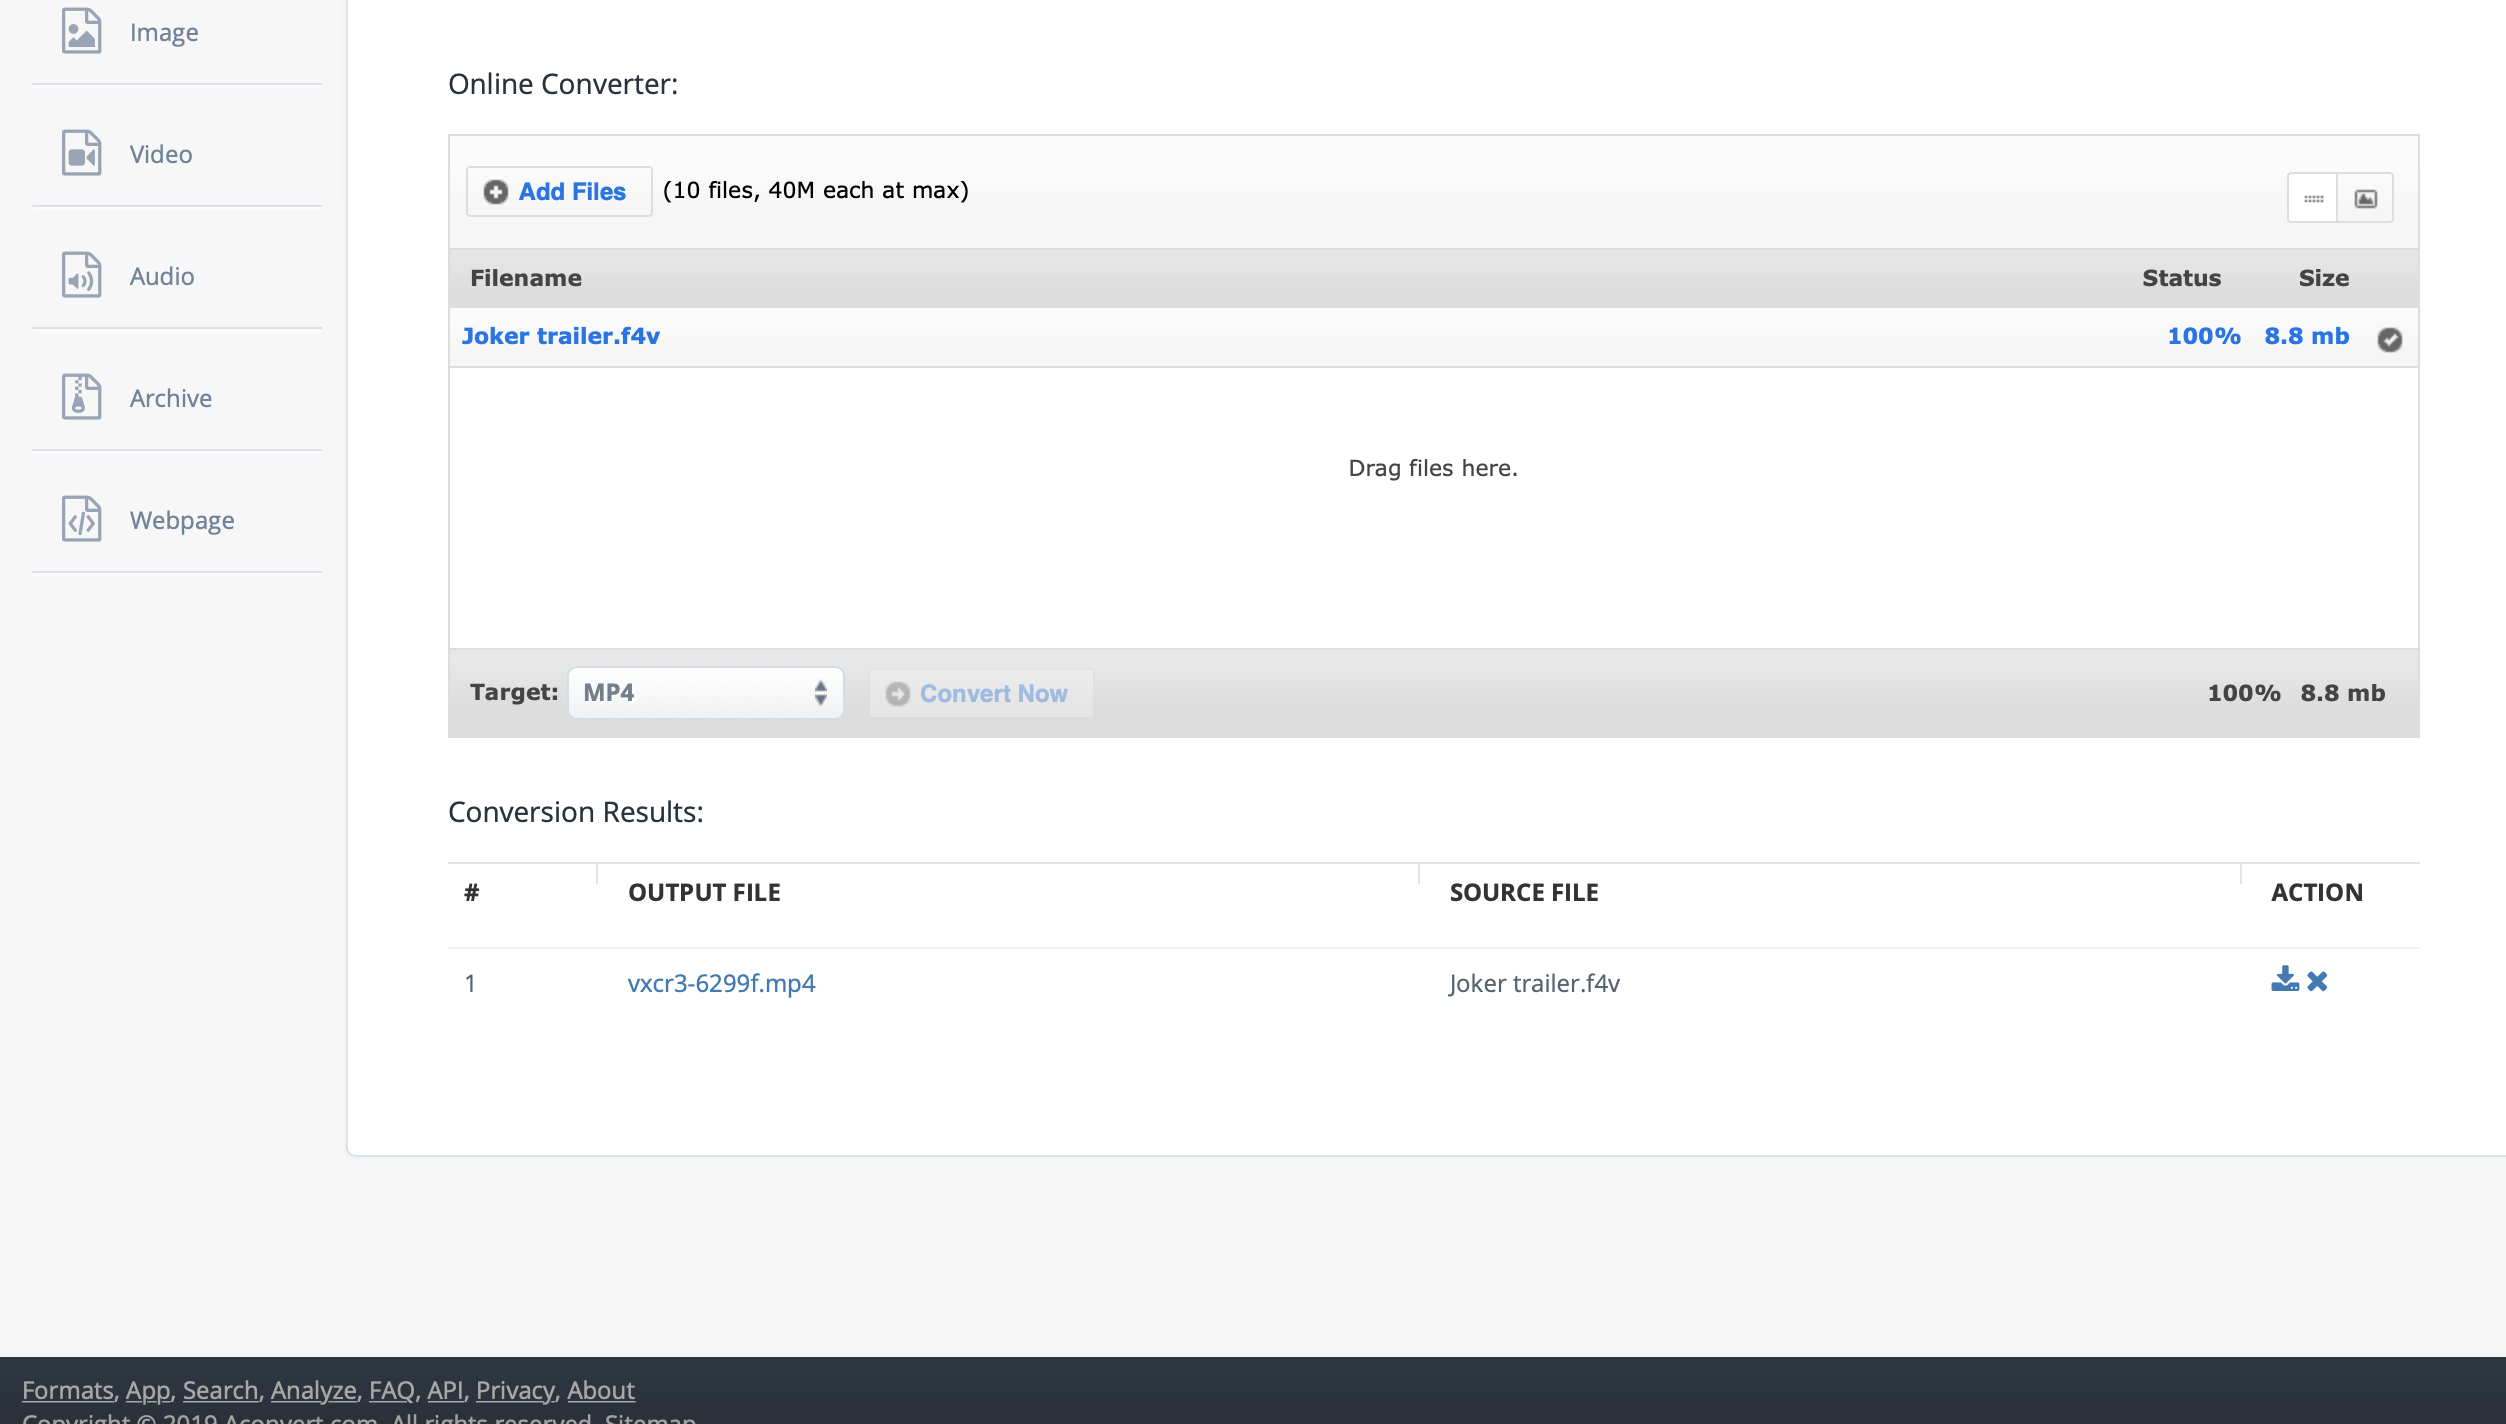
Step 2: Click the “Target” button which will show you a drop down menu. You will locate MP4 under “Video Format” on the drop down menu.
Step 3: Click “Convert Now” to start uploading the video(s). When it has successfully uploaded, it will automatically convert, and when it finishes, scroll down the page and under “ACTION” click the download icon.
Part 5: How to convert F4V to MP4 with CloudConvert
CloudConvert is also internet conversion like the two other services mentioned above. It supports a host of many video file types including MP4 video, but unfortunately it does not support F4V video files. The free plan will give users 25 conversion minutes per day. You can purchase more minutes from this service if you need them. To start, visit their website and follow the steps below.
Step 1: Click the “Select Files” button. This will open a window from where you can conveniently locate the file(s). Please note that you will not be able to convert F4V video files and you cannot drag the file(s) into this website.
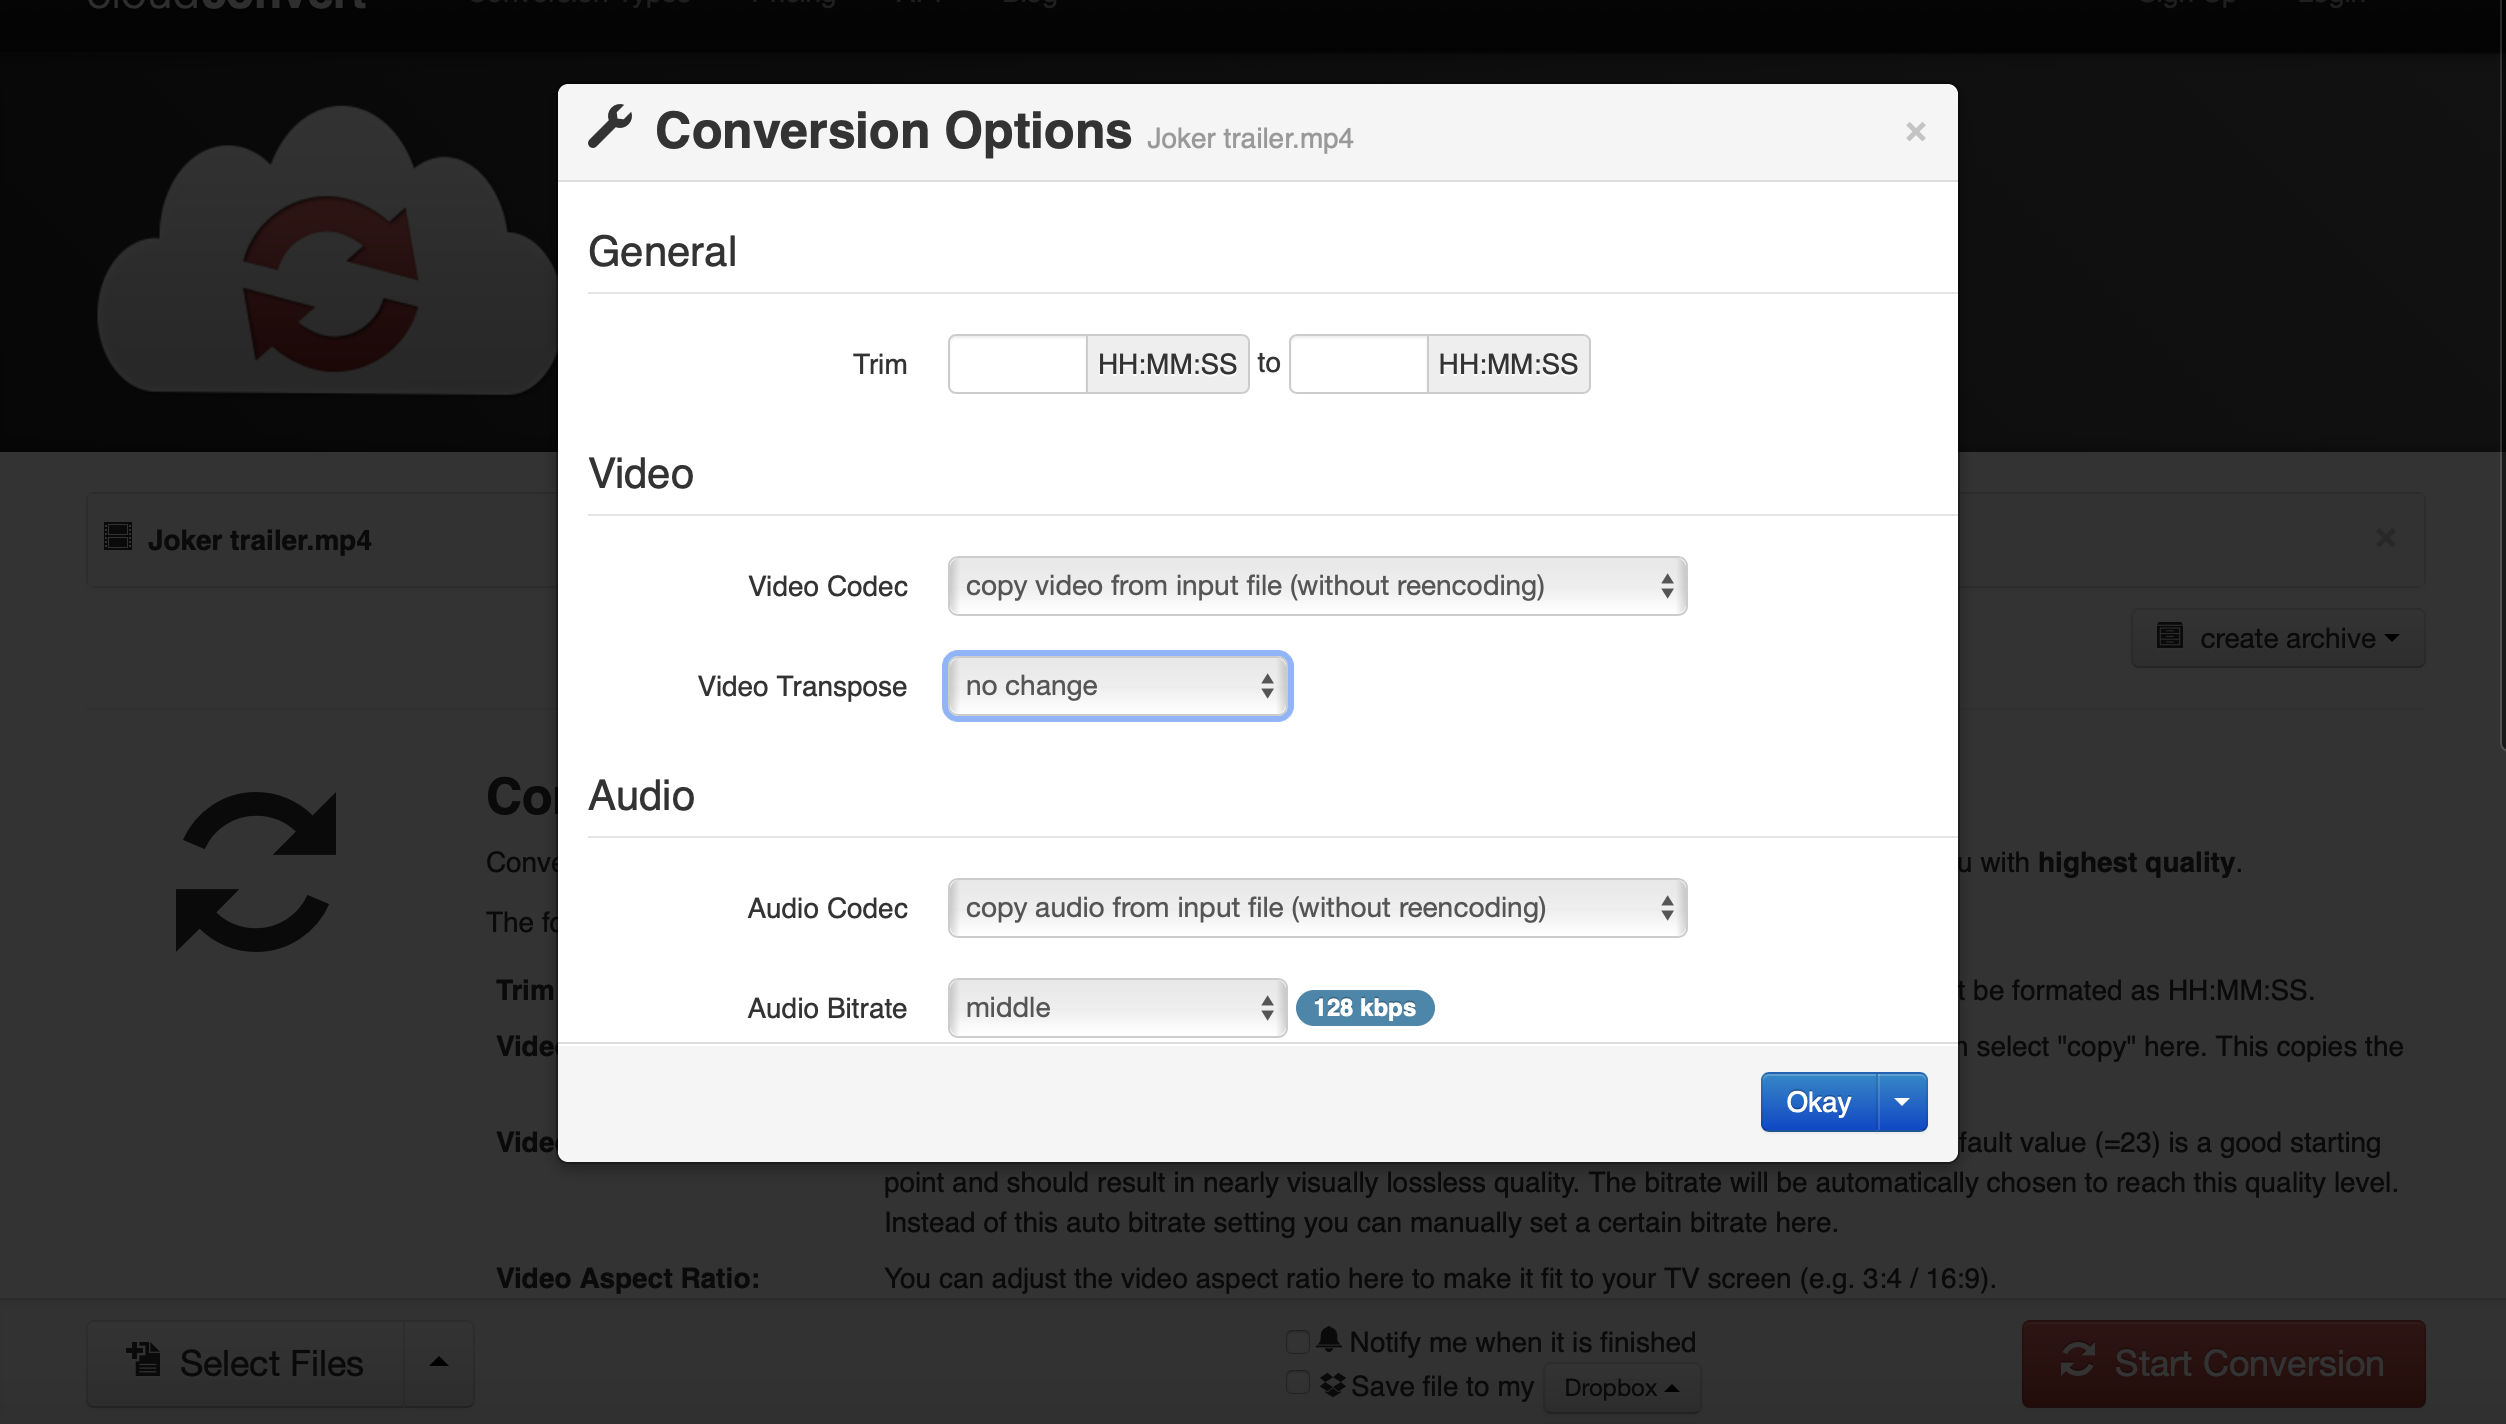
Step 2: Once you have uploaded your video, click the spanner icon to set your conversion options. This includes video codec and transpose, audio codec and bitrate, subtitles and more options. When you have finished, click “Okay”.
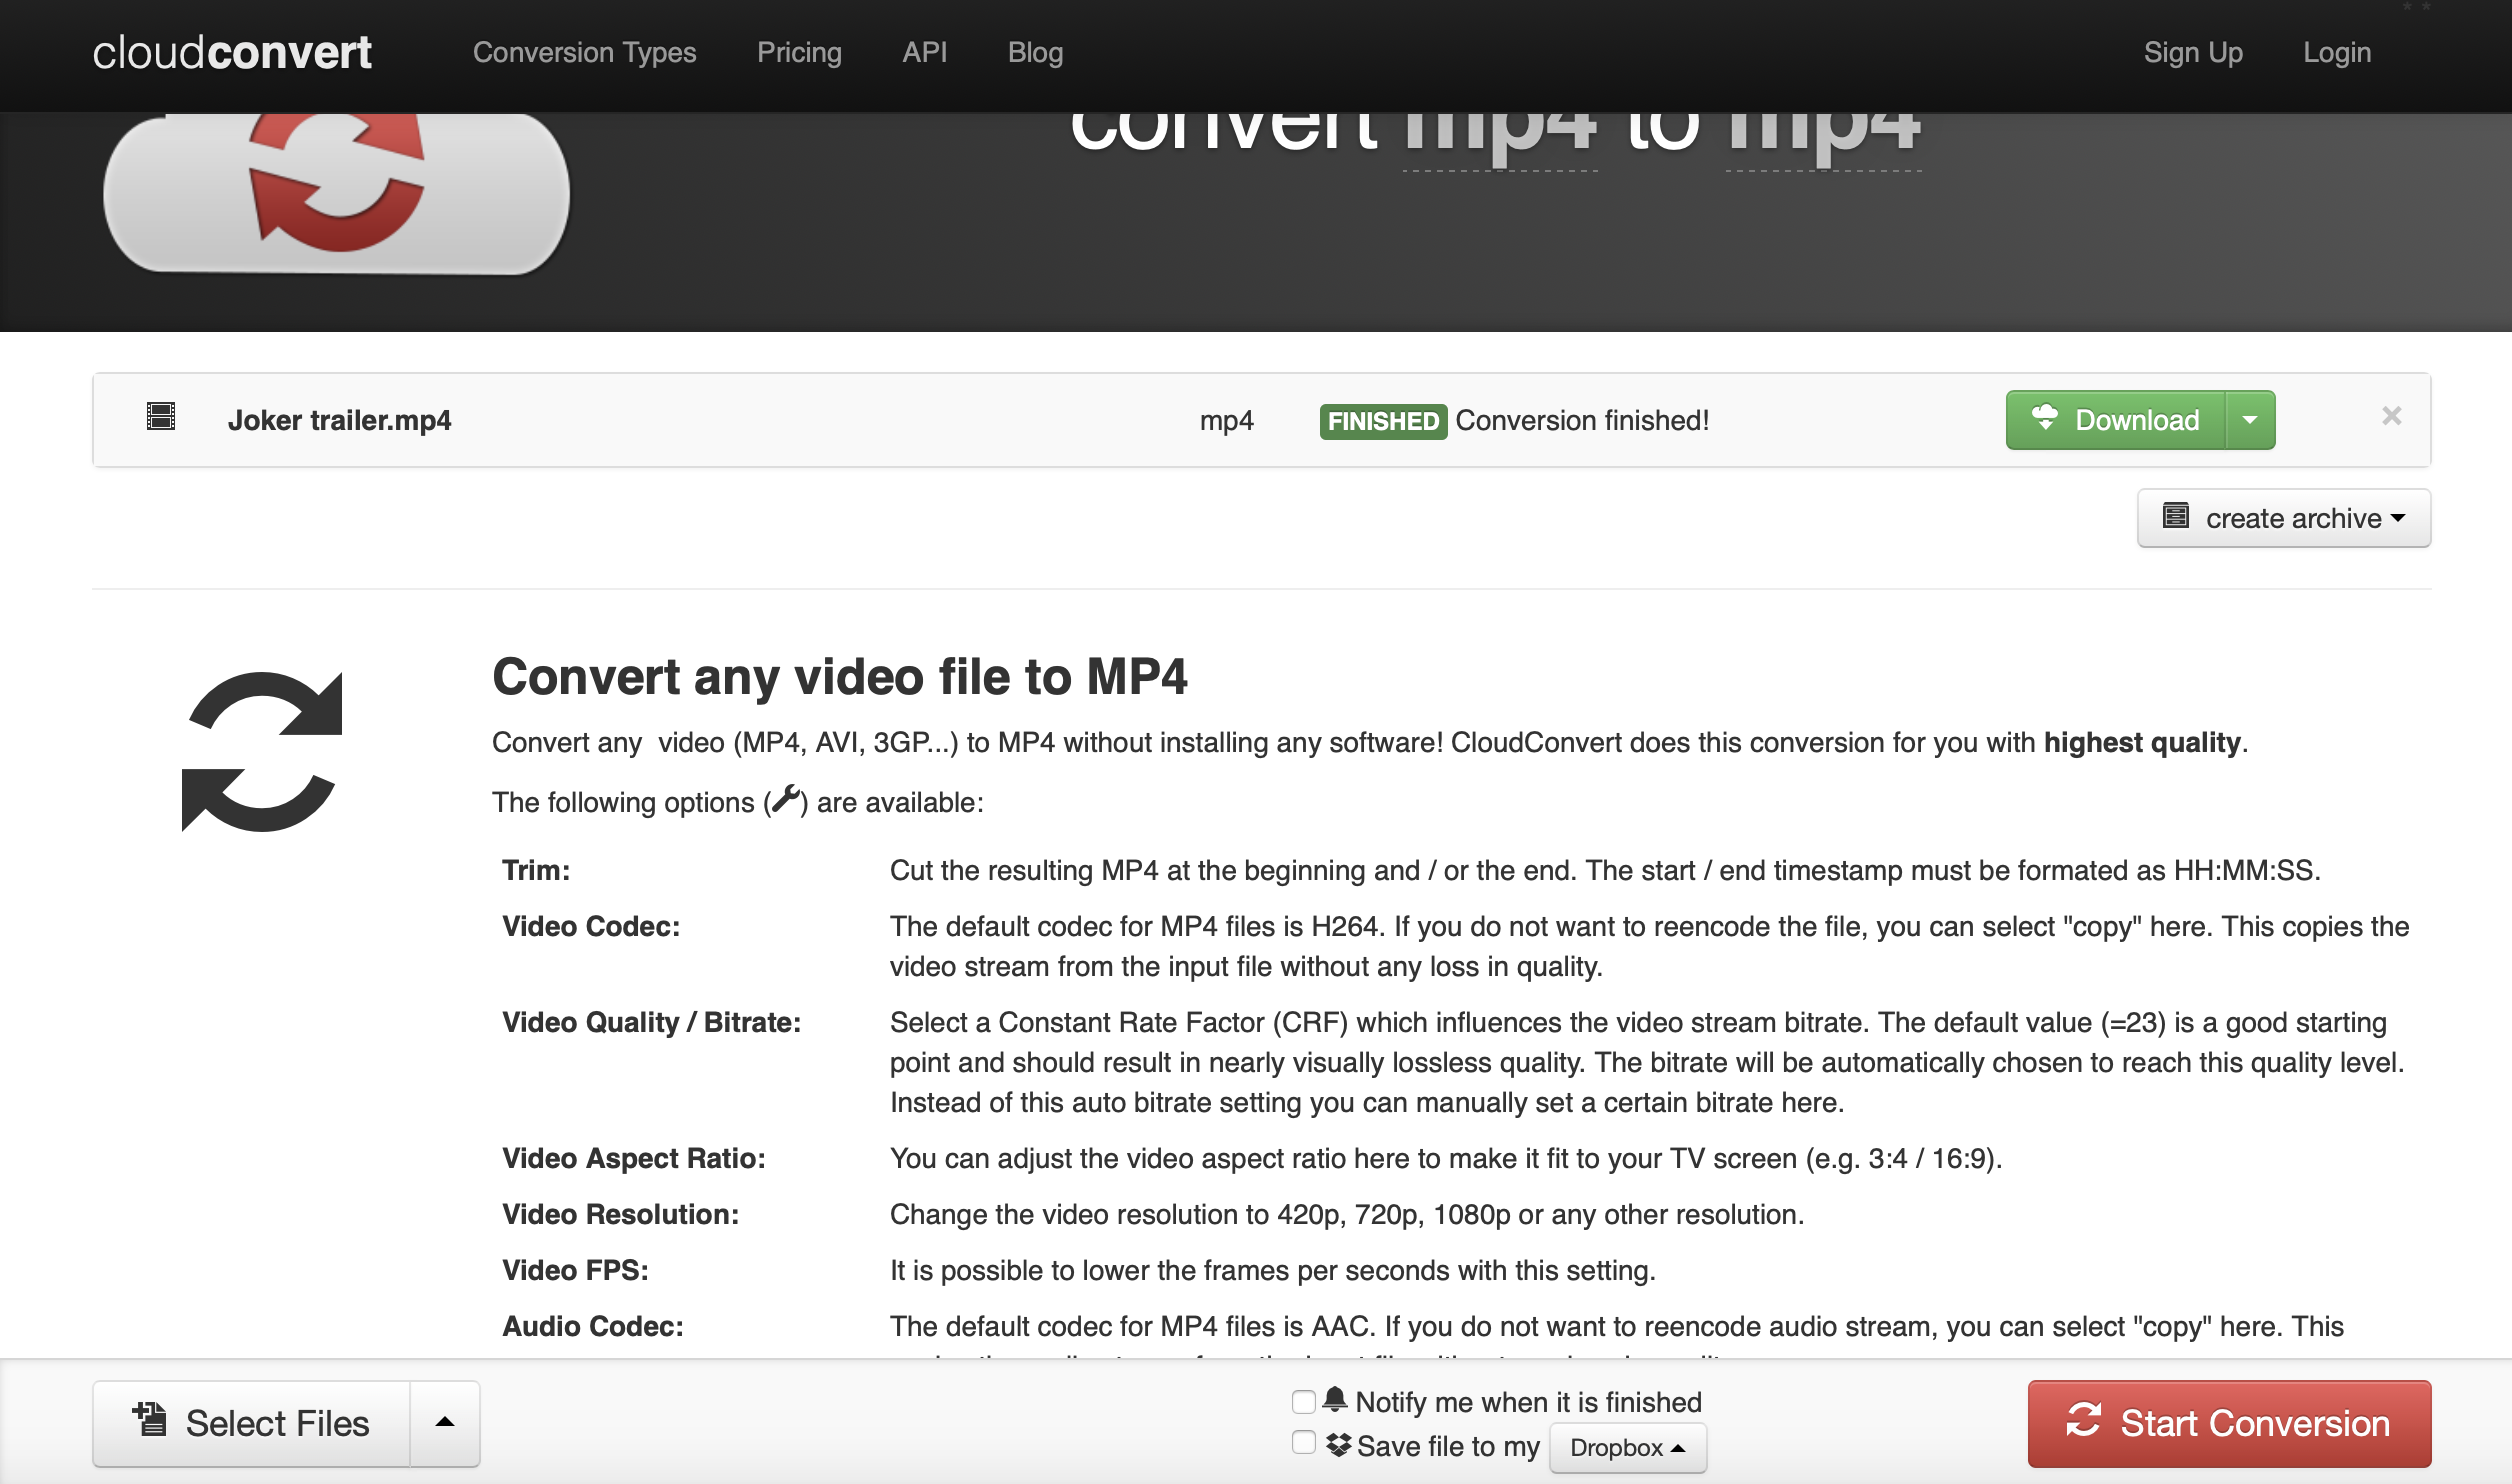
Step 3: Once you have finished step 2, click “Start Conversion” which will begin uploading your video file(s). When it has finished it will convert automatically and you can click the green “Download” button to save the file(s) to your hard drive.
For various reasons, Leawo Video Converter stands-out as the best video converter in this case. There is no need to worry about loss of quality as it is guaranteed when converting your videos. There is no need to worry about an internet connection in case you are not connected. There is also no limit to the video file sizes in any case, and you can convert multiple files simultaneously. After all, more than ten million people are using Leawo.

 Mar. 06, 2015 by
