"I use my iPhone to record interviews. I also regularly record songs when I am at practice. But I don't want to delete the memo because it is useful for me. But I take up too much space in my iPhone device. I want to sync the memo with iTunes so I can store it and remove it from my iPhone. Does anyone know how to get the voice memos into my iTunes account?" Many iOS users may be in this trouble, how to deal with? Today we will offer you the answers.
We all know that iPod/iPhone can be used to record audio with the iPod touch and iPhone's built-in Voice Memos app. It can be easily used to record lengthy thoughts or a flash of brilliance on the go. Many users have recorded a number of voice memos on iPhone/iPod, and they may want to transfer them from iPhone/iPod to iTunes for storing. However, it is not easy to transfer Apple devices' voice memos to iTunes program because of its complicated operating interface. In this article, we'll offer you the methods to transfer iPhone or iPod voice memos to iTunes on computer with ease.
Part 1: How to Add Voice Memos from iPhone/iPod to iTunes
Firstly, you can also simply transfer the voice memos to iTunes using iTunes itself. The following is how to go about doing that.
Step 1. Download and install iTunes on your PC/Mac computer. Connect your iPhone/iPod with compatible USB to launch iTunes. If you already have iTunes on your computer, make ensure that you are using the latest version of iTunes.
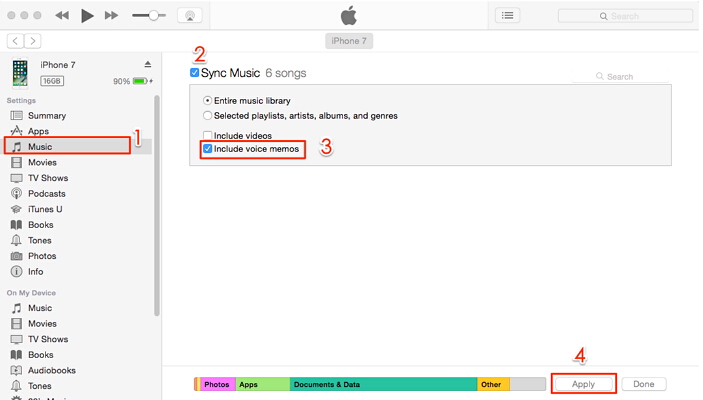
Step 2: Click the Device button on the top-left of this window.
Step 3. Select Music tab and then select "Include voice memos".
Step 4. Click the "Apply" button to make voice memos sync to iTunes.
Once finished, the voice memos will be stored in a sub-folder called "Voice Memos". Next time they will appear in a playlist that called "Voice Memos". You can find all the recordings in the "Voice Memos" playlist that appears under the Playlist menu in iTunes.
If you wonder how to convert iPhone voice memos to MP3, you could click the following guide link: How to Convert iPhone Voice Memos to MP3
Part 2: How to Add Voice Memos from iPhone/iPod to iTunes via iTransfer
One of the easiest ways to get the voice memos in iTunes is to transfer them to your computer first and the drag them into iTunes. While there is a problem that it is not easy to transfer data from an iPhone/iPod to the computer. Most of ways in the market are not very functional. Here we will offer Leawo iTransfer to help you move all your voice memos from your iPhone to the computer quite easily.
Leawo iTransfer is an iPhone file transfer that allows you to transfer and manage almost all the iOS device content and data to iTunes, to computer and to another iOS device. With it, you can transfer voice memos from iPhone or iPod to computer, and to another iDevice.
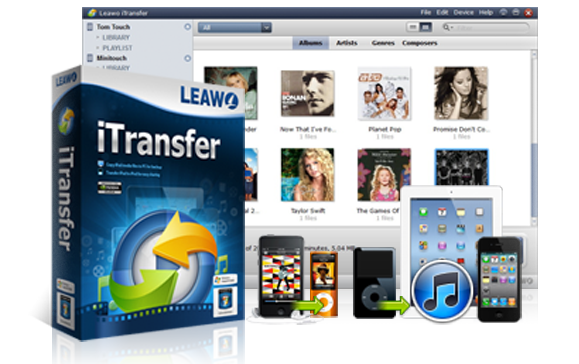
Leawo iTransfer
☉ Transfer files among iOS devices, iTunes and PCs with ease.
☉ Transfer up to 14 kinds of data and files without iTunes.
☉ Support the latest iOS devices like iPhone 11, iPhone X, etc.
☉ Play back, view, and delete data and files on iOS devices.
Its features include the following:
Allows users easily transfer and backup iOS devices date and iTunes files even if you don't have access to the iOS device.
Transfer files among iOS device, iTunes and PCs in fast speed without quality loss.
Transfer files without the sync of iTunes and make iPhone, iPad and iPod as flash disks.
Fully support latest 11 and all iDevices with Retina Display and free technical support.
Step 1. Download and install this program, then connect your iPhone or iPod to your computer with the compatible USB cable. Launch the program to start to prepare adding.
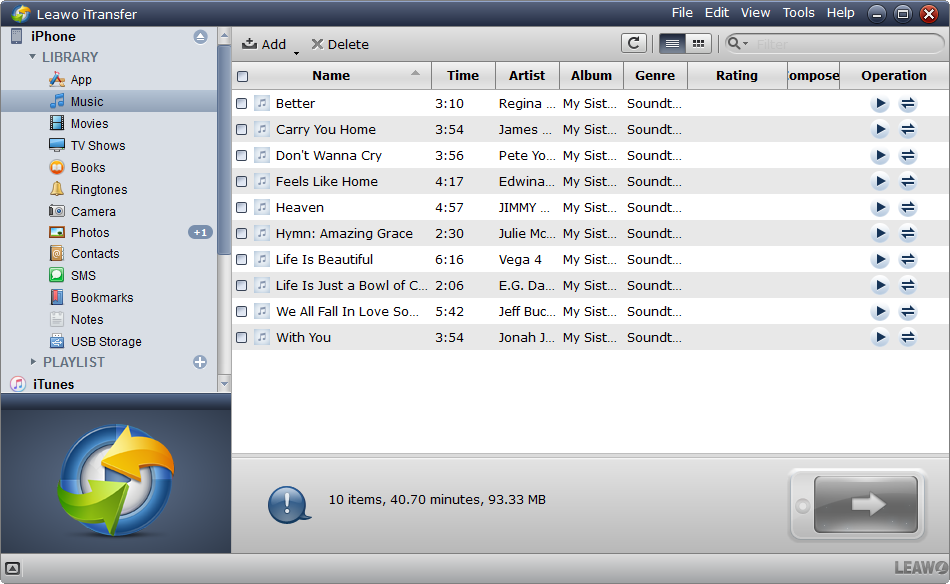
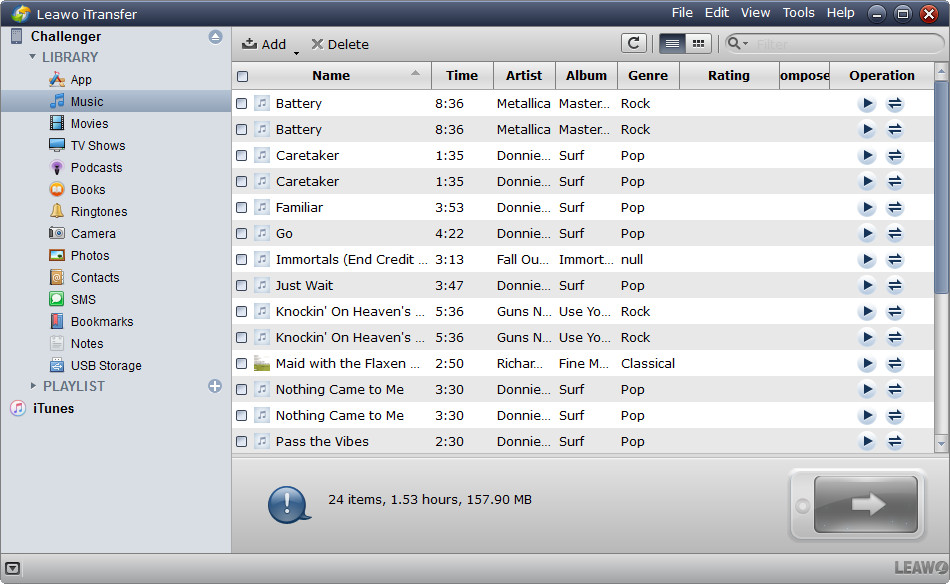
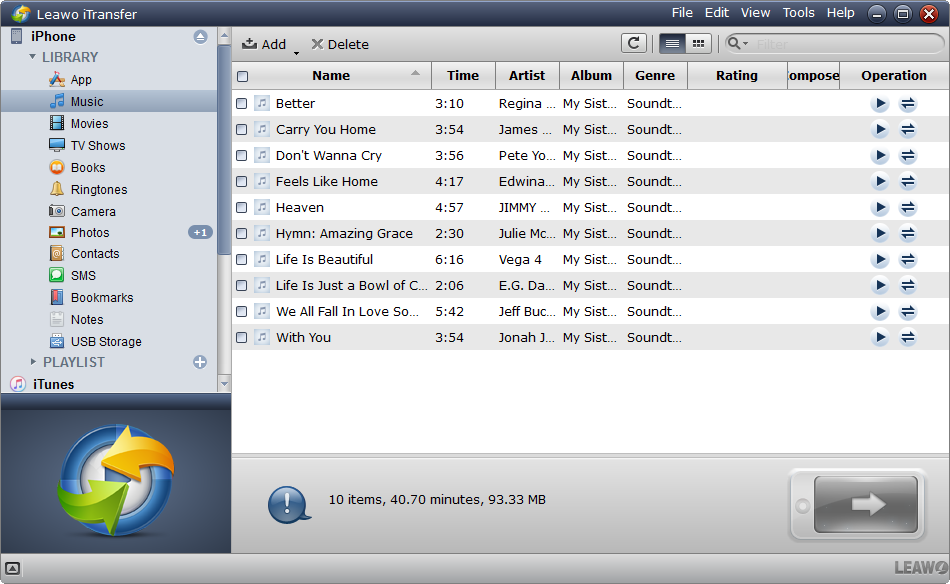
Step 2. Click the name of iPhone tab to choose Library option in the left sidebar. Choose "Music" tab to go the voice memos manage interface. Then the songs in your iPhone will display in the right window.
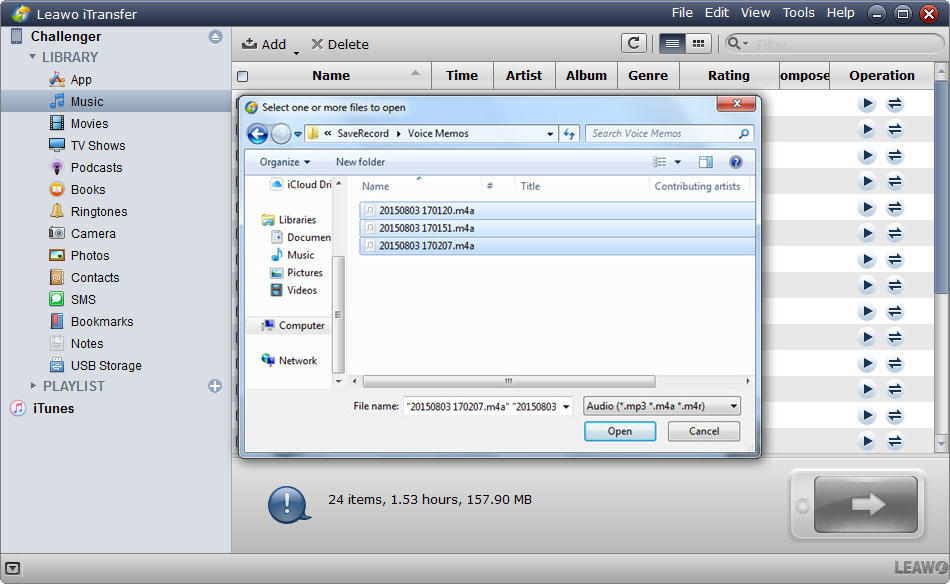
Step 3. Choose the voice memos you want to transfer, click the Add button at the top bar menu to add the voice memos from your computer. Select the voice memos at right window. After all voice memo have finished transferring, you can drag these voice memo that you want to add to iTunes directly.
Part 3: How to Backup iPhone/iPod Voice Memos to PC via Leawo iTransfer
Step 1. Connect iPhone to computer with USB cable and run the software. The software recognizes and detects iPhone or iPod automatically. Click iPhone button to preview and choose the files that you want to transfer. Then tap on "library" in the left sidebar to click on "Music" option to find your target files. All voice memos will show up in the right of the window.
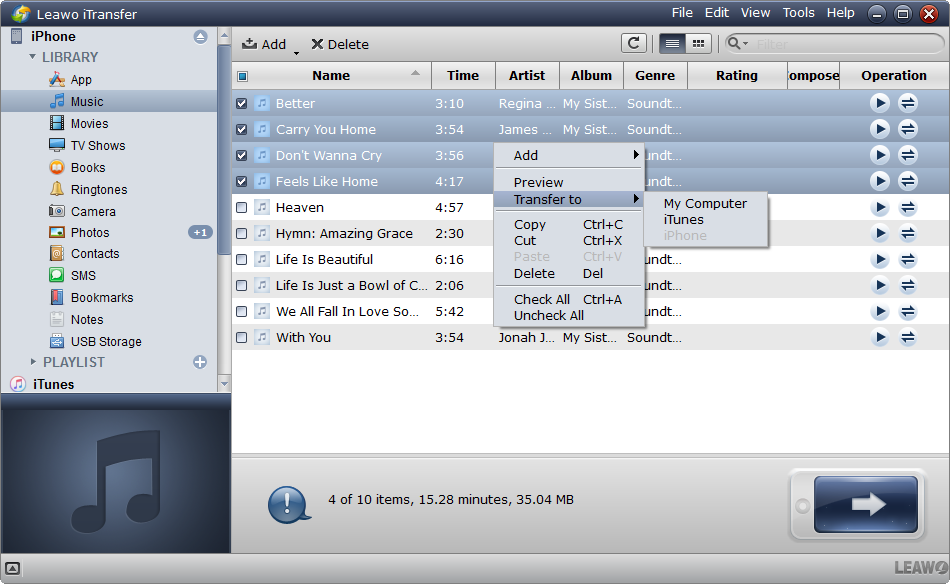
Step 2. You can select all files at one time by checking the square checkbox beside name button in main section, and click the arrow button at the right bottom. Also, selecting certain files is available to be added by checking the checkbox beside "Music" button, and then right-click the selected files and choose Transfer to > My Computer.
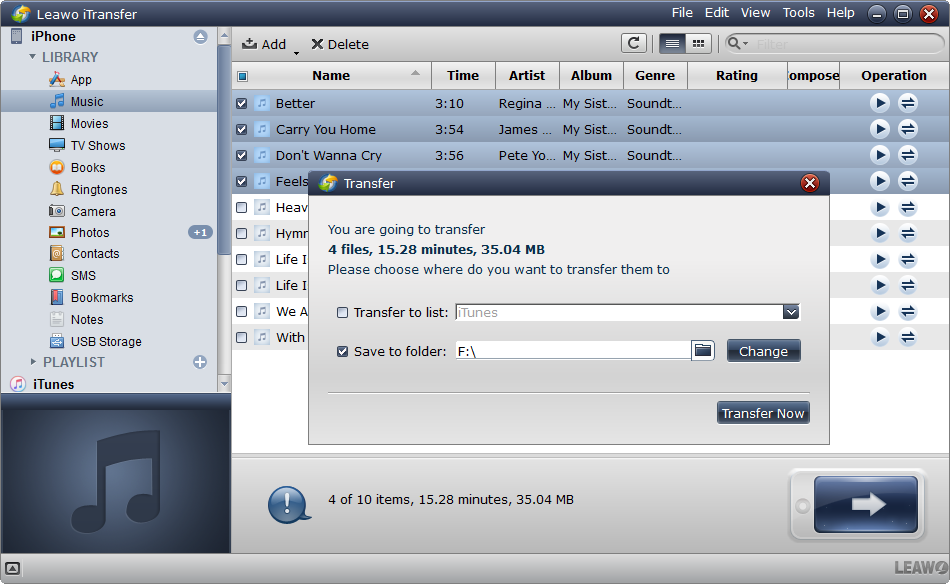
Step 3. A pop-up window will show after the files are selected. Check Save to Folder and click Change to choose a target folder on your computer to save the files. Then click Transfer Now to start backing up iPhone files to computer. The size of transference files depend on the speed of transferring speed. After all voice memos have been backup, enjoy it freely.
Besides transferring voice memos from iPhone or iPod to iTunes, Leawo iTransfer allows you to sync selected items to computer and to another iDevice. Any question on this guide or Leawo iTransfer is warmly welcomed, please be free to contact us. Download the free trial of Leawo iTransfer now.

