This DVD photo slideshow guide shows you detailed steps on how to convert and burn photo to DVD photo slideshow.
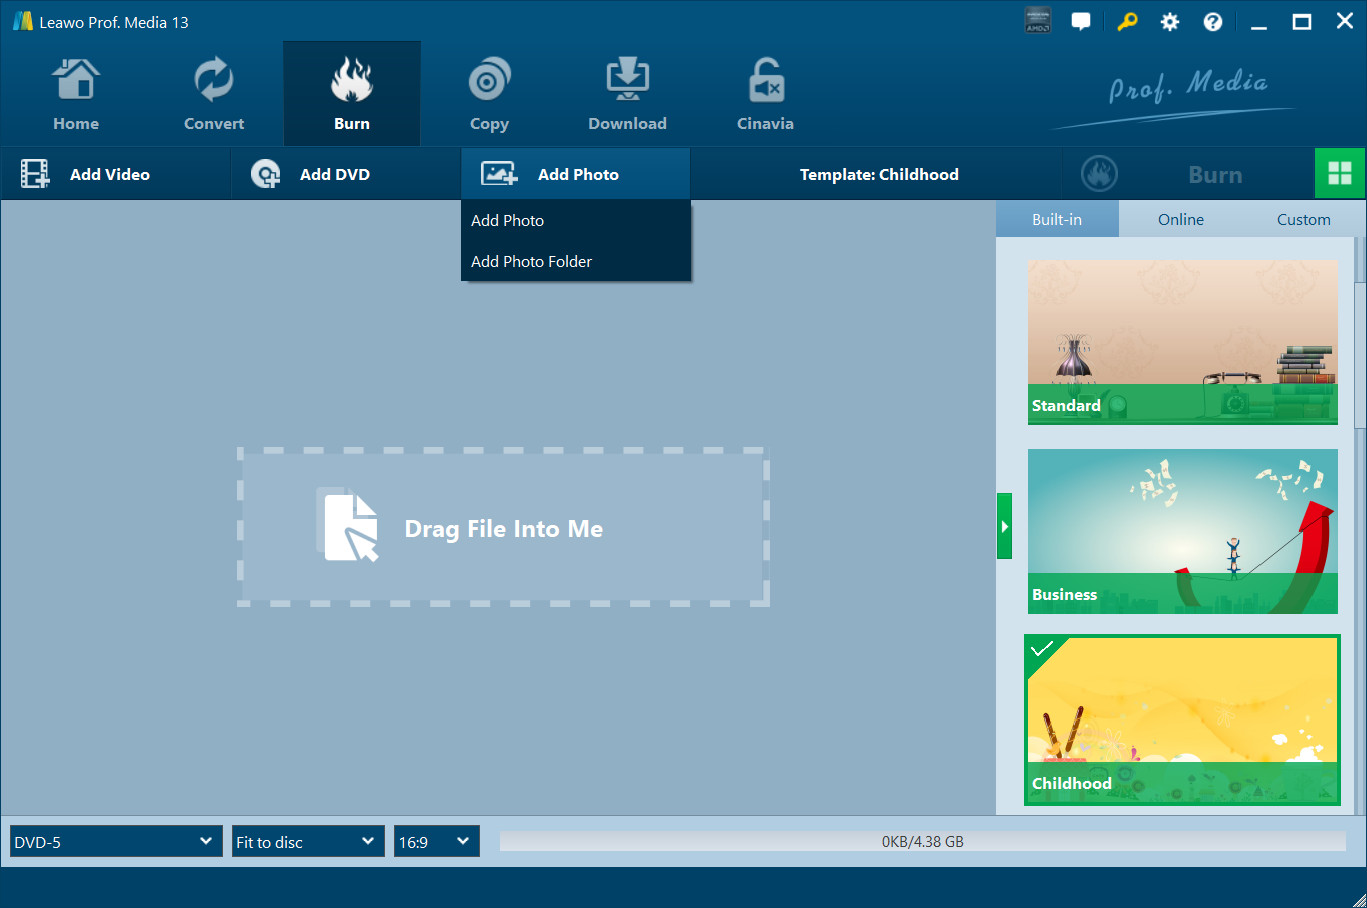
On the main interface, click Add Photo button at the right side of Add Video button to import photos to the program to create a photo slideshow video, which can be done by direct drag n’ drop. After you import the photos to the program, a slideshow video of the photos would be created automatically on the video list. Click Edit button  on the video to edit it.
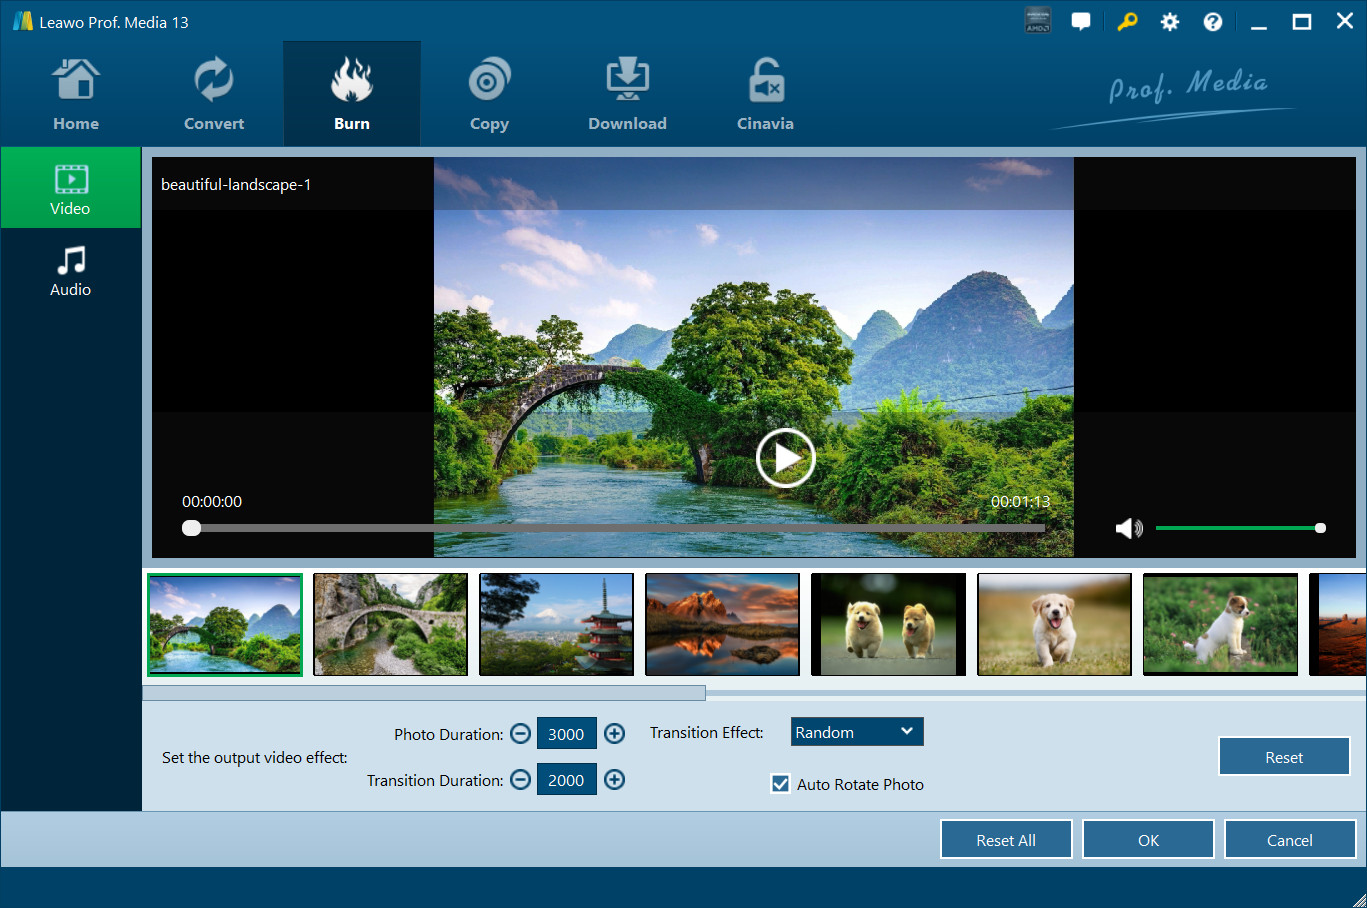
Click the Edit button to enter the video editing panel. In the Video section, you can see all the photos you've imported to the program being listed under the video preview window. Move your mouse onto one of the photos and you will see two buttons on it. One is the "Rotate" button for rotating the photo and another is the "Delete" button for deleting the photo from the video.

And there's an Add Photo button at the end of the photo list which allows you to add more photos to the video, click it and choose photos in your computer to add to the video.

Adjustable video effects include: Photo Duration, Transition Duration and Transition Effect. Adjust photo duration by inputting a value between 1000 and 5000(5000 here means 5 seconds and the same goes to Transition Duration) and adjust transition duration from 500 to 5000.
The program’s got a lot of transition effect for you to choose. Click Transition Effect box and choose one effect for the photos on the drop-down menu.
Go to the Audio section, click Add Music button in the middle to add music to the video as the background music of the video.
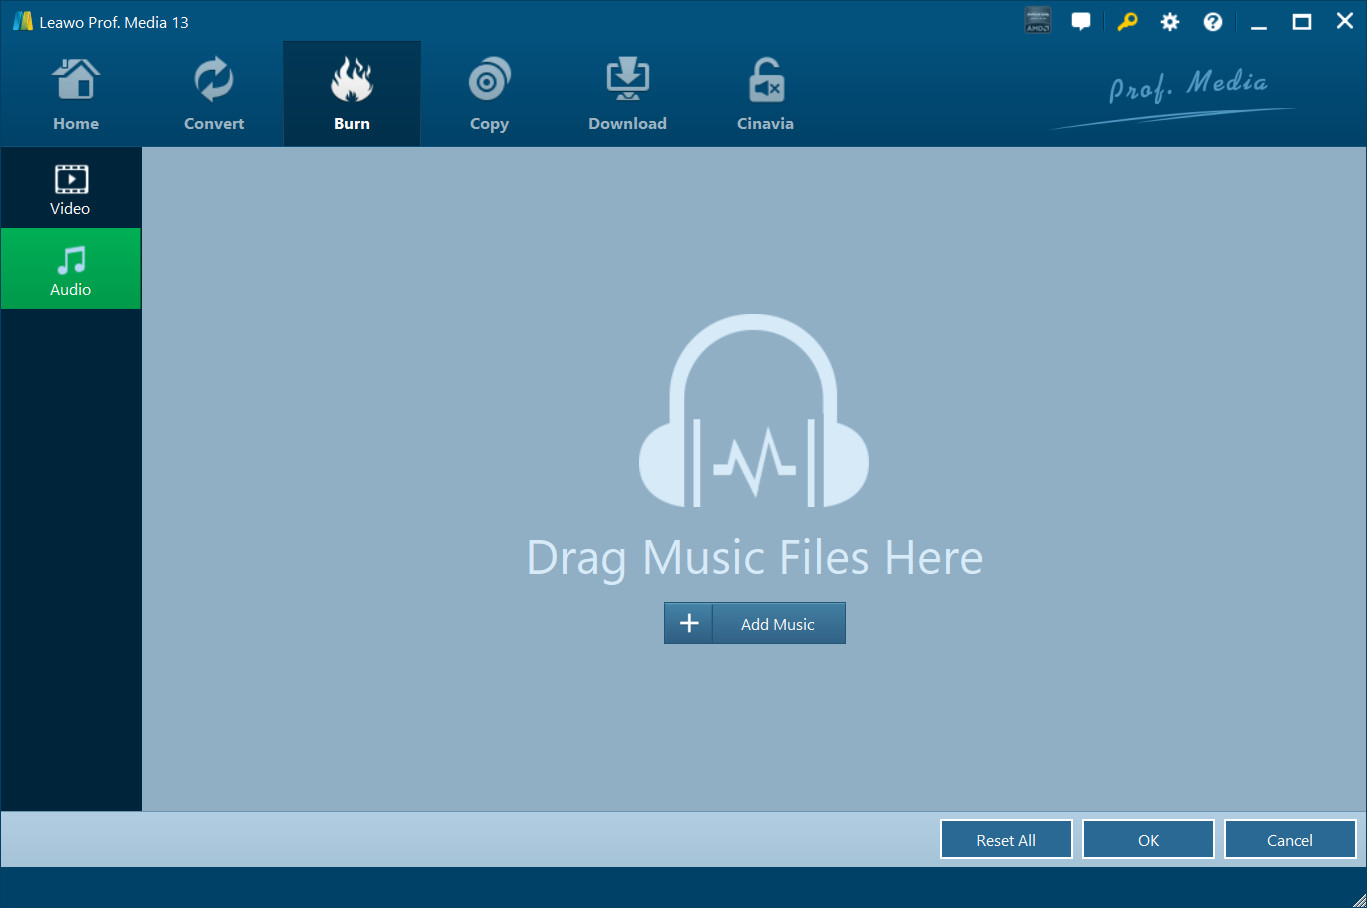
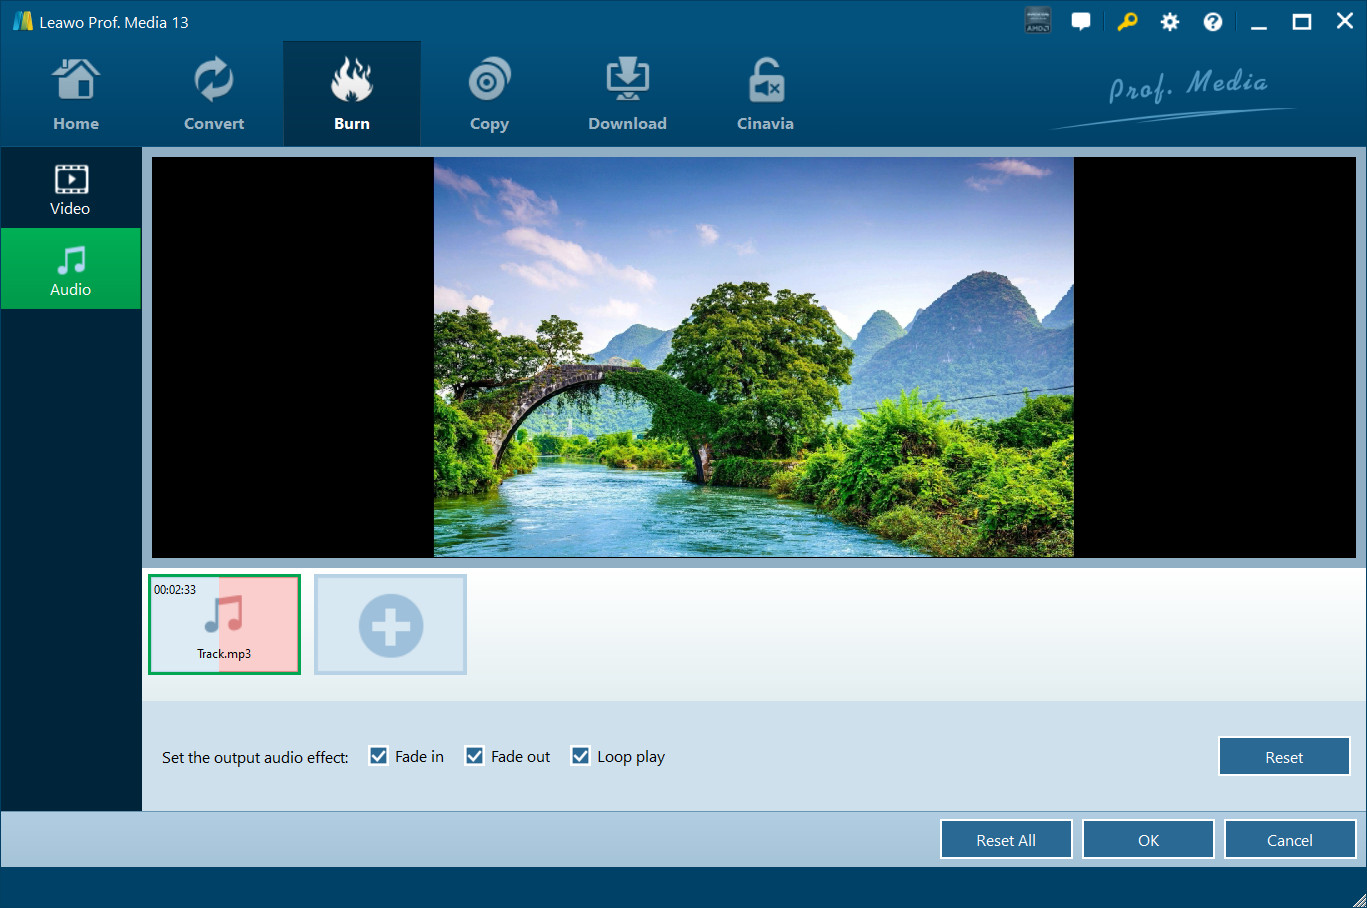
You can click the + button to add more songs to the video and the X button to delete the song you've imported.

If the length of the music is longer than the video, the exceeded part of the music would be cut off and won’t be played. Choose the sound effect you like from Fade In, Fade Out and Loop Play.
When you finish editing the slideshow video, you can choose to convert it into a Blu-ray/DVD folder or an ISO file and save it to your hard drive, or burn it to a blank disc. Please refer to Part 2: Step 4 on the video burning procedure.
 [12/29/23] MAX Downloader V15.0.0 NEW[12/27/23] Disney+ Downloader V15.0.0 NEW[12/01/23] All-in-one Downloader V15.0.0 NEW[11/28/23] Hulu Downloader V15.0.0 NEW[11/18/23] Amazon Downloader V15.0.0 NEW
 10,000,000 people are using Leawo!
 All Transactions are protected!
 30-Day Money Back Guarantee!
Any 3rd-party product names, trademarks, logos and images occasionally mentioned on this site belong to their owners. These might include but not be limited to YouTube, Apple, Amazon, Adobe, Netflix, etc. Leawo Software is independent of all of these property owners.

 Prof. Media 13
 Blu-ray Ripper
 Blu-ray Copy
 Prof. DRM